Overview
This document outlines the process to connect your Oak Harbor Freight Lines account to ShipperHQ to obtain live rates associated with your Oak Harbor account.
Requirements
Before you begin, please ensure you have the following:
- Your Oak Harbor Account Email
- Your Oak Harbor Account Key
- LTL Freight Feature – Adding this carrier requires the LTL Freight Feature enabled either before or during the process described below. Click this link for more information about enabling the LTL Freight Feature.
Adding Oak Harbor Freight
Now that you have your credentials ready, use the steps below to set up Oak Harbor Freight in ShipperHQ.
1. Log into your ShipperHQ account & navigate to the Advanced Features link on the left navigation menu.
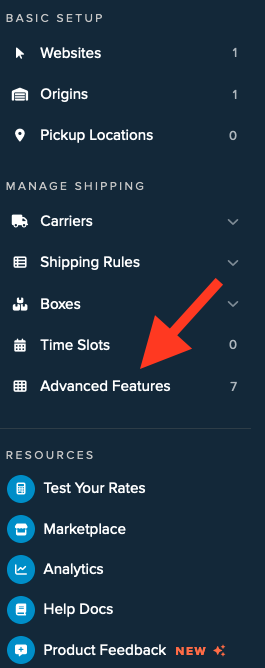
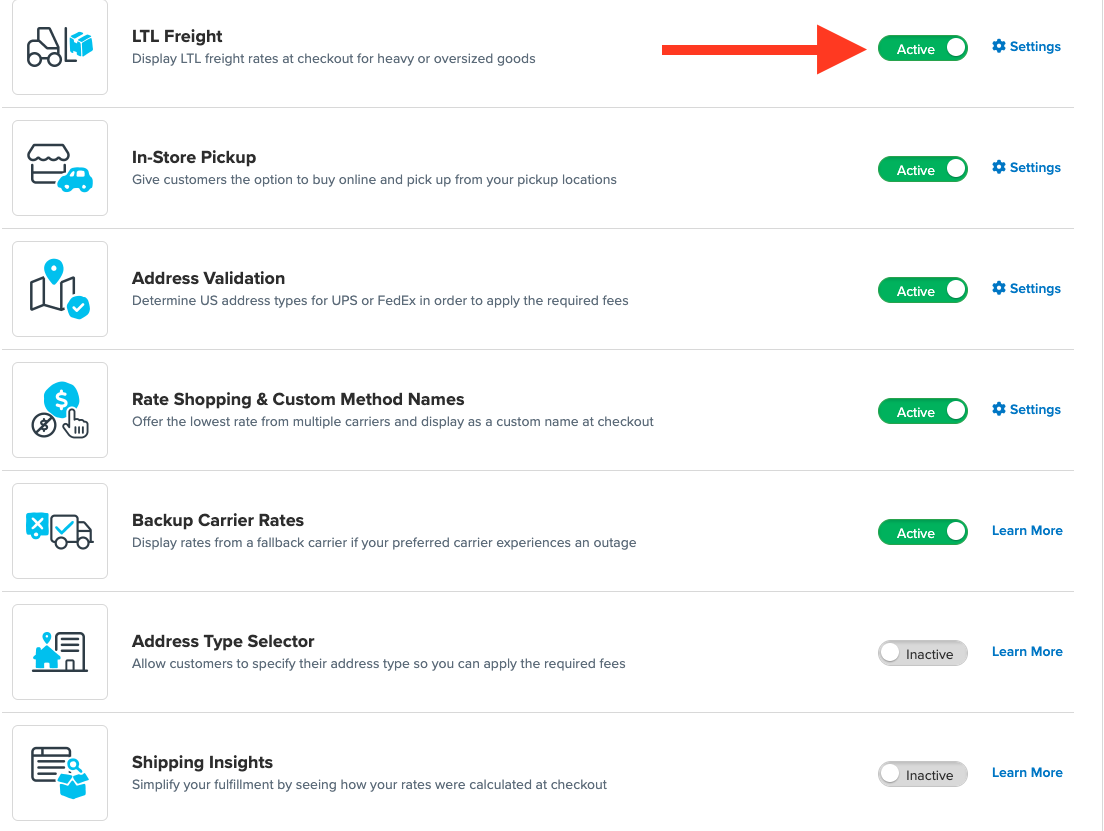
2. Click to enable the LTL Advanced Feature.
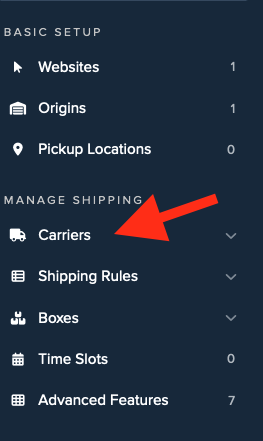
3. Once LTL is enabled, navigate to the Carriers link on the left navigation menu.
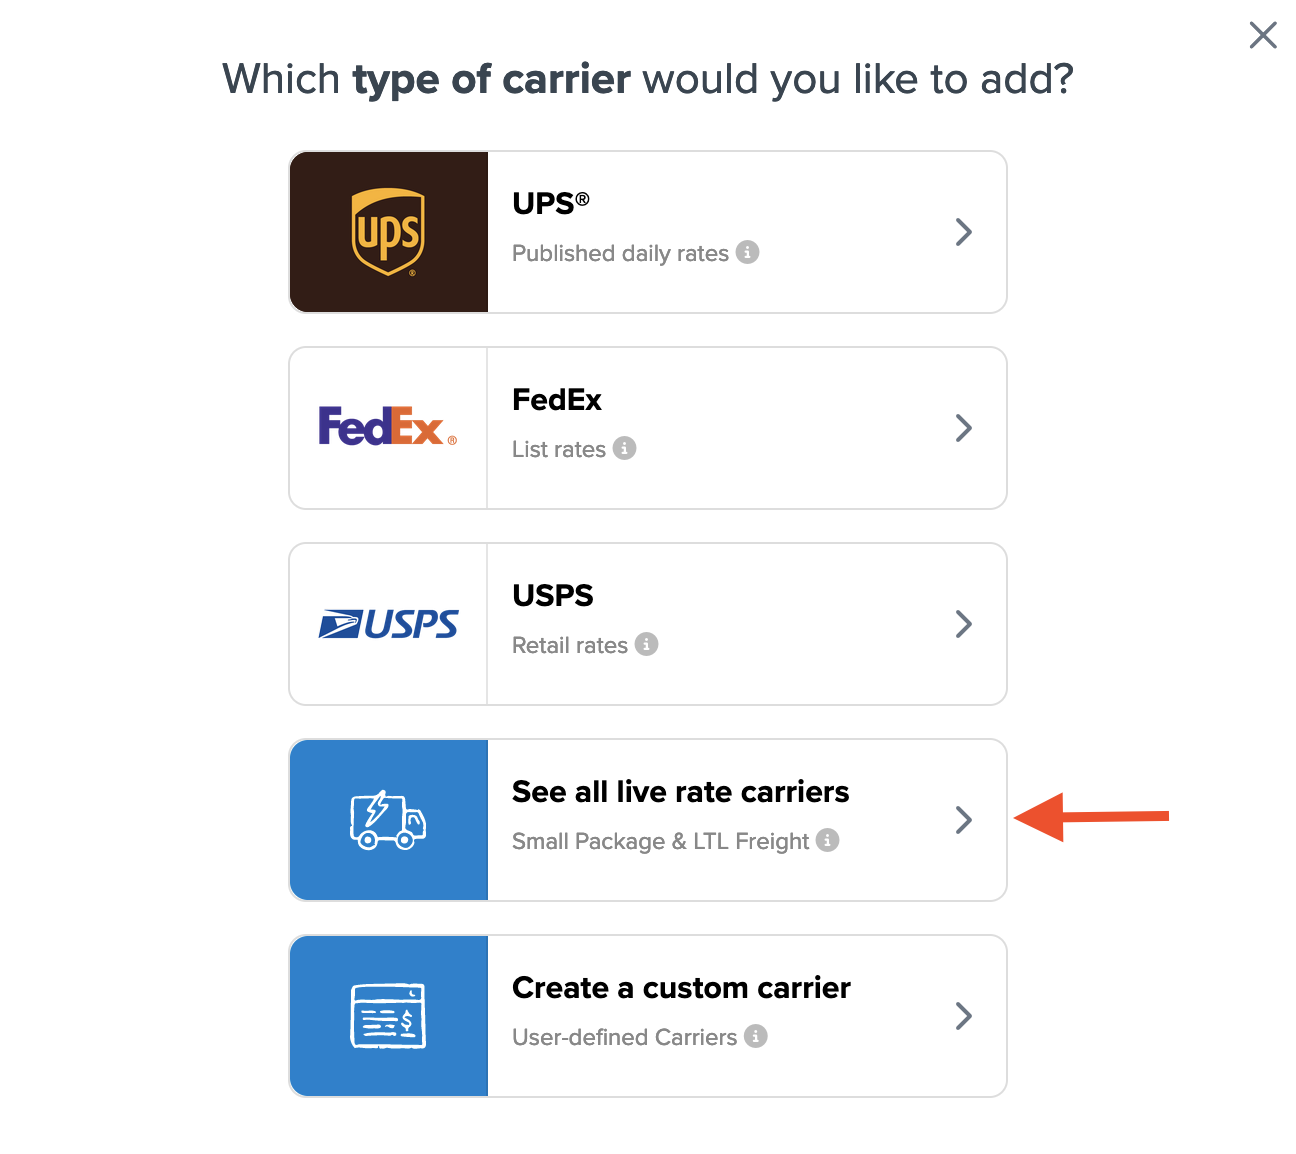
4. Click + New to add a new carrier

5. Choose the Live Rate Carrier option
6. Use the Search Carriers option to search for Oak Harbor Freight or scroll down to find Oak Harbor Freight from the list of available carriers
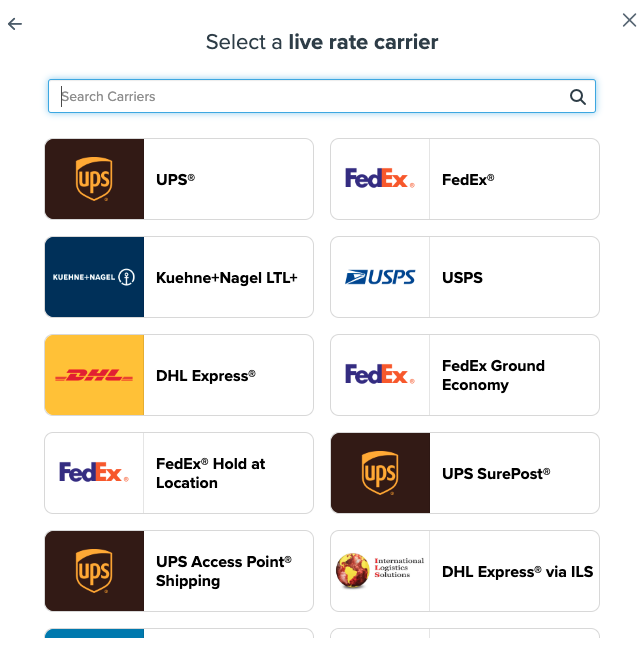
7. Click Oak Harbor Freight
Adding Oak Harbor Freight requires the LTL Freight advanced feature. You are prompted with the following steps if you do not have this feature enabled during installation:
- Click the toggle button to enable the LTL Freight feature
- Click the Continue button
8. Click to continue in connecting your carrier account to ShipperHQ.
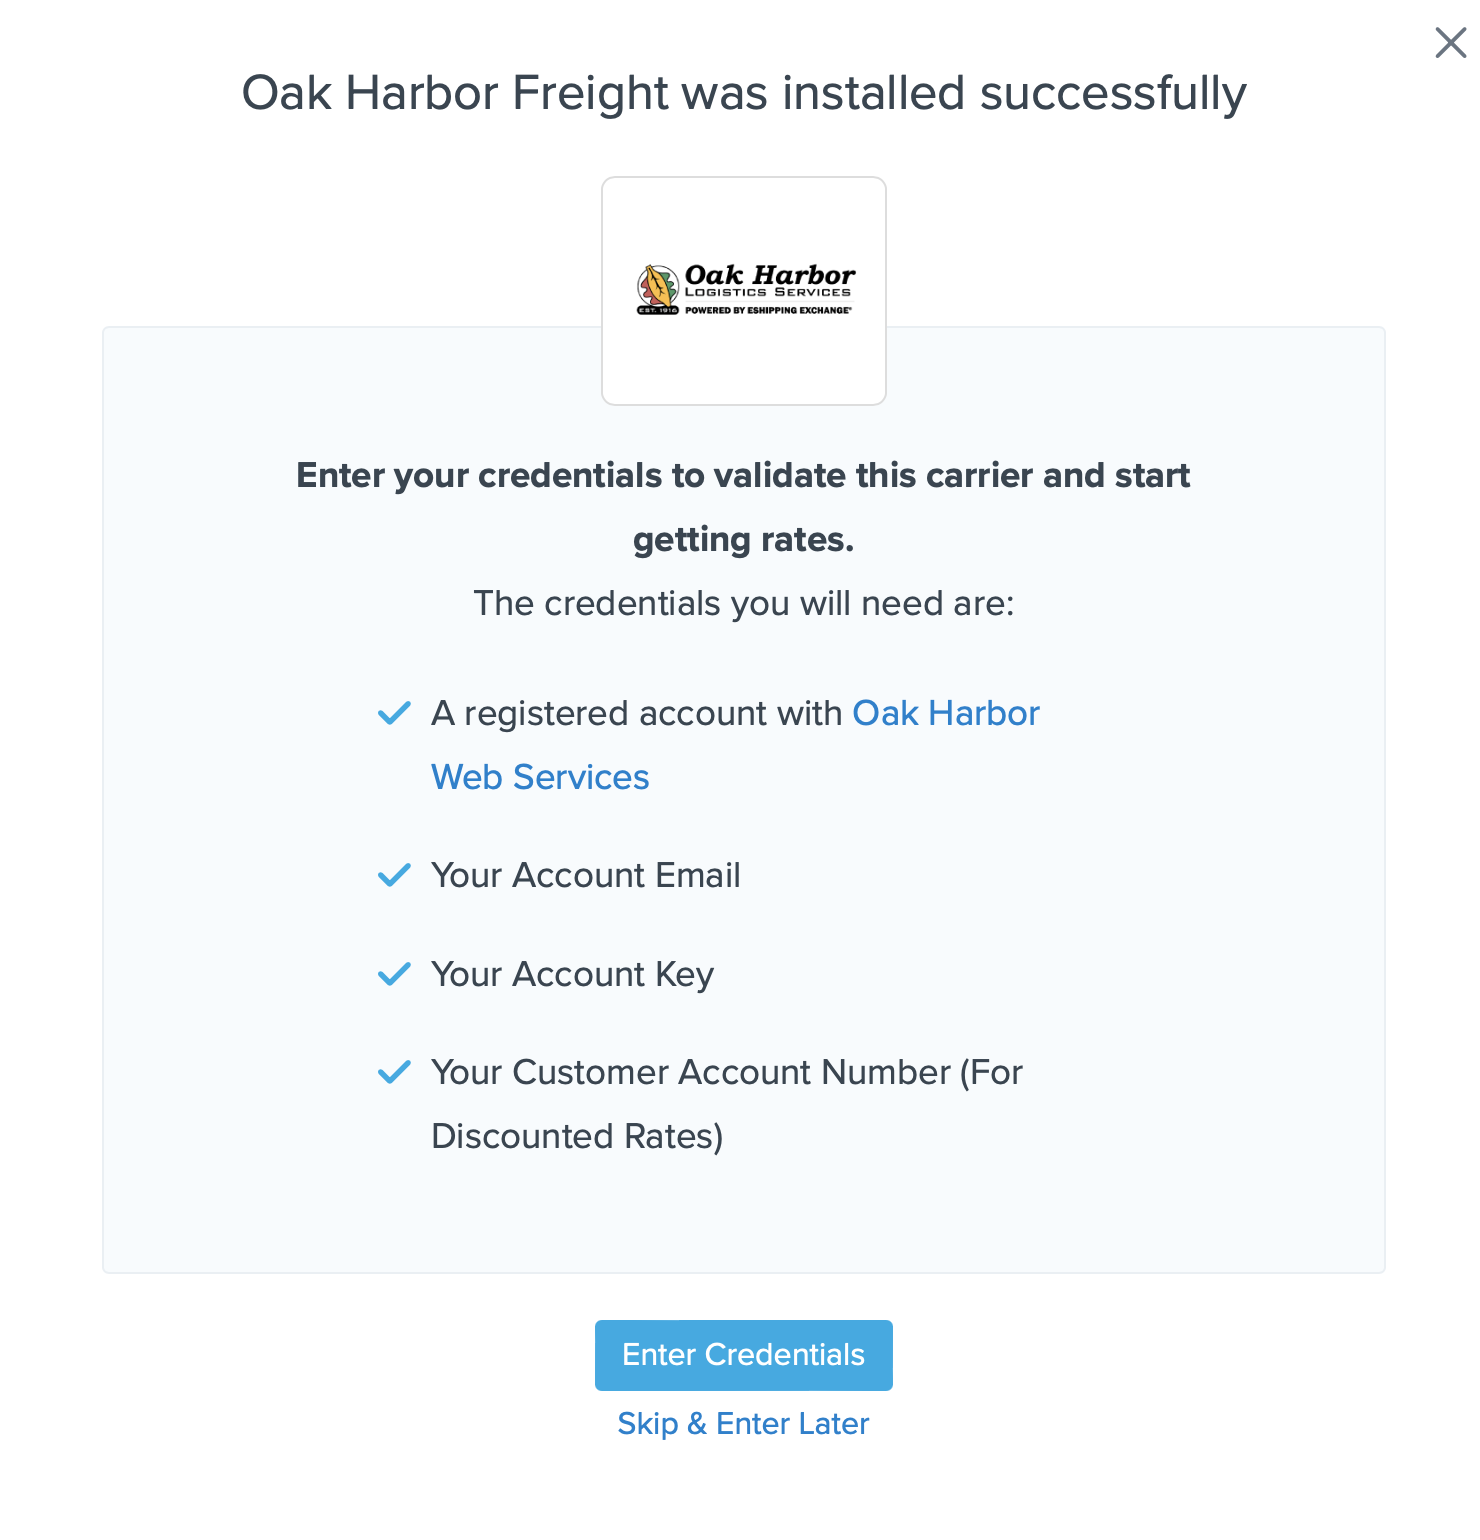
Steps to Validate This Carrier
1. Enter the following credentials provided by Oak Harbor Freight
- Oak Harbor Freight User Name and Password
- Payment Terms for your account
- Business Role for your account (Shipper, Consignee, or Third-party)

2. Once these details have been entered, blick the Validate button to complete the validation process.
If validation is successful, click the toggle button to enable the Oak Harbor Freight carrier.
3. Click the Configure This Carrier button if the validation process was successful.
4. Edit any settings for this carrier then click Save to complete the setup.
5. Your Oak Harbor Freight carrier is now enabled and ready for configuration.
Freight Shipping Configuration
Use any of the following links to configure your Oak Harbor Freight carrier:
- Setting Weight Thresholds for Oversized Carts
- How to Set Items that Must Ship Freight
- Setting Up Shipping Groups
Optional
Use any of the following links for more configuration options:
- Setting Up Shipping Rules
- How to Set Up Packing Rules
- How to Add a Surcharge/Handling Fee to a Carrier