How to Set Up Australian Carriers
Set up and validate live rates for Australian carriers in your e-commerce platform
- Overview
- Requirements
- Register for Australia Post Carrier Credentials
- Register for StarTrack
- Register for Fastway Carrier Credentials
- Steps To Add These Carriers
- Steps to Validate This Carrier
- Troubleshooting
Overview
This document will guide you on how to set up the following Australian carriers in ShipperHQ:
Each carrier has individual installation instructions, which you can find at the above links.
Requirements
Follow these directions to obtain the necessary credentials and add Australian Carriers in ShipperHQ.
Register for Australia Post Carrier Credentials
- Go to the Australia Post Developer Centre and create an account. If already registered or have a MyPost account, please log in with those details.
- Register for the Shipping & Tracking APIs.
- Click on the 'Register your interest today' link.
- Specify your account number(s), separated by commas (you can specify a large list in the comments field in the last step).
- If adding account(s) to an existing key, specify this including the key you wish the account(s) to be added to, in the comments field in the last step.
- Specify your platform partner as "ShipperHQ" in the second step of the registration process.
- Wait for the confirmation email and follow the steps provided.
Register for StarTrack
- Follow steps above for Australia Post credentials, entering your StarTrack account number when registering for Shipping & Tracking APIs.
Register for Fastway Carrier Credentials
- Register here for your Fastway API Key.
- Create a Fastway account by contacting a local Fastway sales representative.
- Once approved, Fastway will provide you with a Production username and API key.
Steps To Add These Carriers
- Go to the Carriers page in the ShipperHQ dashboard.
- Click + New to add a new carrier.
- Select Live Rate Carrier.
- Search for and select the carrier you want to add.
- Name this carrier—this name will be what your customers see in the Checkout.
- Success! This carrier has now been added to your list of carriers in ShipperHQ.
- You may now proceed to Validate your Australian carrier (instructions are in the following section), or you can skip this step and choose to validate your carrier at another time. If you choose to skip validation, you can begin to configure your carrier’s settings right away.
Steps to Validate This Carrier
For your live rate carrier to access your live rates, you need to enter your carrier account credentials for the carrier and have them validated. Validation simply means that ShipperHQ could access the shipping account related to the credentials you entered and retrieve rates. If you skip validation after adding your new carrier, you will be reminded to add your credentials later.
- To validate, select Enter Credentials & Validate.
- Enter the Australia Post, Fastway, or StarTrack API information obtained from each Carrier.
- Click Continue when complete.
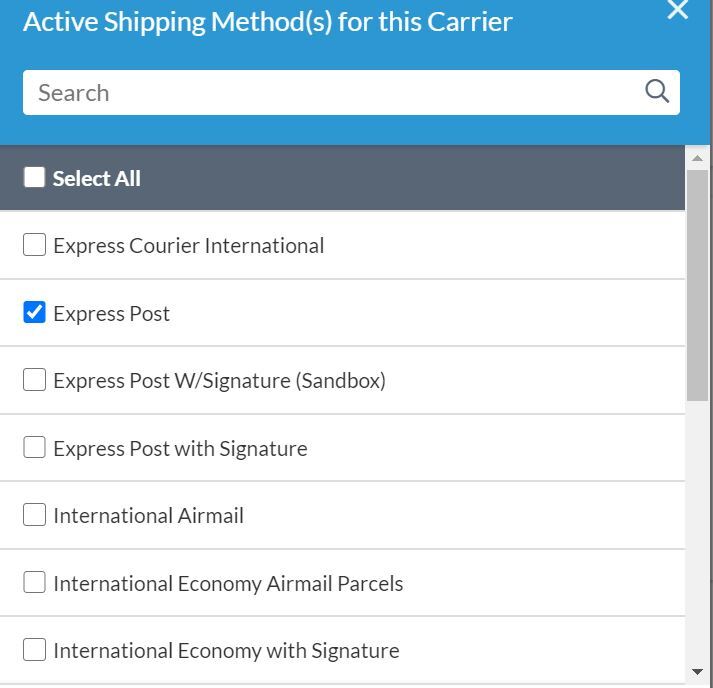
Special Notes for eParcel: Once you have added Australia Post eParcel, select the exact methods associated with your account regarding with Signature or without. ShipperHQ needs to match your contracted methods to provide rates successfully.  Additionally, Australia Post eParcel requires at least two of the dimensions (length, width, height) to be a minimum of 5 inches. Otherwise, the carrier will return an error. To pass dimensions to the carrier, the Dimensional Shipping Feature must be enabled. To use a default box, after enabling the Dimensional Shipping feature, create a new box of 5x5x0 with no maximum weight. Next, navigate back to the eParcel carrier and, under Package Settings, set the "Default Packing Box" to the newly-created box. This will meet the minimum dimensions for all products, regardless of whether the products have dimensions.
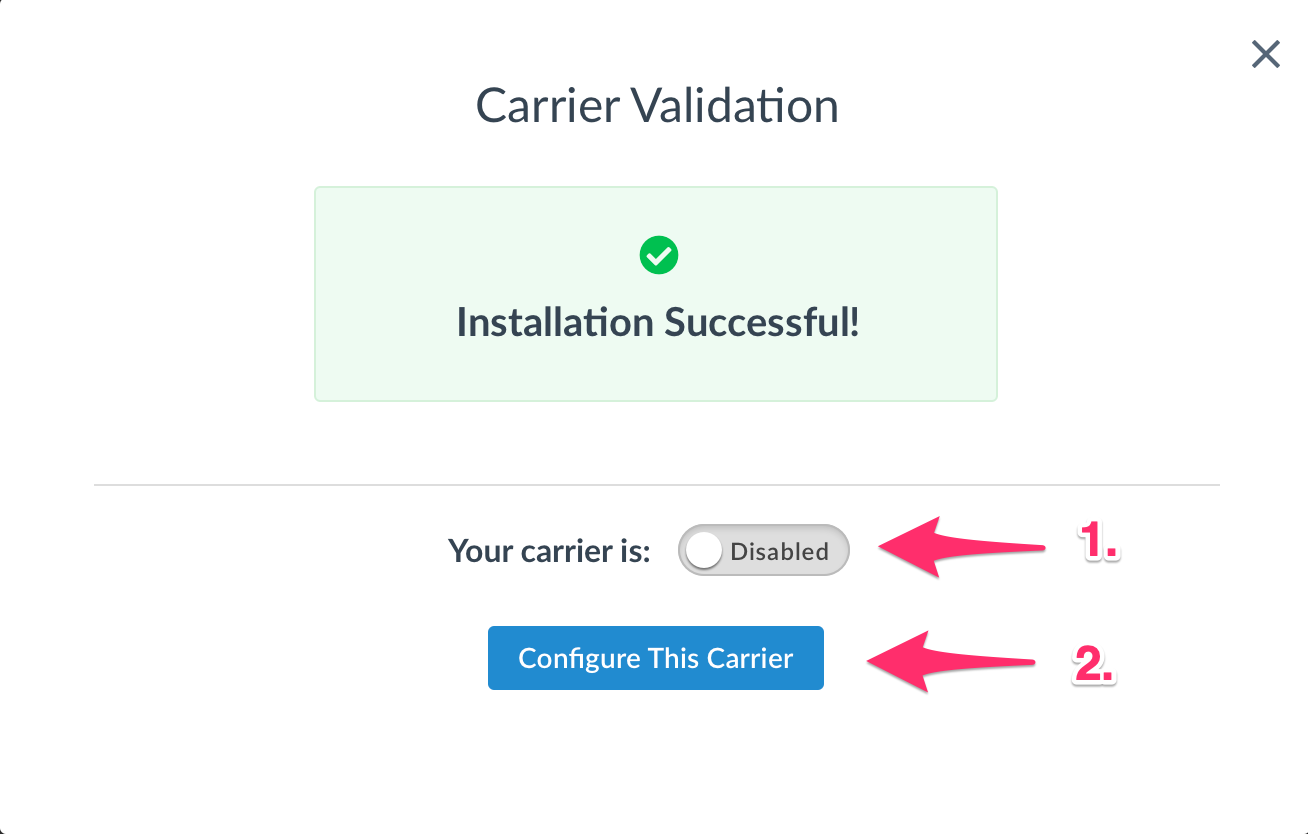
- If validation is successful, you will be presented with:
- The option to enable your carrier immediately. Enabling your carrier at this time will turn its rates on immediately, even before you have made any configuration adjustments.
- Begin to configure. Continuing with this button will take you to the carrier’s configuration page. You can also enable the carrier from this page once you have saved your settings.

-
Alternatively, if validation fails, see our troubleshooting section below for help. Also, remember, you can skip your validation for now and continue to configure your carrier. The credentials that you have already entered will be saved and you will be reminded later to validate your carrier.
Troubleshooting
Your carrier can be installed and configured but not validated. Successful validation depends on the accurate entry of the account information required by each carrier. If you do not have the correct information, you will not be able to validate your carrier and receive live rates.