Overview
Customer Tags in Shopify are a powerful way to segment your customers. With ShipperHQ, you can now use these tags to customize the shipping options and rates you offer to different groups of customers. Whether you cater to B2B, B2C, or various tiers of buyers, you can apply shipping rule logic to meet your needs more effectively.
Table of ContentsRequirements
- Available on the ShipperHQ Standard, Advanced, and Enterprise plan tiers.
- Available for standard checkout as well as ShipperHQ Enhanced Checkout
- Access must be enabled on your ShipperHQ account by the ShipperHQ team. Contact us to request access
Note: Shopify Customer Tag Support is only compatible with native Shopify “Add to Cart” buttons, on Product Page. Third-party or custom “Add to Cart” solutions are not supported. If a non-Shopify button is used, we cannot guarantee that Customer Tag support will function correctly and are unable to provide troubleshooting in such cases.
Steps to Enable in ShipperHQ
- Login to your ShipperHQ Account.
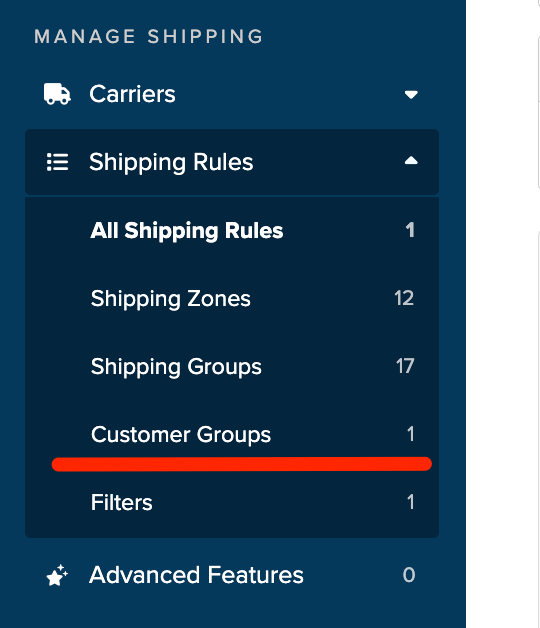
- Once redirected to your ShipperHQ account, locate the Shipping Rules link on the left navigation menu and click to enter.

- From here, locate the Settings link in the upper right corner of the page. This is where you enable the advanced rule setting to include Customer Groups as a rule condition.

- Locate the field for Customer Groups and set this to Yes. Then click Apply to complete this process.

- Add Customer Groups in ShipperHQ.
- Once completed, you can create shipping rules using customer tags in Shopify, mapped to customer groups within ShipperHQ.
Please see our guide for using ShipperHQ Customer Groups for details on setting up rules and editing or managing customer group settings.
Additional Notes
- Initial support for preconfigured customer groups designated as "Logged in" (a registered user) and "Not logged in" (guest) groups is available by default.
- If you are currently using the Customer Groups Support App, it is still supported. If you are experiencing issues related to Customer Groups while using the Customer Groups Support App block, we recommend updating to the Enhanced Checkout Sync block to determine whether this resolves the issue.