Overview
This document outlines the process to connect your GLS US (formerly GSO or Golden State Overnight) account to ShipperHQ to obtain live rates associated with your GLS US account.
This document covers connecting your GLS US account to ShipperHQ. For information on connecting GLS Canada to your ShipperHQ account, see How to Set Up GLS Canada.
Requirements
Before you begin, please ensure you have the following:
- Your GLS US billing account number
- Your GLS US User Name
- Your GLS US Password
- A Shipping Origin/Warehouse within the GLS US service area
If you don’t have an account with GLS US you will need to set up an account with GLS US before installing in ShipperHQ.
Adding GLS US
Now that you have your credentials ready, use the steps below to set up GLS US in ShipperHQ.
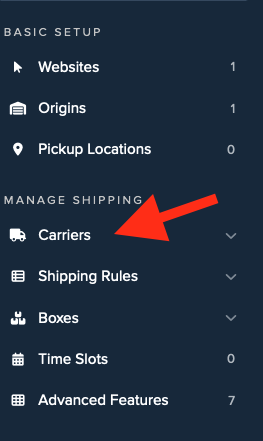
1. Log into your ShipperHQ account & navigate to the Carriers link on the left navigation menu.
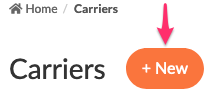
2. Click + New to add a new carrier
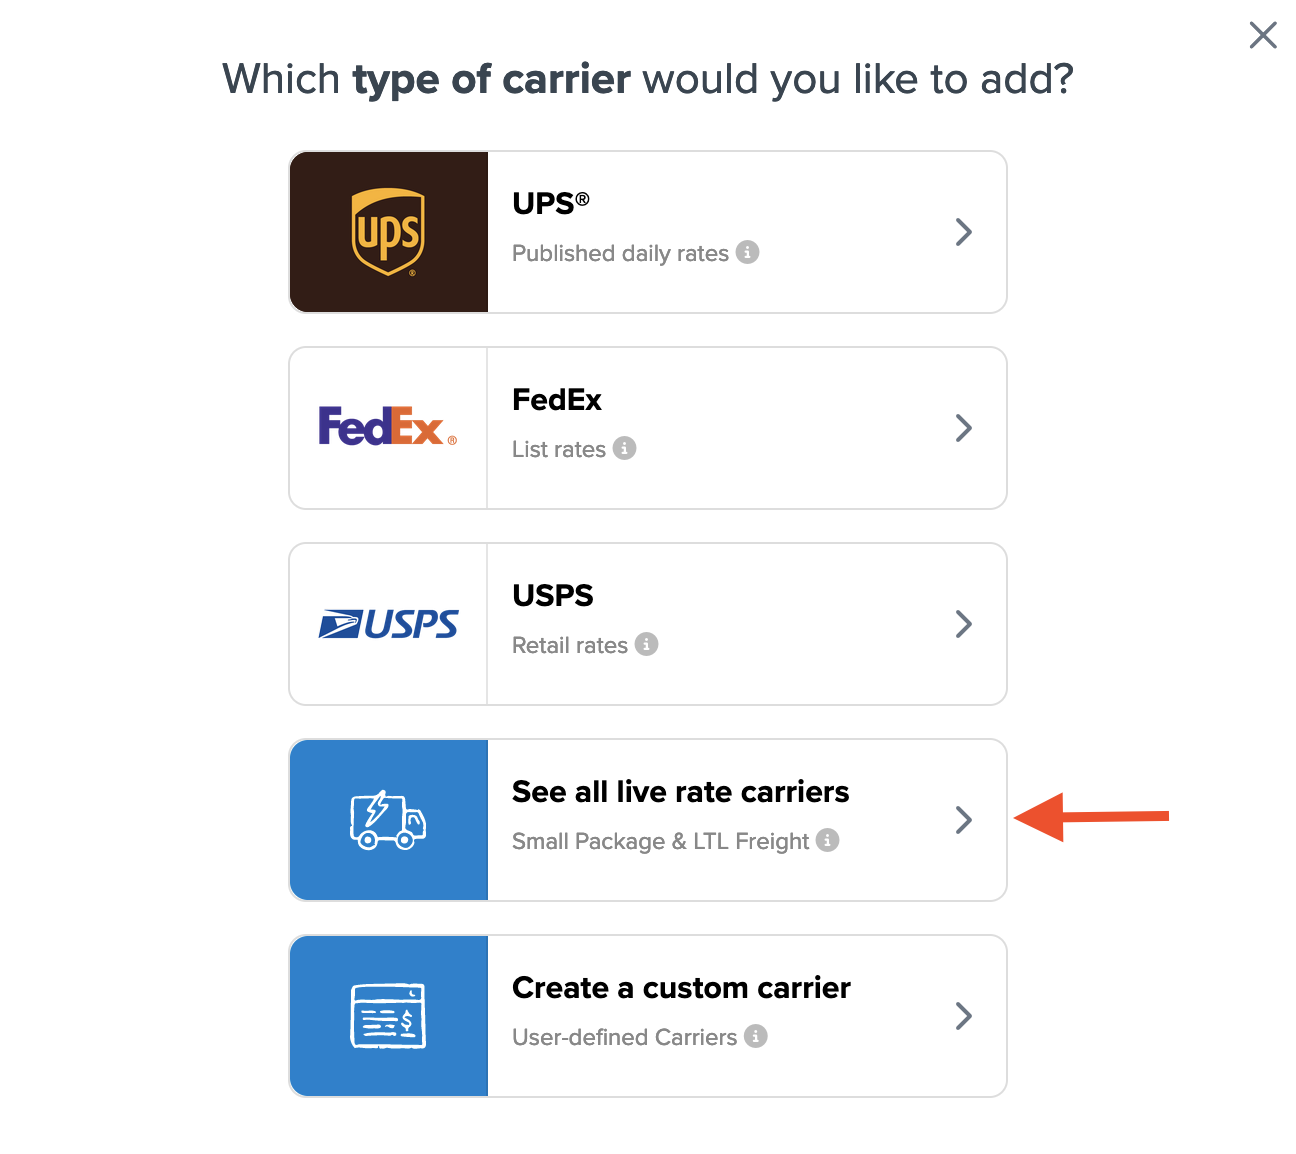
3. Choose the Live Rate Carrier option
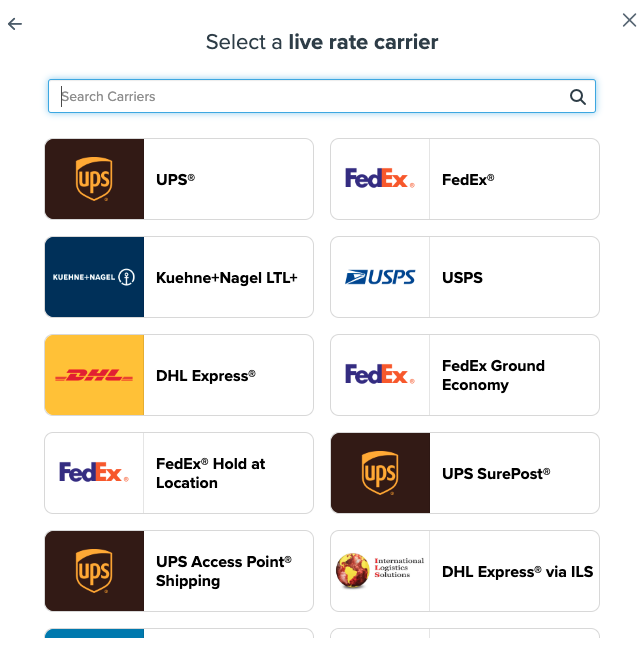
4. Use the Search Carriers option to search for GLS US or scroll down to find GLS US from the list of available carriers
5. Click to continue in connecting your carrier account to ShipperHQ.
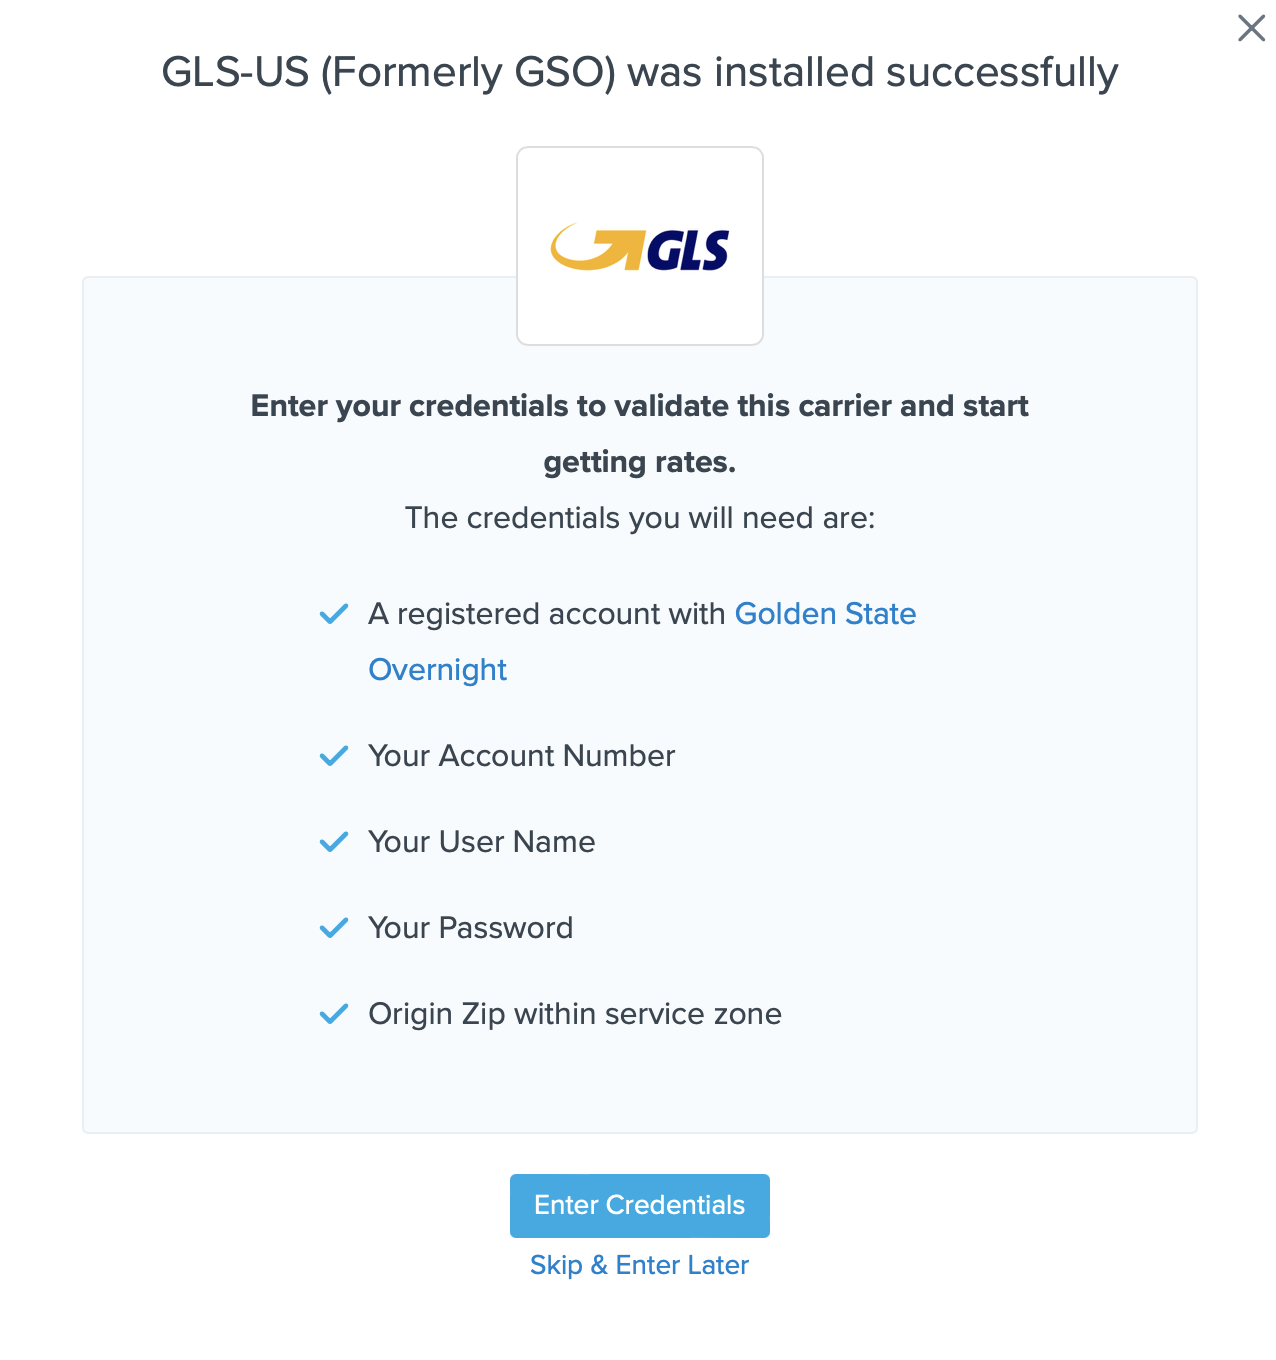
You are also reminded to add your credentials if you choose to skip the validation process. This validation is necessary for ShipperHQ to access your shipping account and rates.
Steps to Validate This Carrier
1. Enter the following credentials provided by GLS US
- GLS US User Name
- GLS US Password
- GLS US Account Number
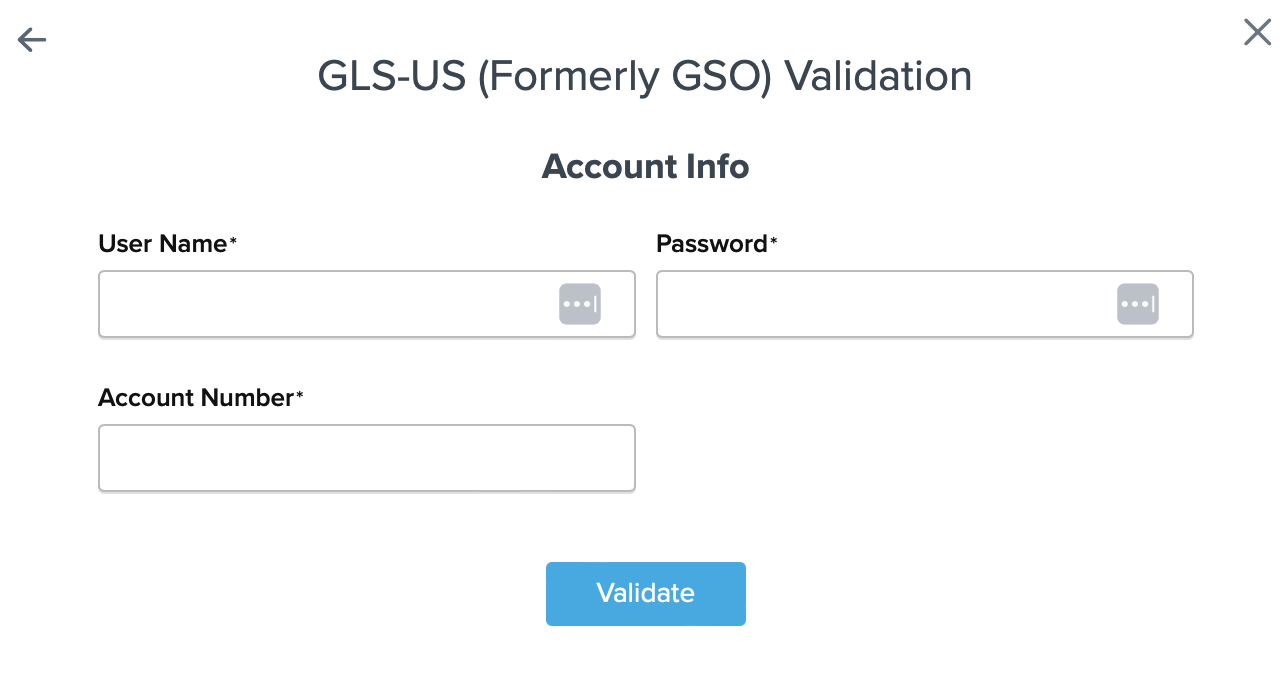
2. Once these details have been entered, blick the Validate button to complete the validation process.
If validation is successful, click the toggle button to enable the GLS US carrier.
3. Click the Configure This Carrier button if the validation process was successful.
4. Edit any settings for this carrier then click Save to complete the setup.
5. Your GLS US carrier is now enabled and ready for configuration.
Troubleshooting
Your carrier can be installed and configured, but not validated. Successful validation depends on the accurate entry of the account information required by each carrier. If you do not have the correct information you will not be able to validate your carrier and receive live rates.