Overview
This doc with walk you through the initial setup for creating Small Package, Custom Rate and LTL Freight Carriers. Setting up a Carrier in ShipperHQ allows you to choose the shipping methods you want to show at checkout and manipulate these options.
An Introduction to Carriers
This is a short video to introduce you to how carriers work and how you add them to your configuration in ShipperHQ.
Types of Carriers
- Live Rate Carriers – Get real-time carrier-calculated rates from your carrier accounts using your credentials
- Small Package Carriers like UPS, FedEx, USPS, Australia Post, DHL, etc
- LTL (Less than Truckload) Freight Carriers and 3PLs like Cerasis, TForce Freight or YRC
- Custom Rate Carriers – Allow you to define your own delivery rates or pickup options available during checkout.
- Custom-rate carriers like free shipping, table rates, or flat rates
- Special carriers like In-Store Pickup
Adding a New Carrier
Adding a carrier (live or custom) from the Carriers page
- Navigate to “Carriers” from the ShipperHQ Dashboard using the left-hand navigation
- Select “+ New”

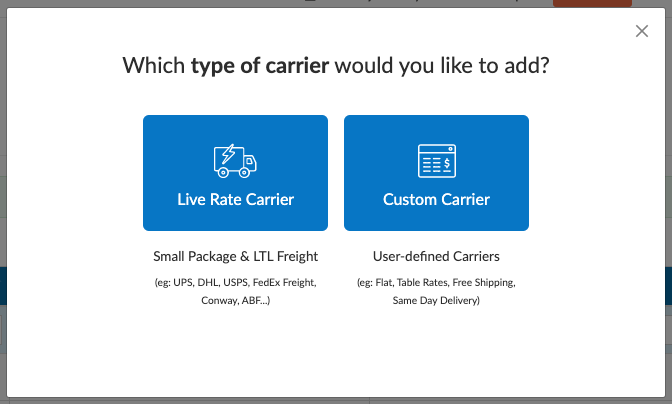
- Choose the type of carrier you would like to add.
There are two kinds of carriers:- Live Rate Carriers – Real-time carrier-calculated rates for 40+ small package and LTL freight carriers supported by ShipperHQ (to install LTL freight carriers you will be prompted to enable the LTL advanced feature if you haven’t already)
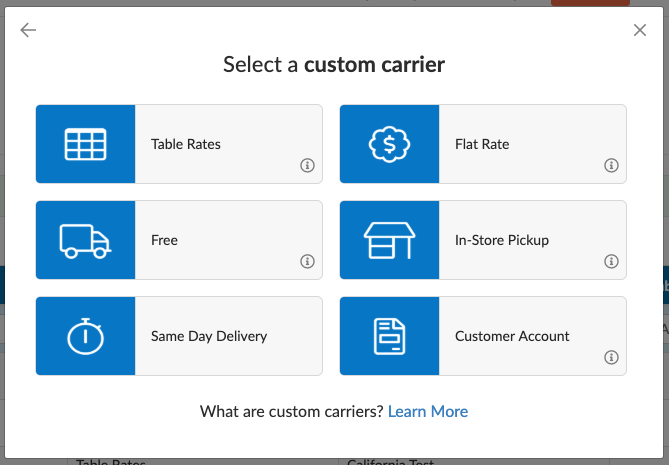
- Custom Rate Carrier – User-defined rates with options for Table Rates, Flat Rates, Free Shipping, Same Day Delivery, and Customer Accounts
- Select your carrier.
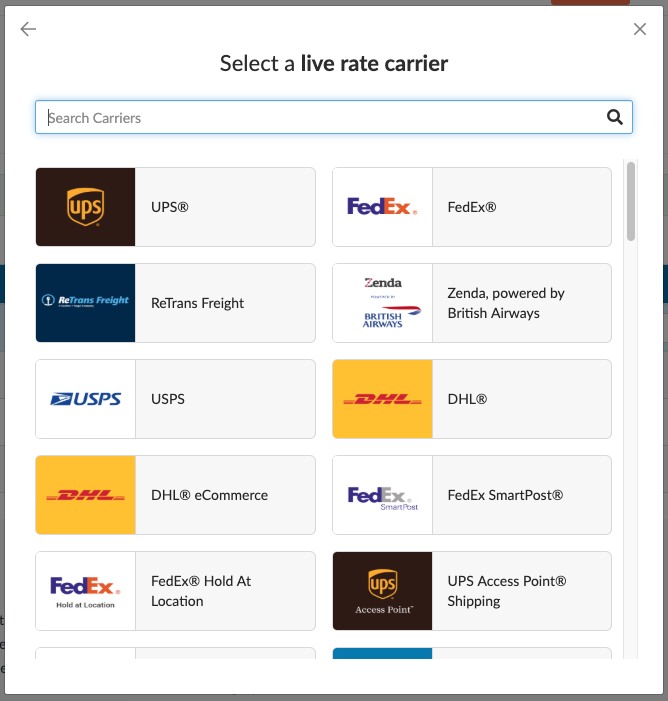
- If you select Live Rate Carrier, you will be presented with a list of carriers that ShipperHQ has integrations with. You will still be required to use your own account credentials for these carriers in order to get rates, but for now, you just need to choose a carrier to add.
- If you select Custom Rate Carrier, you will be presented with a list of custom carrier types that you can self define
- If you select Live Rate Carrier, you will be presented with a list of carriers that ShipperHQ has integrations with. You will still be required to use your own account credentials for these carriers in order to get rates, but for now, you just need to choose a carrier to add.
- Name your carrier
Once you select either a Live Rate Carrier OR a Custom Rate Carrier, you will be asked to name your carrier. The name you set here will be the name that is displayed in the checkout to your customer. (You can also change this name at a later time when you are configuring your carrier.)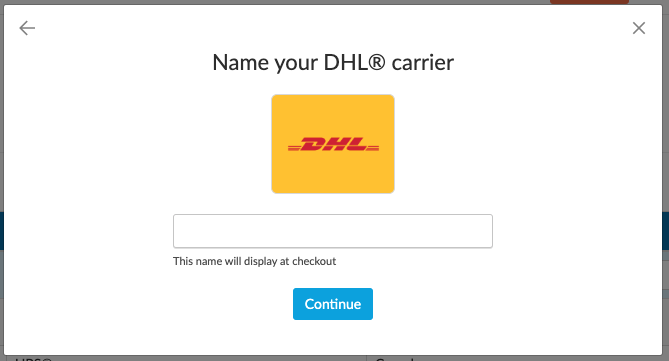
- Your carrier will be added successfully
After you have named your carrier it will be successfully added to your list of carriers. (Note: The carrier you have just added will initially be disabled until you are ready to turn it on for customers.)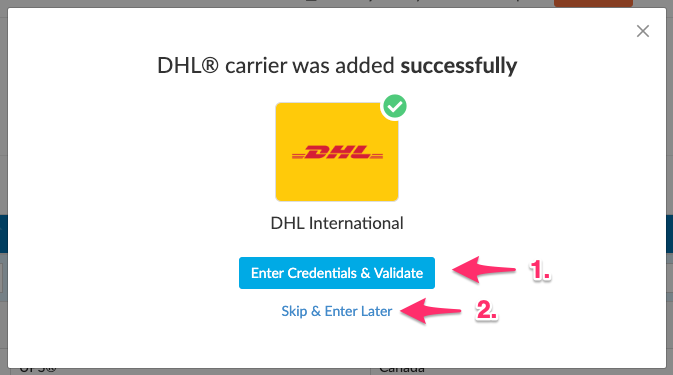
- Choose when to validate your carrier
If you have just added a Live Rate Carrier you will now have two options:- Enter Credentials & Validate: In order for ShipperHQ to access your negotiated live rates the carrier you just added you will need to enter your account credentials. This step allows you to continue with adding your carrier account credentials now. A list of the credentials and information you will need to validate your carrier will be displayed on the next screen if you choose to continue.
- Skip & Enter Later. If you do not have your carrier account credentials on hand you may choose to skip that step right now and head straight to configuring your carrier. You will be reminded later to enter your credentials to get rates.
Validating your live rate carrier
As mentioned above, in order for your live rate carrier to access your negotiated live rates you will need to enter your carrier account credentials and have them validated.
Validation, simply means that ShipperHQ was able to access the shipping account related to the credentials that you entered and retrieve rates.
If you choose to skip validation after adding your new carrier you will be reminded to add your credentials later.
You will see these reminders in the table that lists the carriers you have added:

And you will also see this reminder on the configuration page of the carrier itself:

Clicking either of these links will start the validation process.
- The first thing you will see is a list of all of the information and credentials you will need in order to validate this carrier.
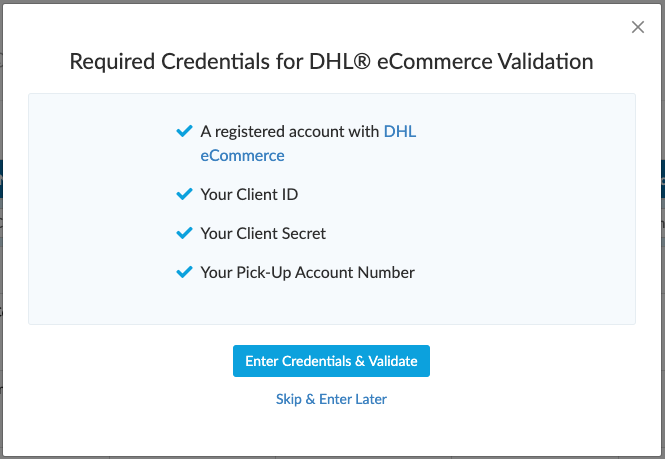
- If you have all of the information you can proceed to “Enter Credentials & Validate”. You will then see a place to enter those credentials and submit them for validation. Alternatively, if you do not have the credentials you need at this time you can always skip this process and enter them when you have them.
- Validation happens as soon as you submit your credentials and you will know immediately if your carrier was validated.
- If you are unable to validate your carrier or have questions, do not hesitate to contact us.
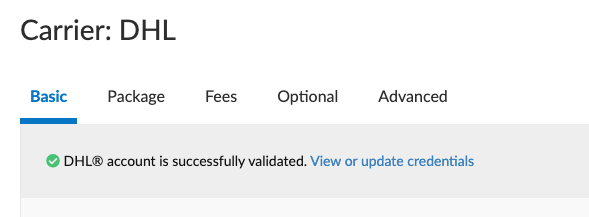
- Once your carrier has been validated you will see a message at the top of your carrier configuration page:
As well as in the Marketplace: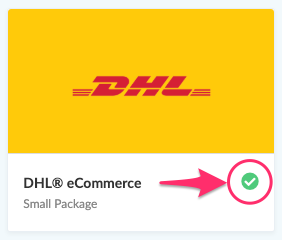
- Clicking on either of these links will allow you to view or update your credentials at any time.
Changing the Credentials for an Existing Carrier
You can switch to different credentials for an existing carrier from the Marketplace page.
- Navigate to the Marketplace page from theShipperHQ Dashboard using the left-hand navigation
- Select the carrier you whose credentials you would like to change
- Select “Replace with new credentials” to restart the validation process
- If you already have two instances of a carrier using different credentials, you will see a dropdown menu appear below the carrier name for selecting which set you would like to change.
Carrier Configuration
This contains a brief description of each settings panel for carriers.
- Basic
- Carrier Overview: Specify the Carrier Name, Title (displayed in Cart), which origins you want this carrier to apply to.
- Account Settings: Specific settings for your carrier connection; can differ by carrier. For live rate carriers, choose to offer negotiated rates for live rate carriers, choose unit of weight, and package type.
- Shipping Methods: Clarify what shipping methods you want to enable for this carrier (i.e. Ground, Next Day Air, etc). For Live Rate carriers, you can select which shipping methods you want enabled. For Custom carriers, you will need to add shipping methods or import a CSV file in the Manage Table Rates section.
- Package – Set the min/max weights for packages and shipments.
- Fees – Apply handling fees to your rates as Flat $ amount or %. Can be applied per order, per item or per package.
- Optional
- Restrictions – If necessary, you can restrict the carrier to only apply to a set of zones. You can also choose to show this carrier over the Freight Weight thresholds.
- Error Handling – Set an error message to display when no rates can be found (if supported)
- Free Shipping Promotions – Select shipping method Free Shipping should apply to for eCommerce platform free ship promotions (if supported). If you want to apply a rule for free shipping, this should be done under Shipping Rules
- Additional Charges – Set the Default Address Type for rating Residential or Commercial destinations
- Advanced – Only fill out this section if you are 100% sure. This is where you can specify min/max shipping fee and sort order, change internal carrier code, or round shipping costs.
- Rule Settings – Carrier specific settings that will affect how rules are applied. Tell ShipperHQ to read discounted prices, tax inclusive prices, or base currency prices. For some platforms, you will also be allowed to set volume multiplier for dimensional rating.
Next Steps
Now that you have created your desired carriers, you can move on to:
- Create Shipping Rules – set, surcharge, or override live shipping methods or custom carriers like table rate or flat rate carriers
- Setup Method Merging – merge different shipping rates together
- Dimensional – set specific options for how products are packed based on their individual attributes, combinations of items in the cart, differences between Carriers, etc.
Verify that your carriers and rules are working and see how they will display in your checkout right from the ShipperHQ dashboard.