Overview
This document outlines the process to set up Purolator in ShipperHQ to obtain rates associated with your Purolator account.
Requirements
Before you begin, please ensure you have the following:
- A registered corporate account with Purolator
- Your Purolator API Key
- Your Purolator API Key Password
- Your Purolator Account Number
- An existing Origin withing ShipperHQ
Steps to Register and Obtain Purolator Credentials
- Go to Purolator’s registration page.
- Select Open a Purolator Business Account.
- Complete the contact information.
- Navigate to your API settings or contact Purolator to acquire the necessary credentials detailed above.
Adding Purolator
Now that you have your credentials ready, use the steps below to set up Purolator in ShipperHQ.
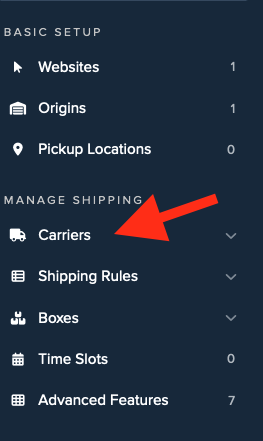
1. Log into your ShipperHQ account & navigate to the Carriers link on the left navigation menu.
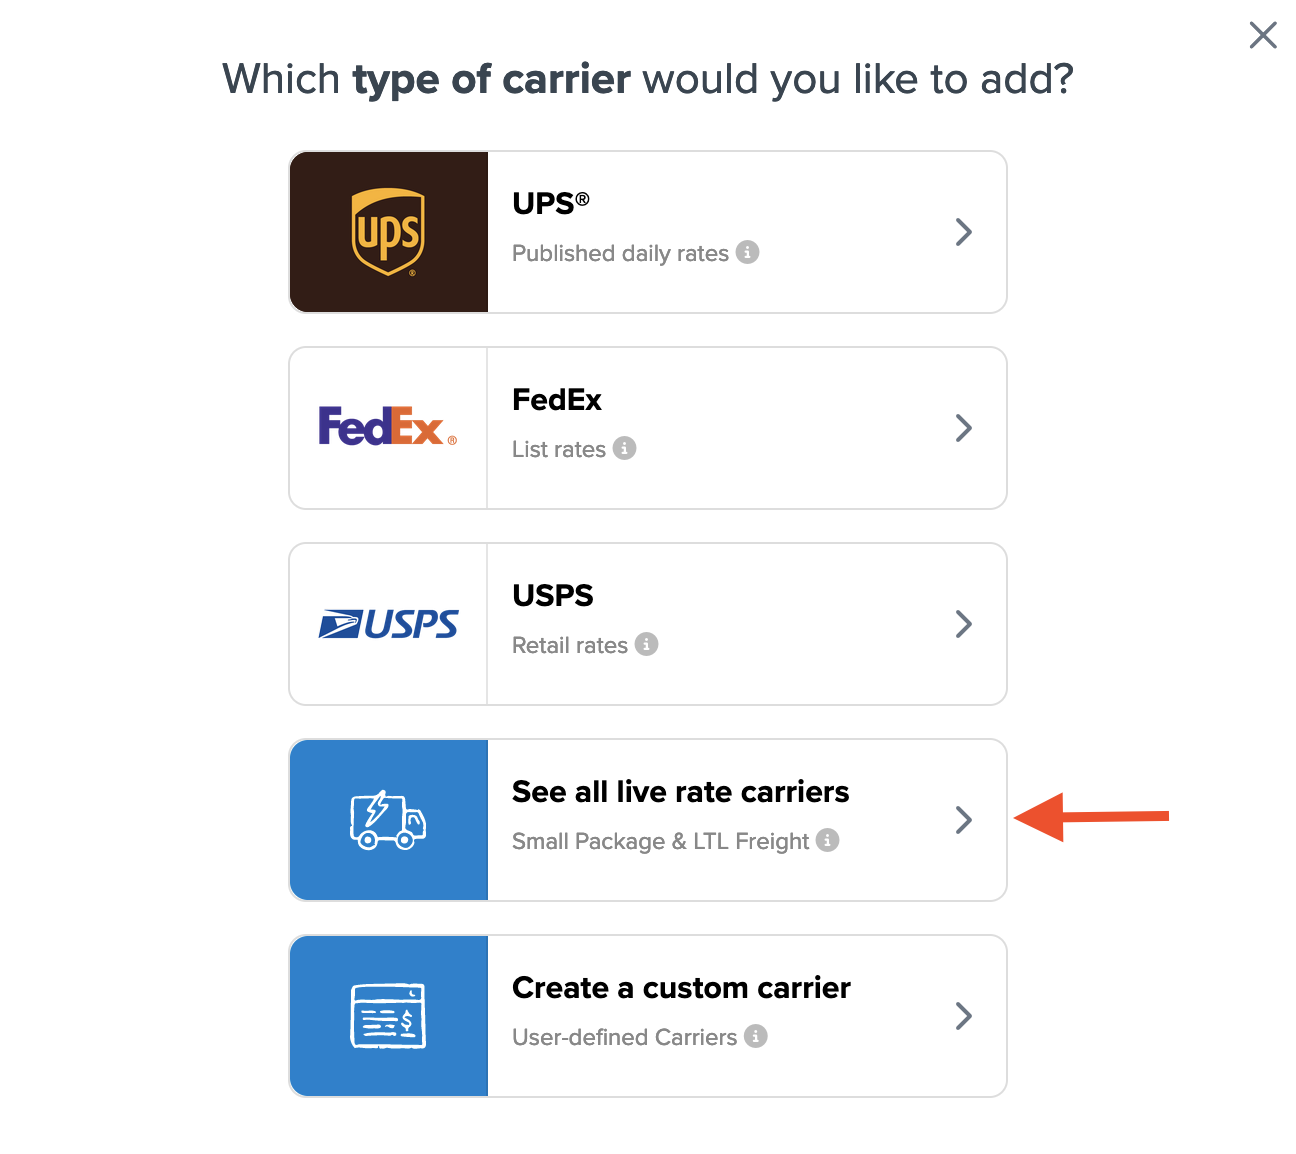
2. Click + New to add a new carrier

3. Choose the Live Rate Carrier option
4. Use the Search Carriers option to search for Purolator or scroll down to find Purolator from the list of available carriers
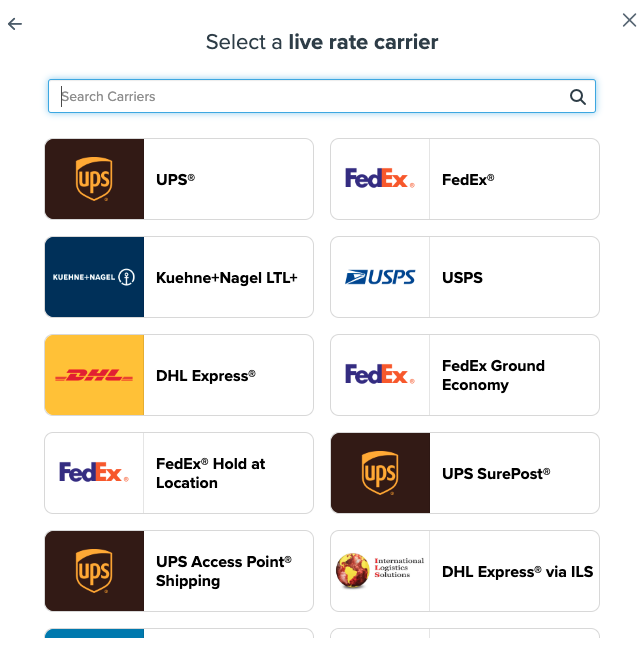
5. Click to continue in connecting your carrier account to ShipperHQ.
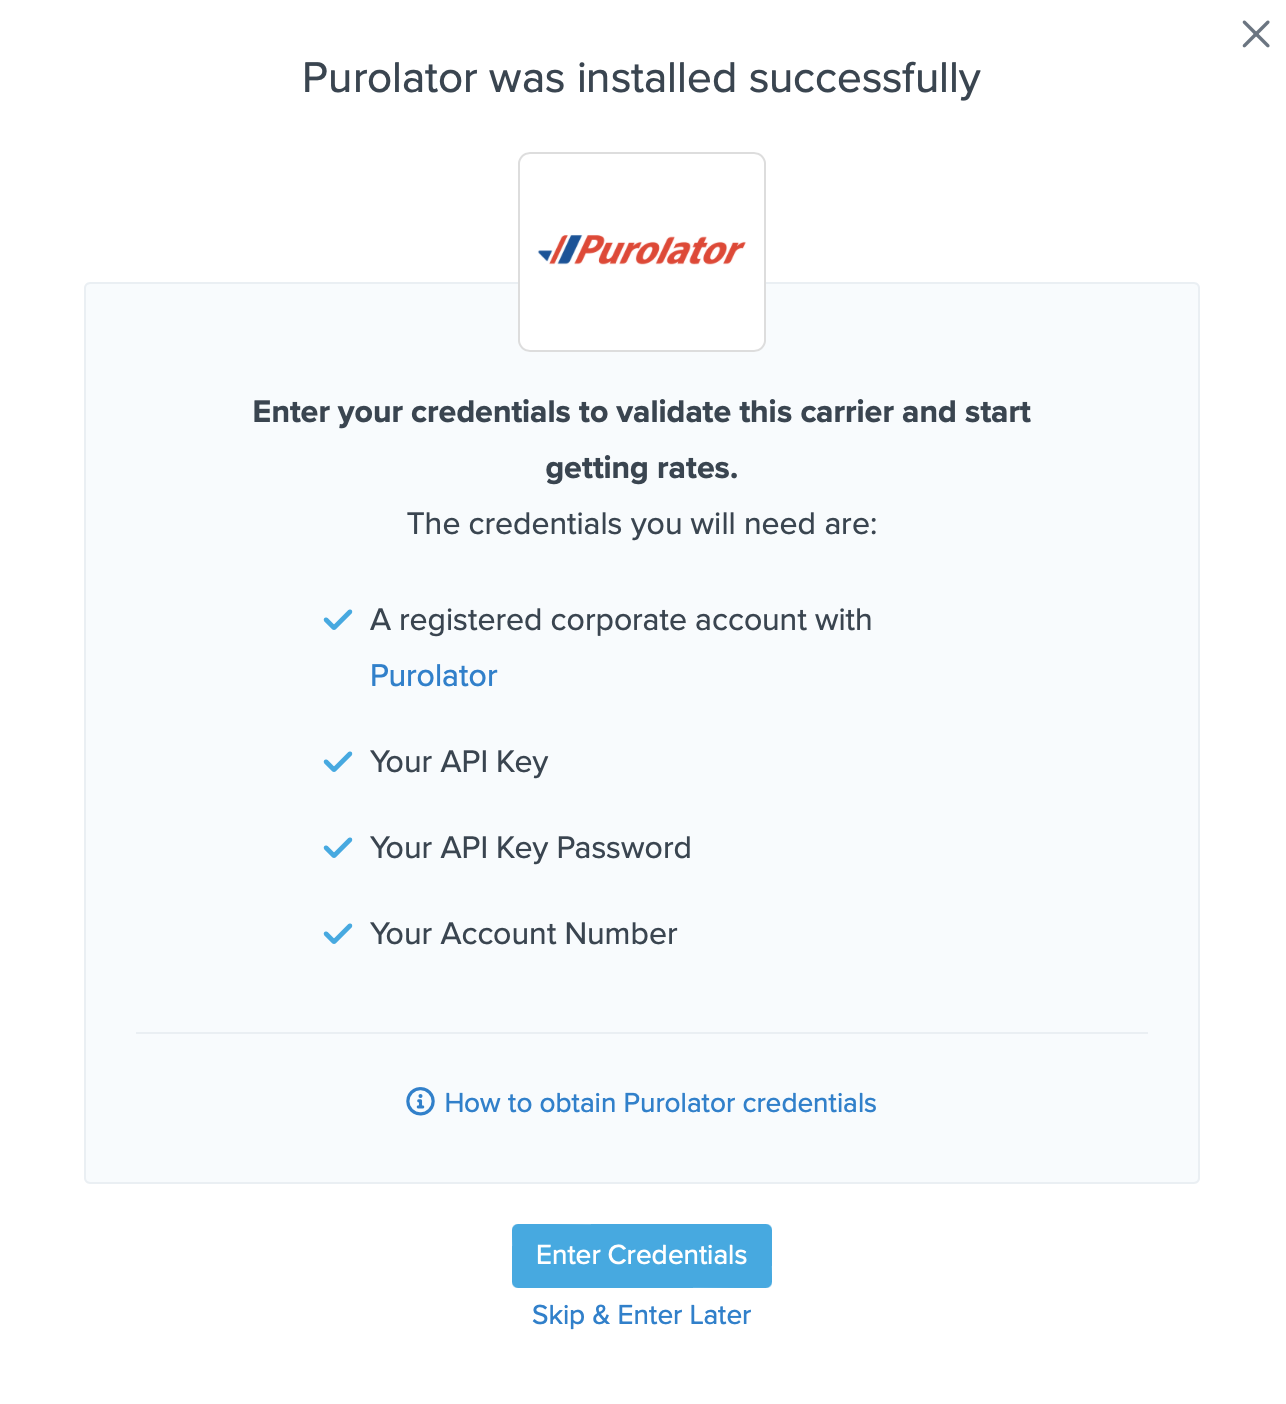
You are also reminded to add your credentials if you choose to skip the validation process. This validation is necessary for ShipperHQ to access your shipping account and rates.
Steps to Validate This Carrier
1. Enter the following credentials provided by Purolator
- Purolator API Key & API Password
- Purolator Account Number
- Payment Type (Shipper, Consignee, or Third-party)
- Pickup Method (Drop Off or Pre-Scheduled)
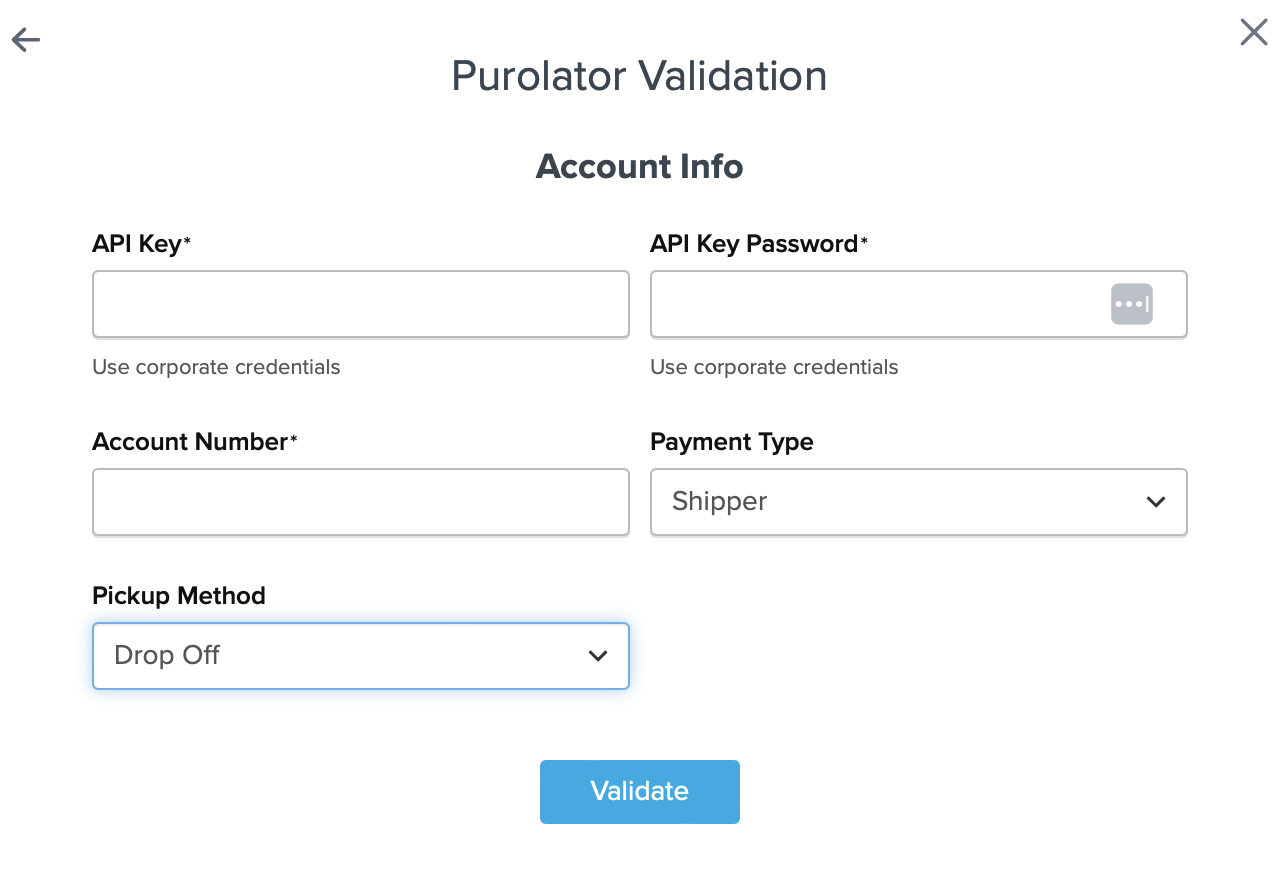
2. Once these details have been entered, blick the Validate button to complete the validation process.
If validation is successful, click the toggle button to enable the Purolator carrier.
3. Click the Configure This Carrier button if the validation process was successful.
4. Edit any settings for this carrier then click Save to complete the setup.
5. Your Purolator carrier is now enabled and ready for configuration.
Troubleshooting
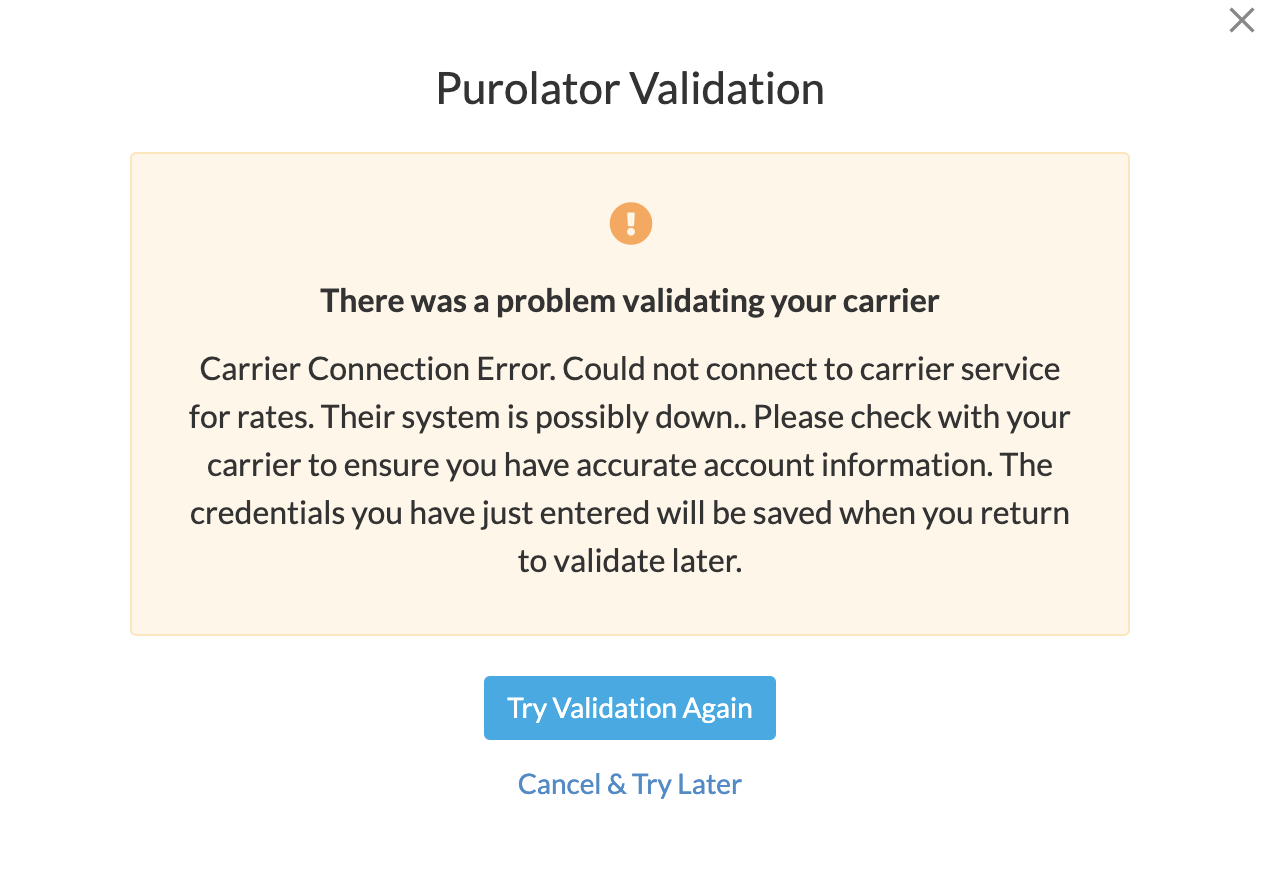
ShipperHQ will contact Purolator on your behalf and ask them to optimize your system in order to complete this service request fast enough for ShipperHQ standards.