Overview
This document covers how to obtain your Easyship API access token and how to add Easyship as a carrier to your ShipperHQ account.
The Easyship API access token is needed to connect directly to Easyship’s API to retrieve live shipping rates.
Requirements
1. To use Easyship with your ShipperHQ account, you will have to enable the Dimensional Packing advanced feature.
2.. An active Easyship account and API Token are also required to connect your account with ShipperHQ.
Follow the steps below to obtain & set-up the necessary credentials and add the Easyship carrier in ShipperHQ.
Register for Easyship API token
- You’ll need to go to the Easyship website then click either Login or Sign Up.
- You need to have an Easyship account to access live rates with ShipperHQ. If you do not have one, you can register by clicking Sign up.
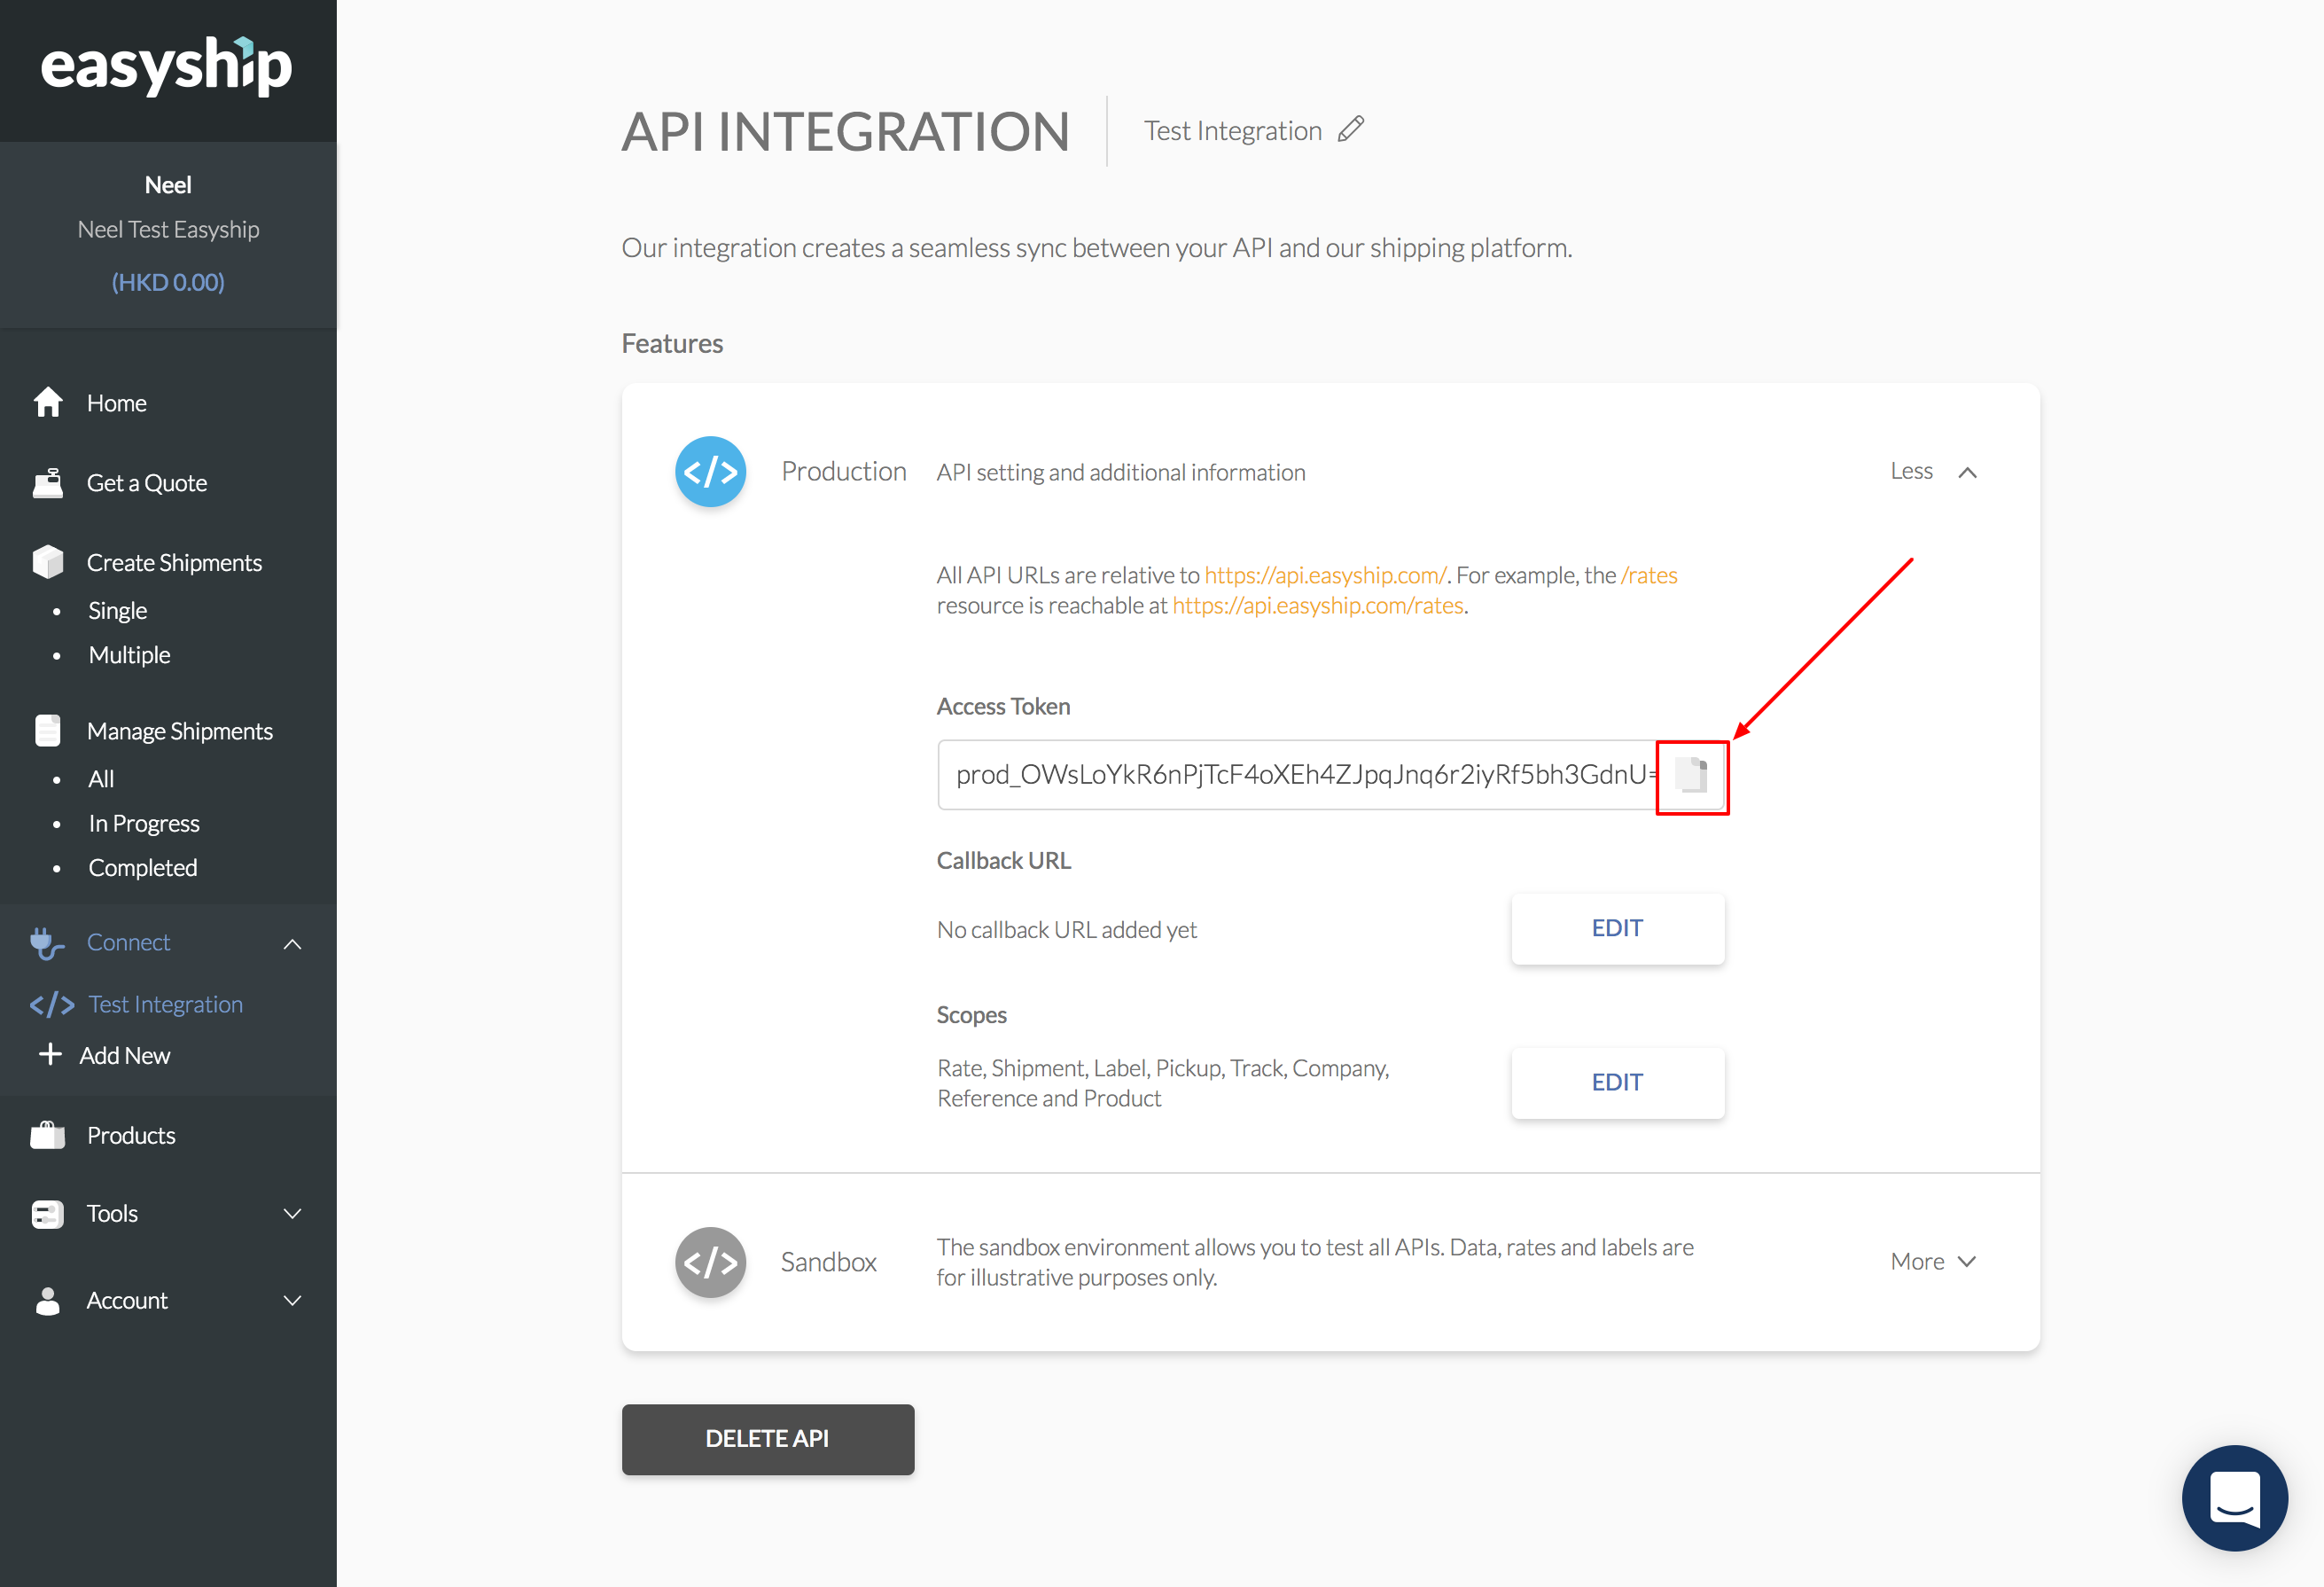
- On your Easyship dashboard, select Connect > Add New > API Integration, select Production and copy the Access Token
- Detailed instructions on how to generate an access token can be found on the Easyship help docs
Steps To Add This Carrier
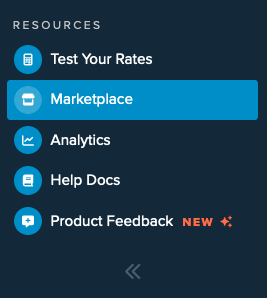
1. Using the left navigation menu in the ShipperHQ dashboard, select Marketplace.
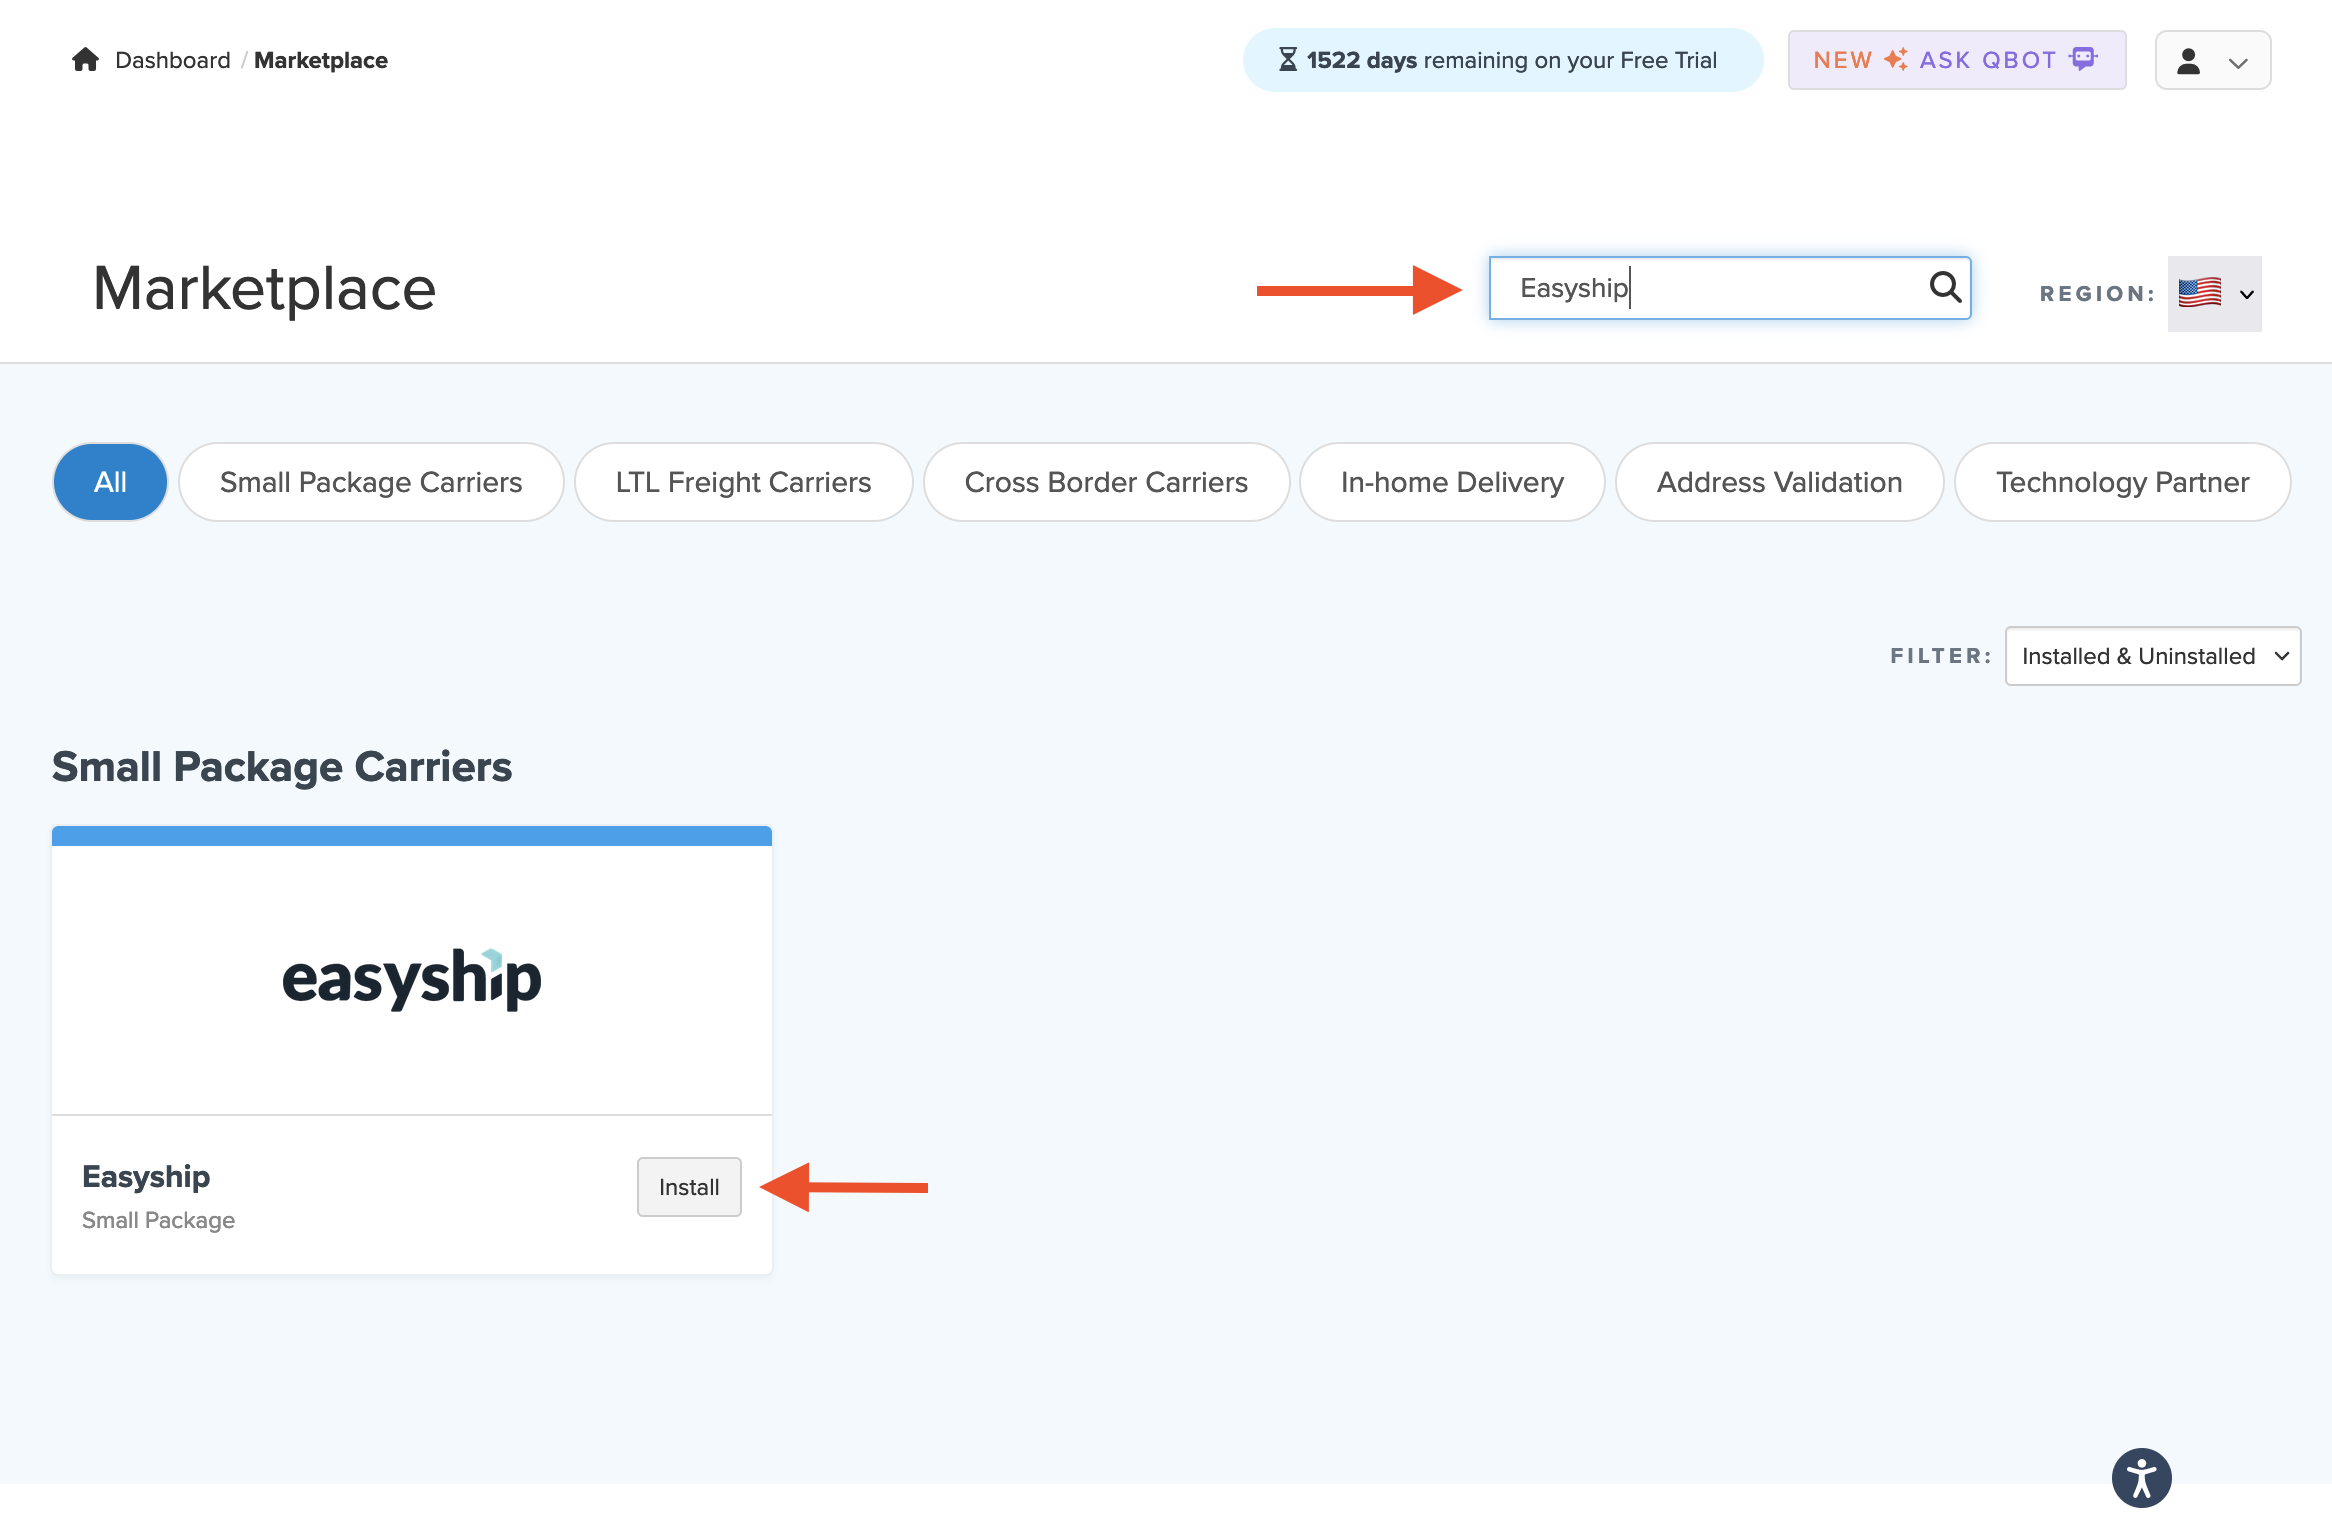
2. Using the search field in the upper right corner, search for Easyship to locate the carrier & select Install to being the setup process.
3. Once Install has been selected, the next screen presented will display the details needed to connect your account with ShipperHQ.
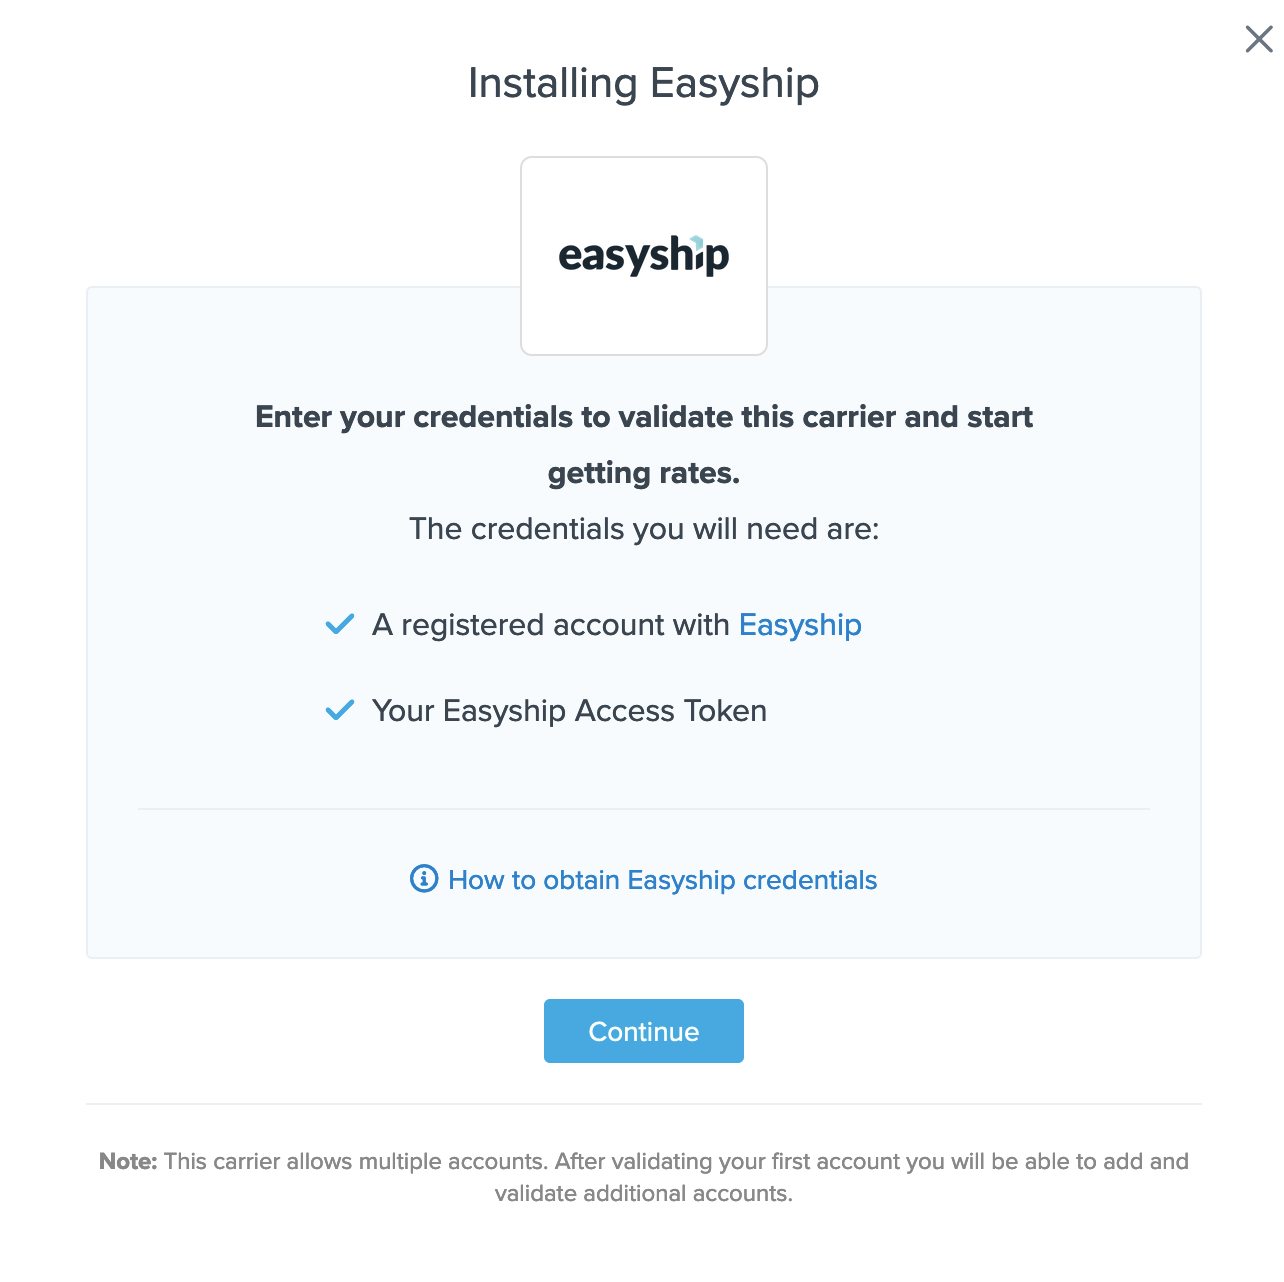
4. Select Continue to proceed. You will then be prompted to enter the credentials for your Easyship account.
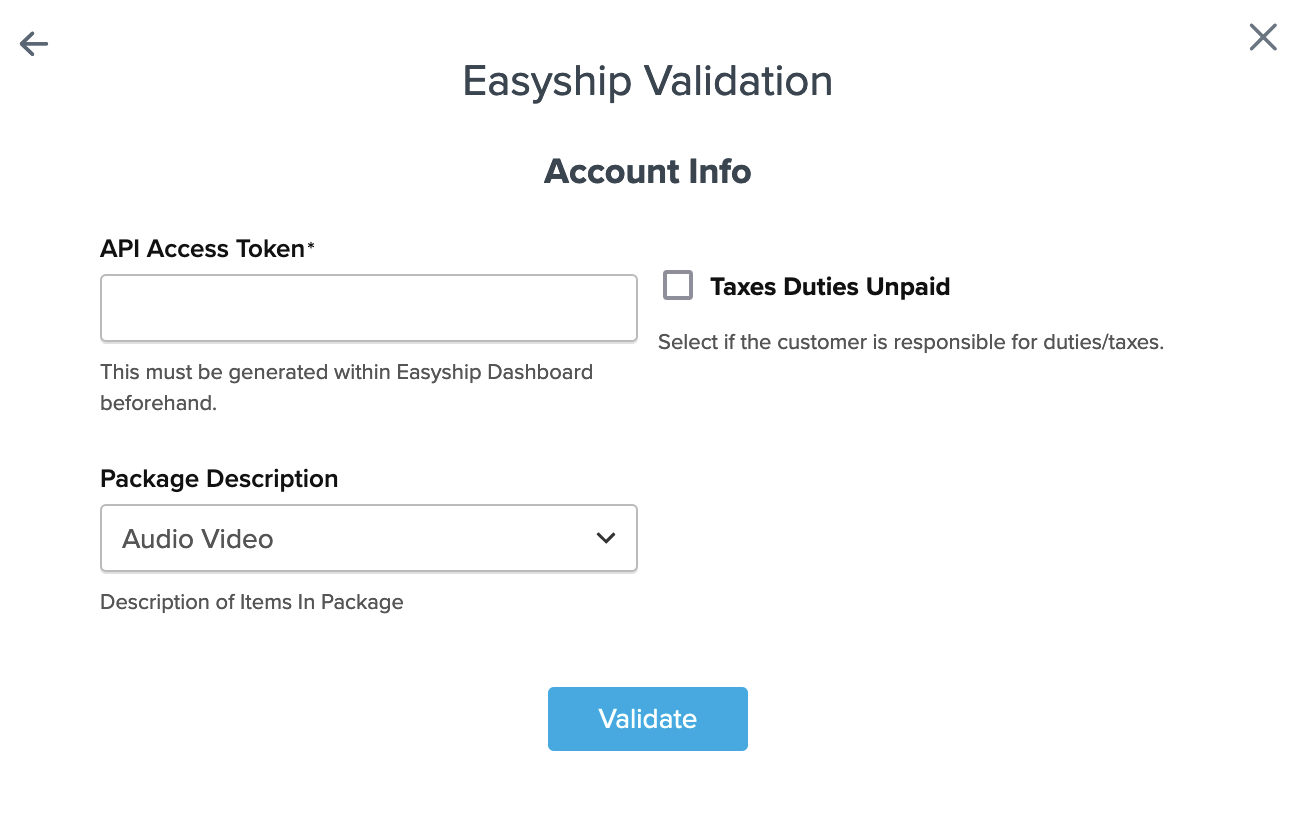
5. Once the Easyship API Access Token has been entered and the package description field is set to match your Easyship account, select Validate to complete this process.
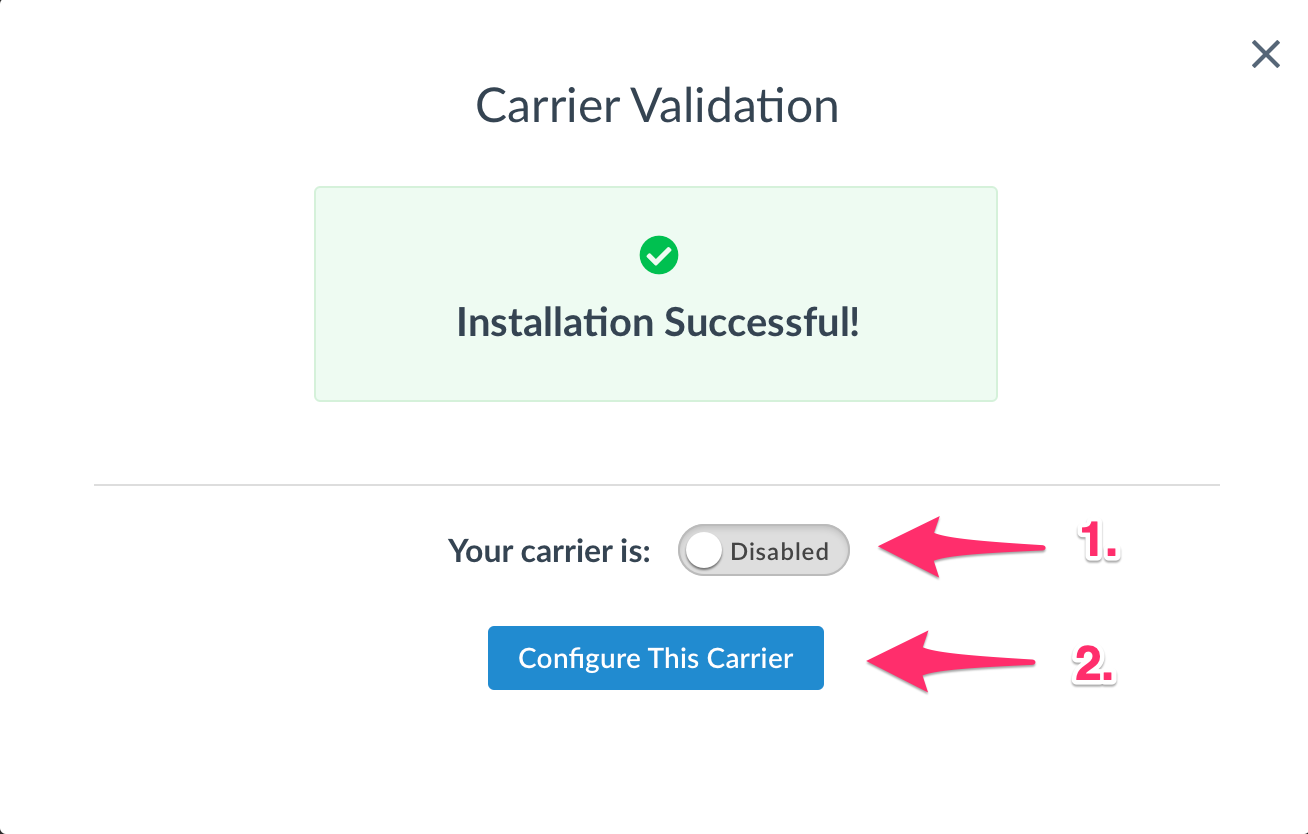
When the the installation is completed successfully, you can select the option to Configure this Carrier to update and edit the settings.
Configuring Easyship
After successful validation, or by skipping validation, you can continue to “Configure This Carrier.” Or, from the left-hand navigation bar, select Carriers, and then click on the name you’ve given Easyship to proceed.
The Basic tab Overview section will allow you to correct any of the default settings you’ve previously entered. Account Settings allows you to select the category of products you’ll be shipping in the “Product Description” dropdown, which you may have already entered during validation. This description will be provided for customs information. The list of Shipping Methods can also be edited on this tab.
The Package tab will allow you to determine the minimums and maximums for this particular carrier, as well as preferences for the carrier as a whole.
The next tab will allow you to establish Handling Fees by flat $ dollar amount or percentage and select whether this fee is applied to free shipping promotions as well.
Additional features and options can be selected on the Optional tab like restricting this carrier to specific zones, handling errors for this carrier, selecting a free shipping method and address type selector.