Please use the details below to install and connect your DSV Freight account in ShipperHQ.
Requirements
1. A registered account with DSV Freight.
Please ensure you have your DSV Freight Username & Password handy as these will be required to connect your account.
Please contact DSV Freight to create an account and to obtain your username and password.
2. Please ensure the LTL Freight Advanced Feature has been enabled within ShipperHQ.
Please see here for details on how to enable LTL Freight.
Carrier Installation
1. From your ShipperHQ dashboard, locate the Carriers link on the left navigation and click to enter.
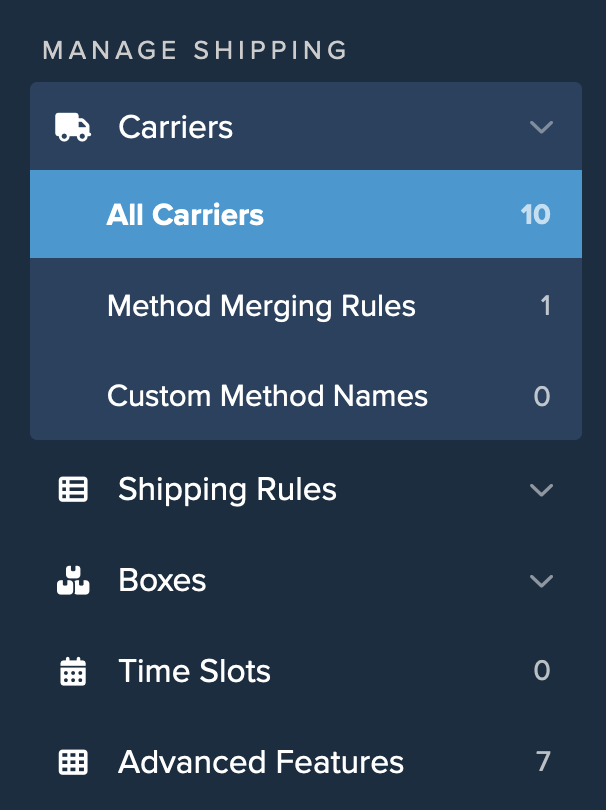
2. Select +New to create a new carrier.

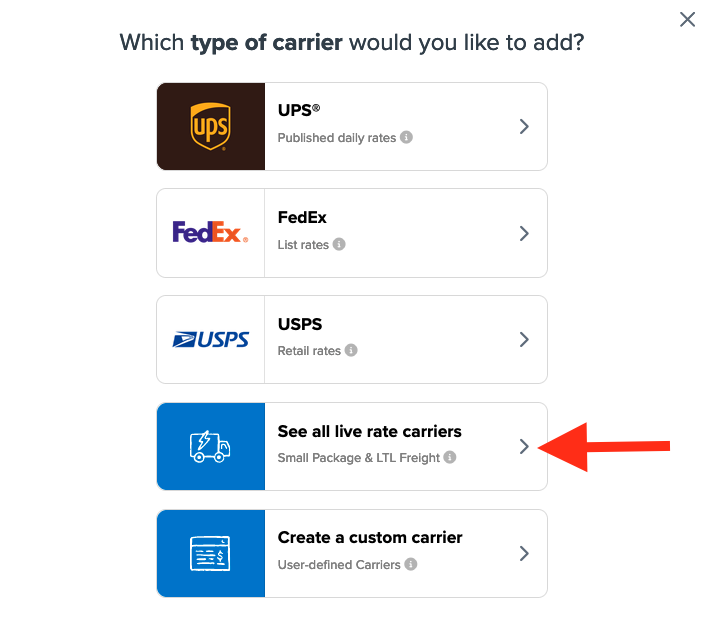
3. Chose the option to See All Live Rate Carriers.
4. Use the search field to enter “DSV” to quickly locate and install this carrier.
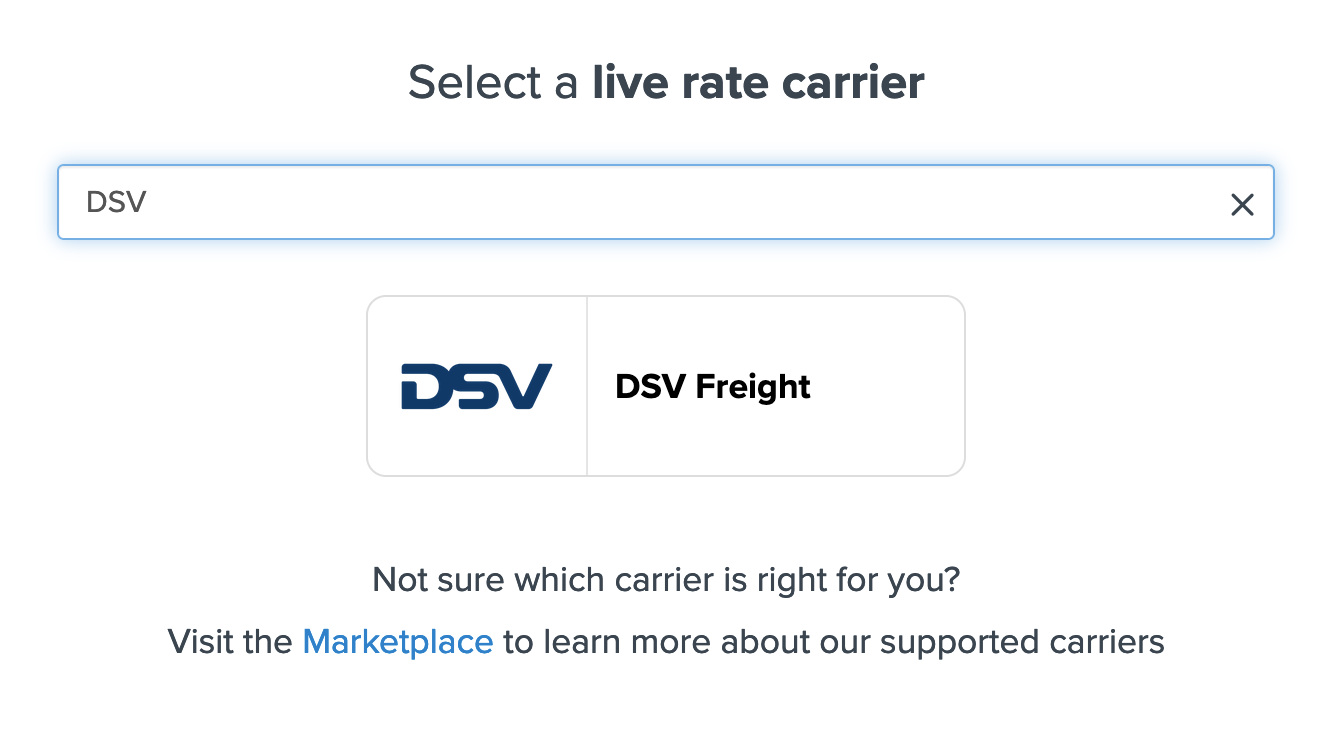
5. Click on the DSV Freight Icon and proceed to the next screen.
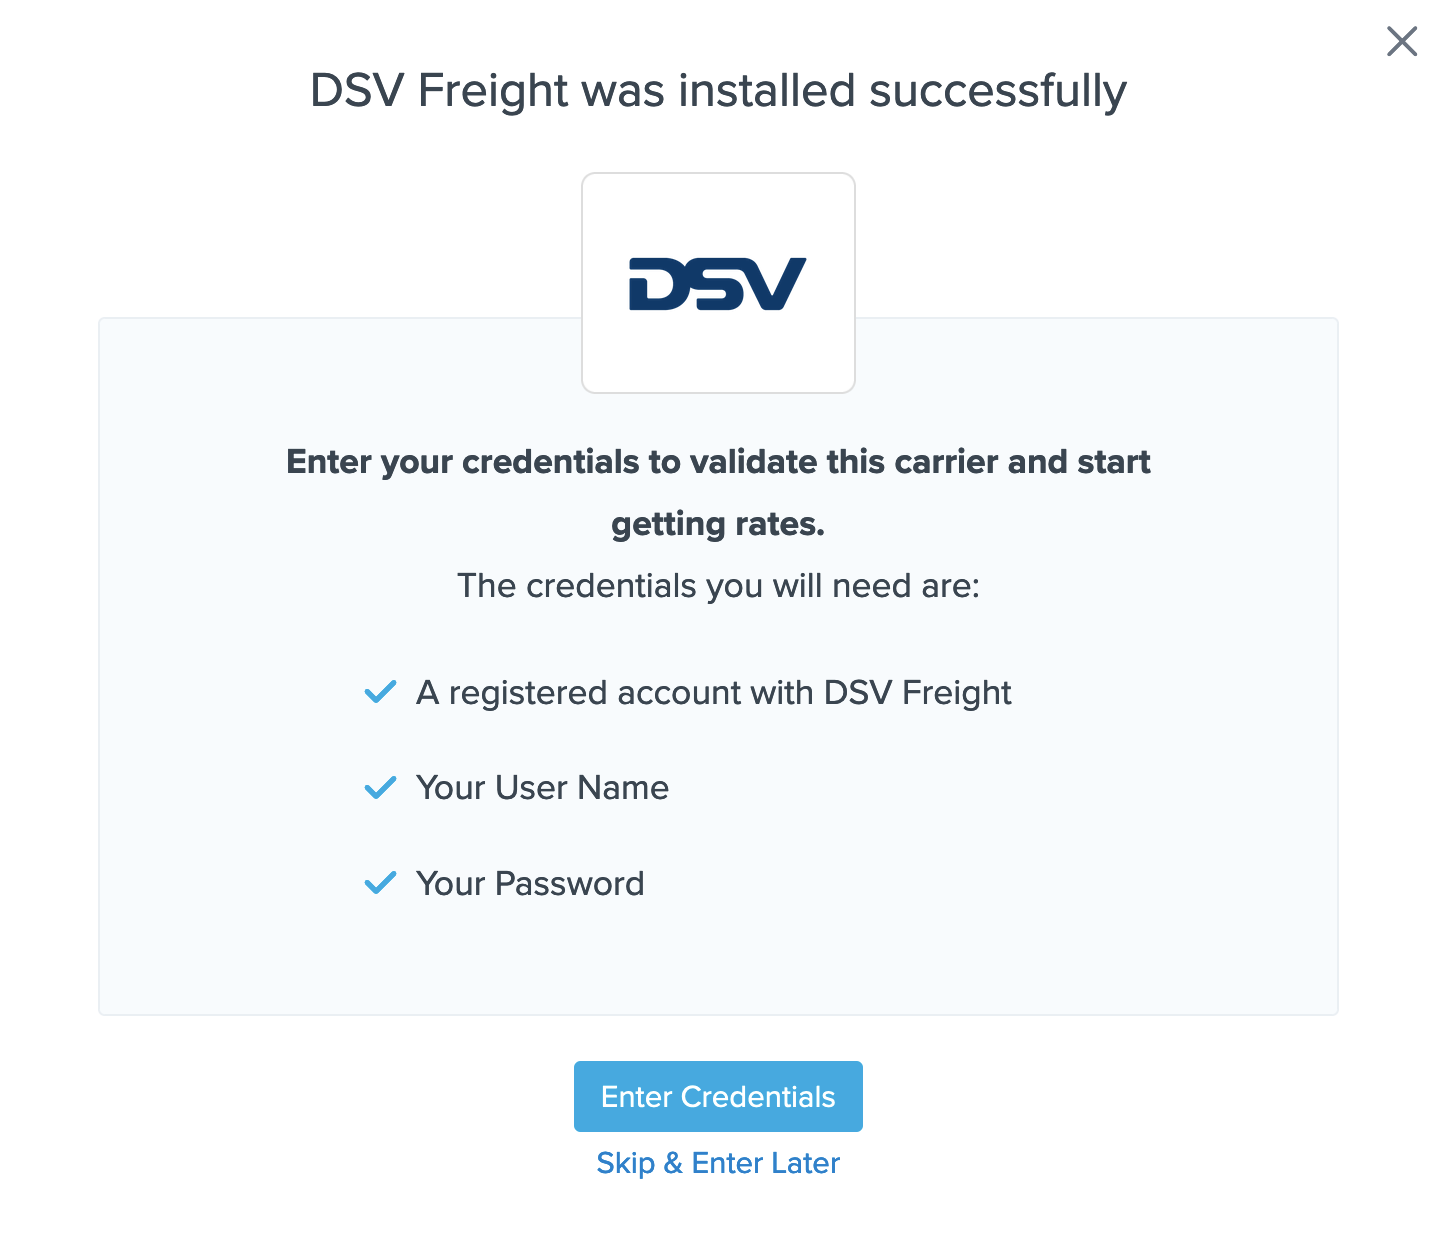
6. Select the option to Enter Credentials if you have them already. You can also chose to Skip and Enter Later if you have not yet obtained the necessary username & password.
7. Enter your DSV Freight username and password when prompted on the next screen to complete the setup of DSV Freight in your ShipperHQ account.
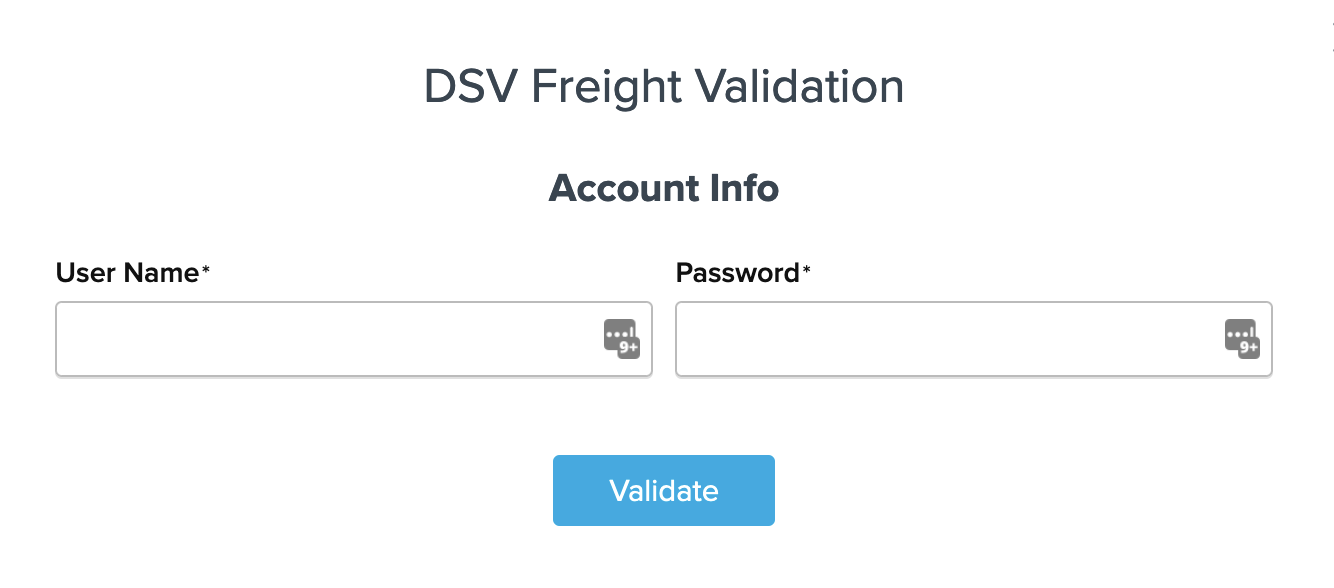
Conclusion
Once the username and password have been entered, ShipperHQ will pass the info in to DSV Freight’s system to confirm the account information is correct.
If these details come back as accurate, you will receive a notification that the carrier has been installed successfully.
If you encounter an error in attempting to validate your account access, double check that all details entered are correct and all characters and CASE match what has been provided by DSV Freight.
If validation continues to return errors, please feel free to Contact ShipperHQ Support or DSV Freight for further assistance.