Overview
This document will guide you through adding a Canada Post carrier to your ShipperHQ account. You'll learn how to create a Canada Post API Username and Password. These steps will show you where to obtain them and how to use them to connect ShipperHQ directly to Canada Post's API for live shipping rates.
Table of Contents- Overview
- Requirements
- Register for Canada Post API credentials
- Adding Canada Post
- Steps to Validate This Carrier
- Troubleshooting
Requirements
Follow these directions to obtain the necessary credentials and add Canada Post as a carrier in ShipperHQ.
Note: ShipperHQ requests rates from Canada Post only if your product's origin is in Canada.
Register for Canada Post API credentials
- Visit the Canada Post Developer Program website and click "Sign in" or "Join NOW".
- You need a Canada Post account to pull live rates with ShipperHQ. If you don't have one, register by clicking "Sign up". Registration is free.
- If accessing the Developer Program for the first time, review the License Agreement and click "Agree and Continue".
- Follow Canada Post's prompts to obtain your credentials.
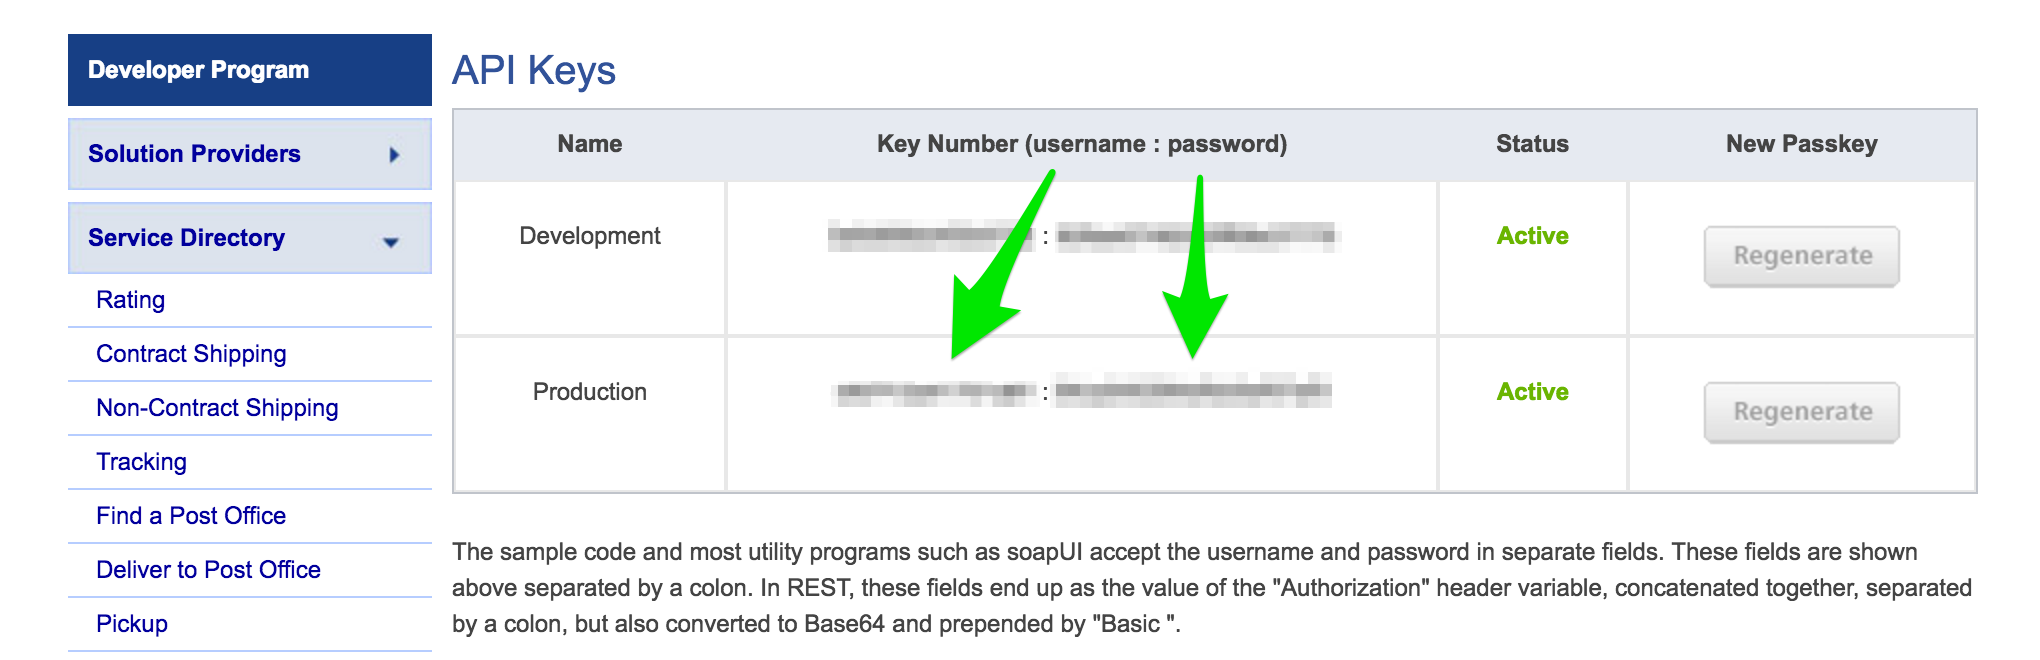
- Click the “Developer program” button, located at the top of the left-hand column, to find your "API keys".
- Copy these keys for use during carrier setup.
Adding Canada Post
With your credentials ready, follow these steps to set up Canada Post in ShipperHQ.
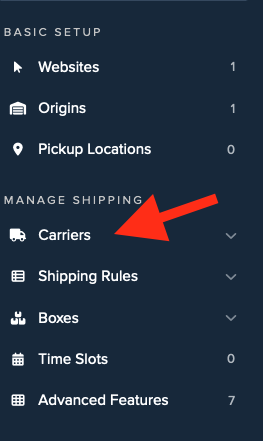
- Log into your ShipperHQ account and click the Carriers link in the left navigation menu.
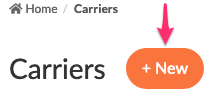
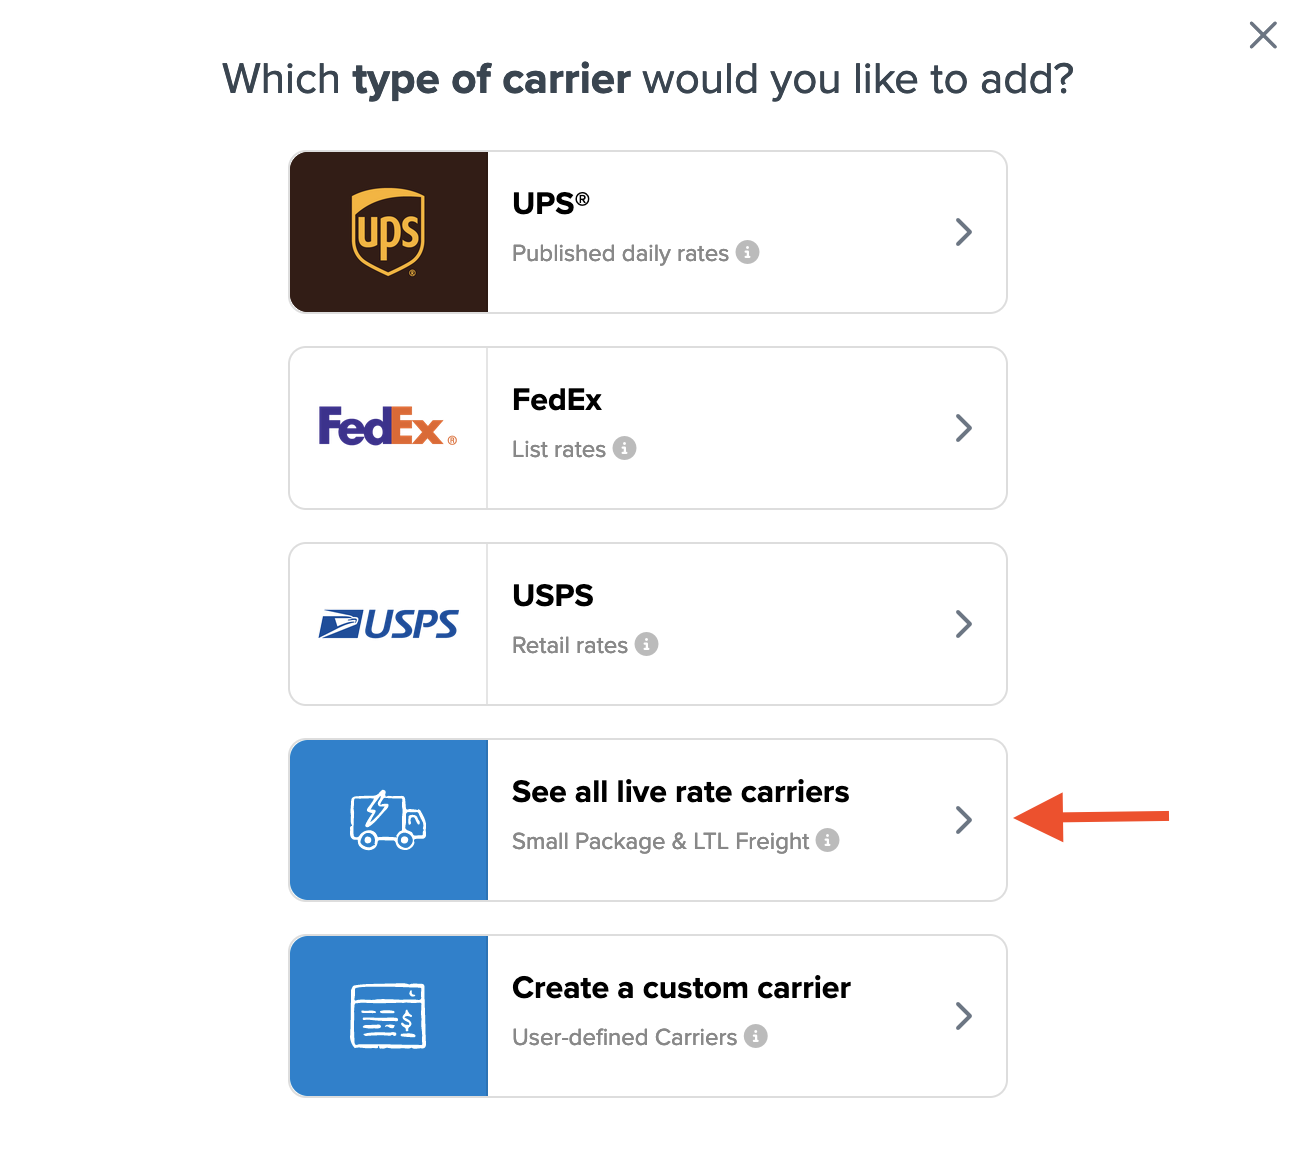
- Click + New to add a new carrier.
- Choose the Live Rate Carrier option.
- Search for Canada Post using the Search Carriers option, or scroll to find it among available carriers.
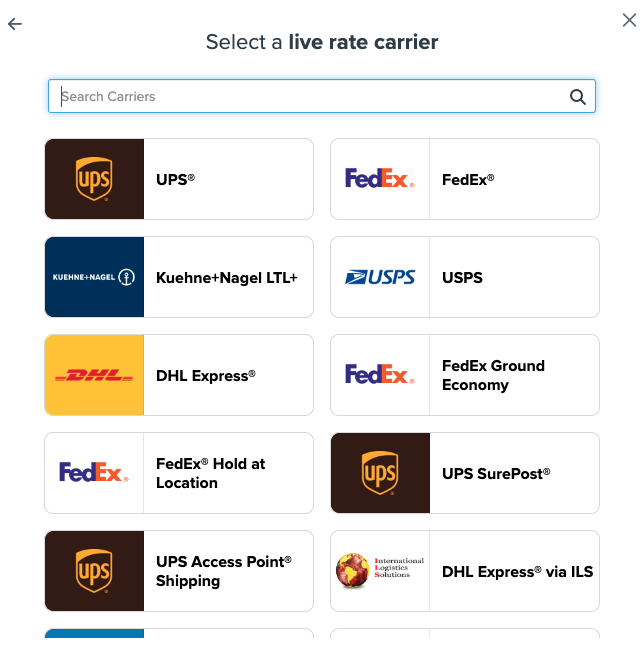
- Continue to connect your carrier account to ShipperHQ.
💡 Remember to enter your credentials if you skip the validation process. Validation is needed for ShipperHQ to access your shipping account and rates.
Steps to Validate This Carrier
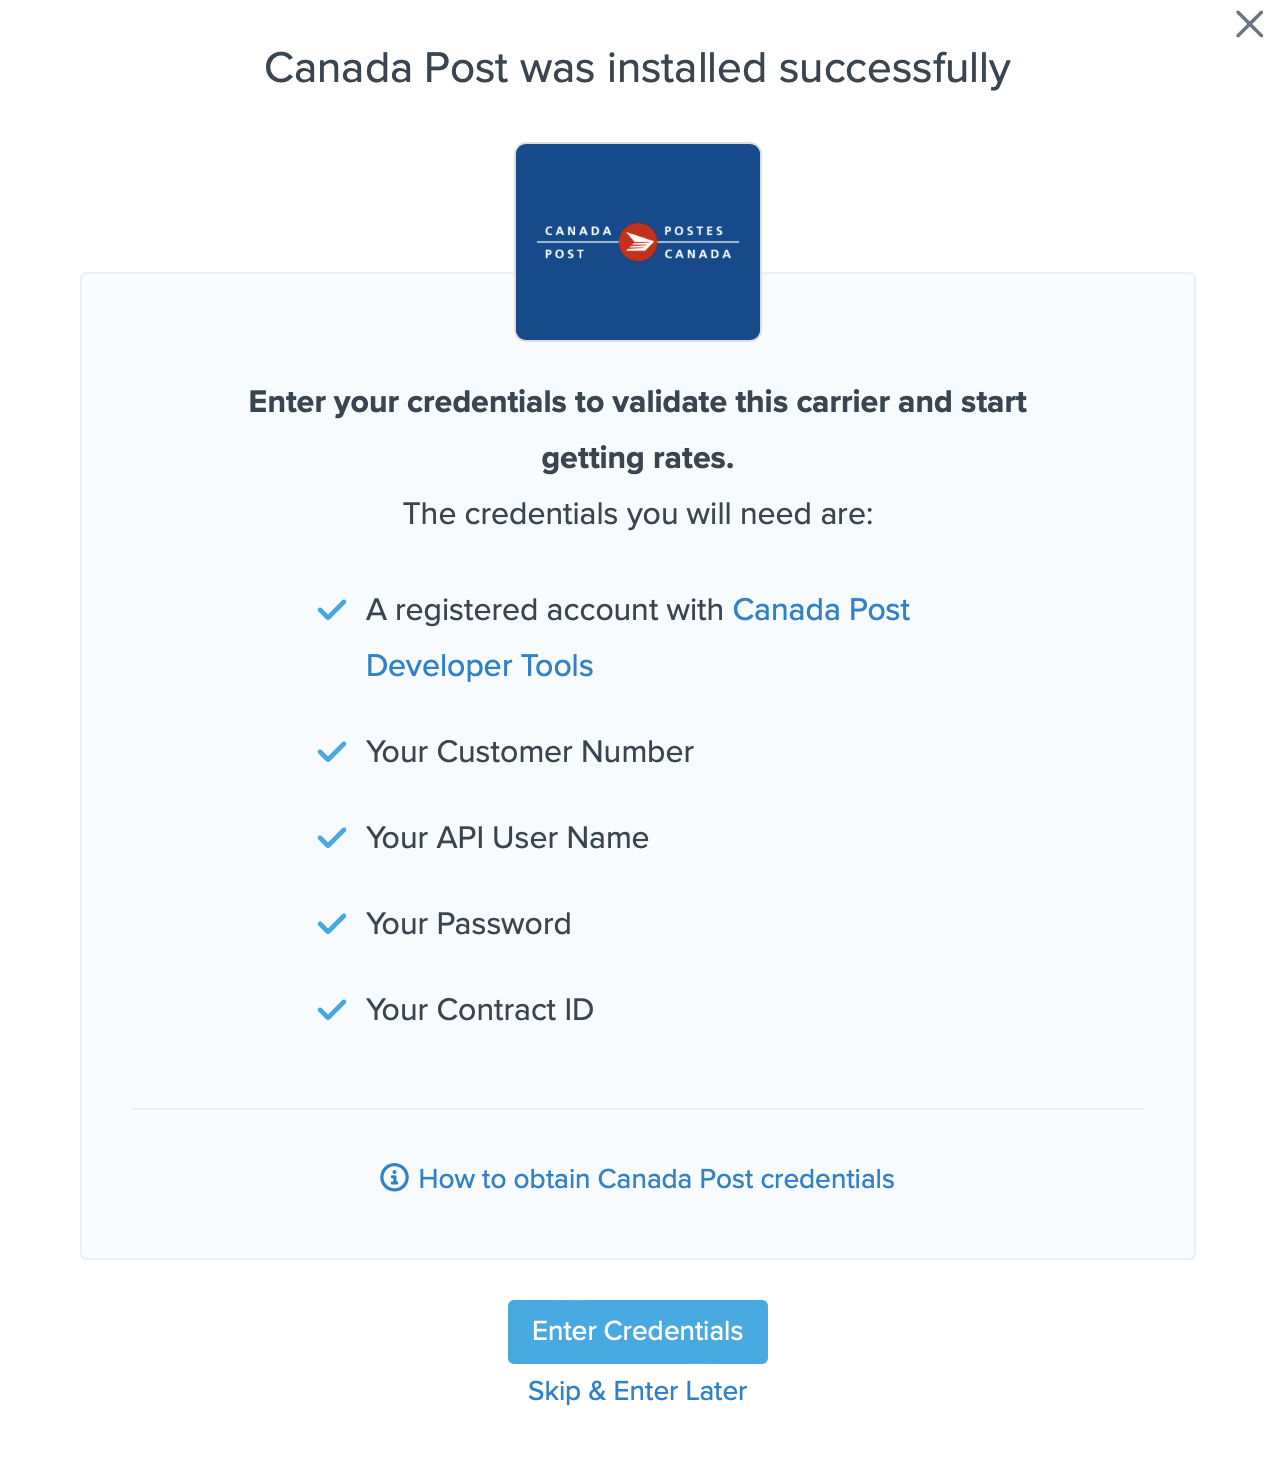
- Enter the credentials provided by Canada Post:
- API User Name
- Password
- Customer Number
- Contact ID

- Click the Validate button to complete the validation process.
✅ If validation is successful, toggle the switch to enable the Canada Post carrier.
⚠️ If validation fails, please Contact ShipperHQ Support for help, or double-check your credentials for accuracy and try again.
- Click Configure This Carrier if validation is successful.
- Adjust any carrier settings and then click Save to finish the setup.
- Your Canada Post carrier is now enabled and ready for configuration.
Troubleshooting
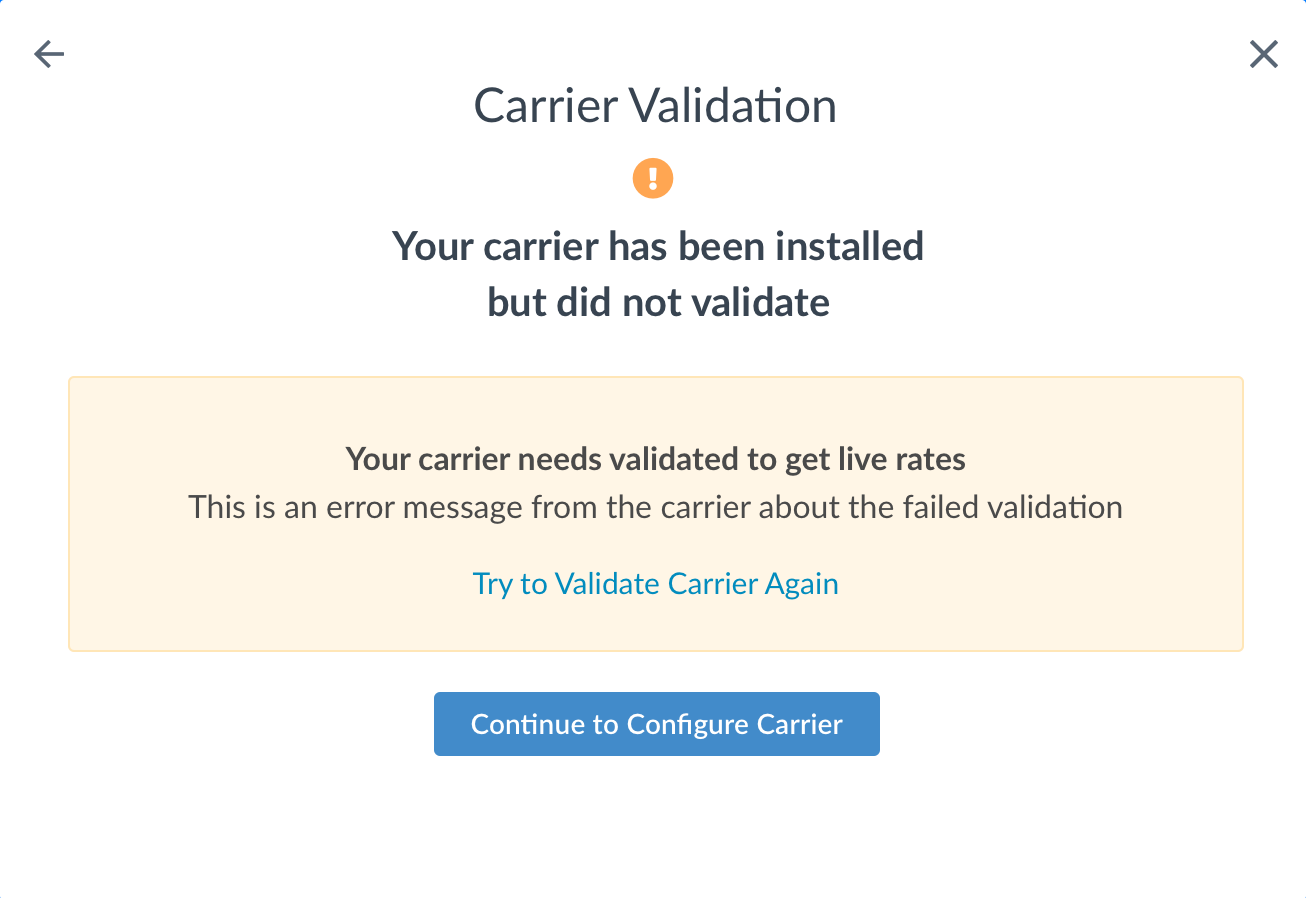
Installed but not validated
It's possible to install and configure your carrier without validation. Successful validation requires accurate account information. Without it, you can't validate your carrier or receive live rates.