Table of Contents
- Overview
- Examples of Product Attributes
- How to Set Product Attributes
- How to Attach Variants within Variable Products
Overview
Learn how to set product attributes in WooCommerce after you've installed ShipperHQ. This guide will help you attach Shipping Groups, apply Packing Rules, and associate Origins with your products.
Examples of Product Attributes
- Attaching a Shipping Group to your product
- Attaching a Packing Rule to your product
- Assigning an Origin to your product
How to Set Product Attributes
- Open your WordPress Dashboard.
- Locate "Products" under WooCommerce on the side panel.
- Click on the "Products" tab to explore various options like General, Shipping, and ShipperHQ tabs. Below is a quick overview of each:
-
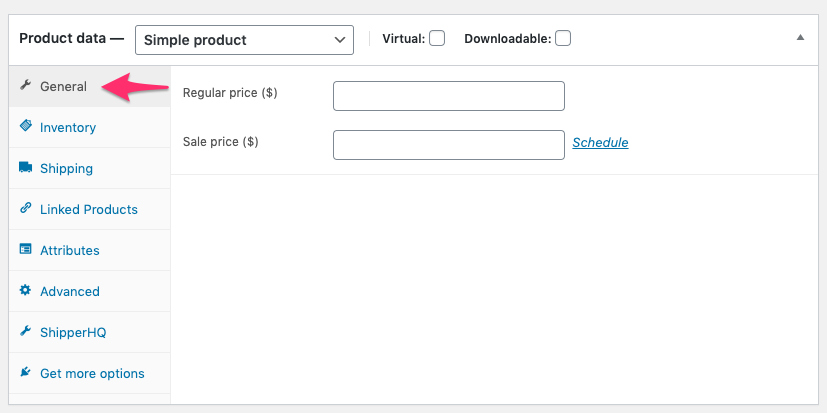
General - Set item prices
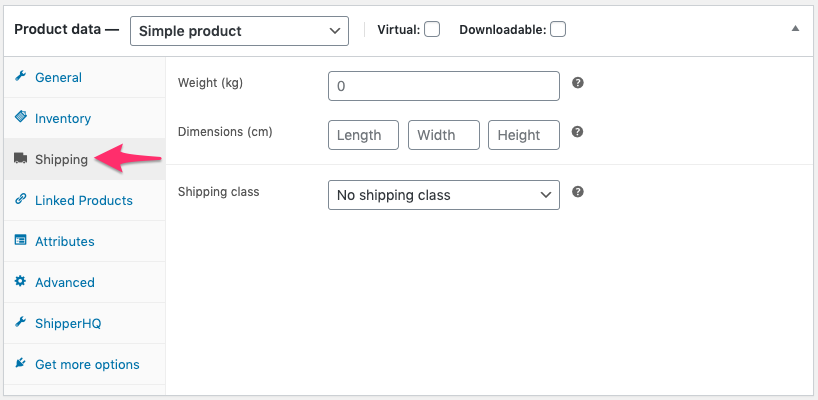
- Shipping - Set product weight and dimensions
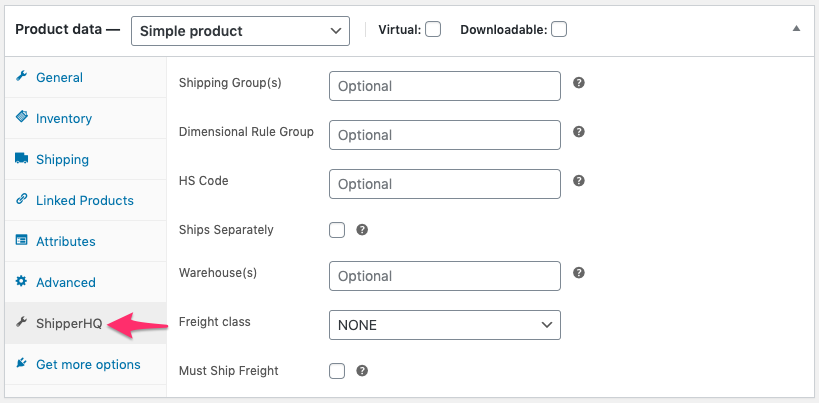
- ShipperHQ - Set Product Attributes like Shipping Groups, Packing Rules, and Origins
-
💡 Note: It's crucial that Product Attributes match exactly how they are written in ShipperHQ.
💡 Note: For Shipping Groups and Origins, multiple entries can be specified. When entering multiple values, separate them with a comma or with a "#" character, with no spaces.
How to Attach Variants within Variable Products
- Select the "Variations" tab under "Product Data".
- Display the different types (e.g., Variant #1, Variant #2) and choose the one you want to attach a group, rule, or origin to.
- Click on the item to see a list of attributes to fill in, similar to a simple product page.
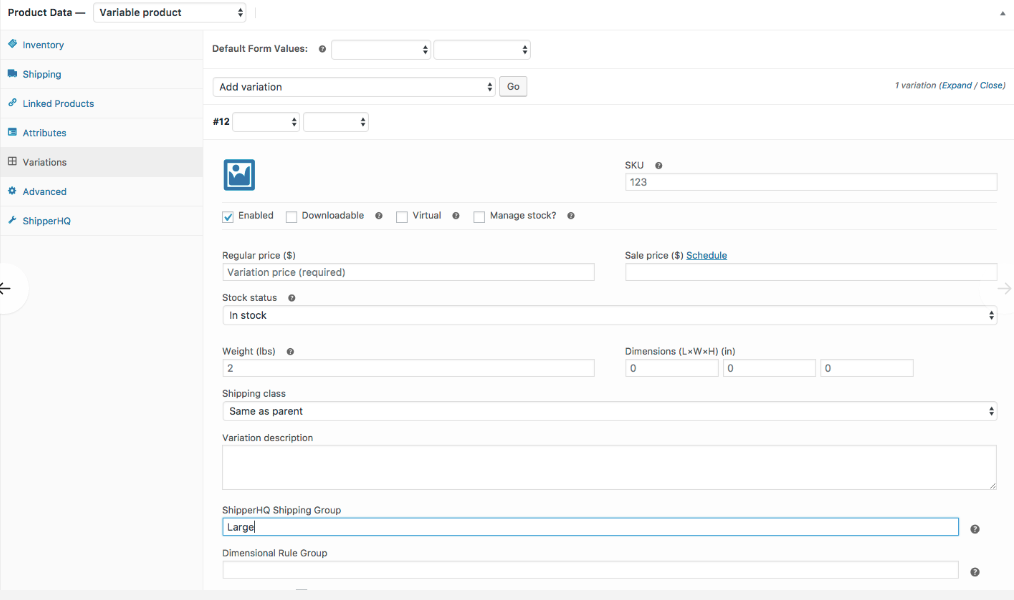
- Carefully fill in the attributes, ensuring they are case-sensitive and match exactly with ShipperHQ.
Now you're ready to use Shipping Groups, Packing Rules, and other features set up within your ShipperHQ account! ✅