How to Restrict Certain Items to Ground Shipping Only
Limit shipping methods for hazardous products to ensure ground-only delivery compliance
- Overview
- Steps
- Option A: Restrict Shipping on a Shipping Group
- Option B: Using a Shipping Rule to Restrict Methods for a Shipping Group
- Assign Products to Shipping Group
Overview
If you want to restrict shipping methods for certain products, ShipperHQ offers two options to make it easy. The following guide explains how to set up these restrictions, using "Ground Only" shipping as an example, which is helpful for products that are hazardous or intended only for Ground shipment.
Steps
There are two ways to restrict shipping for products to specific methods. The easiest way is to restrict a Shipping Group to a particular shipping option, like "FedEx Ground." Alternatively, if some products can ship using other methods based on conditions, a shipping rule is more appropriate. For instance, a product might ship only to certain US states via FedEx Ground, but to other states with Next Day Air or 2nd Day shipping. This scenario is best managed with a shipping rule.
Option A: Restrict Shipping on a Shipping Group
- In the ShipperHQ dashboard, click on Shipping Groups.
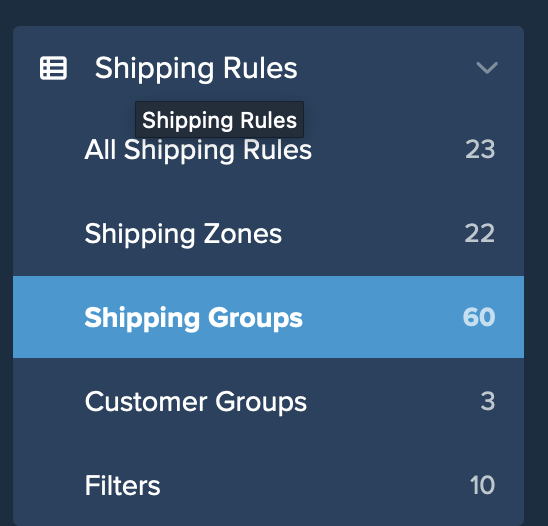
- Click New to create a new shipping group or click an existing group to edit.

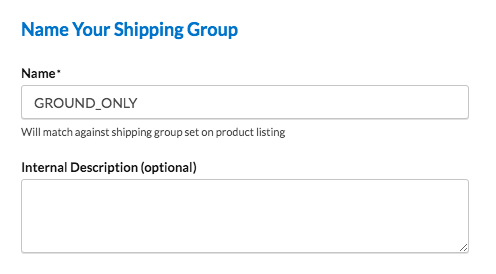
- Name the group, e.g., GROUND_ONLY.
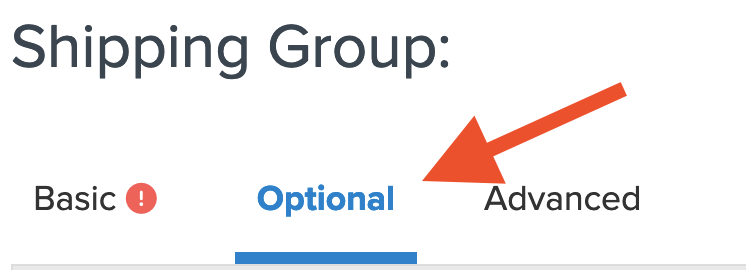
- Go to the Optional tab.
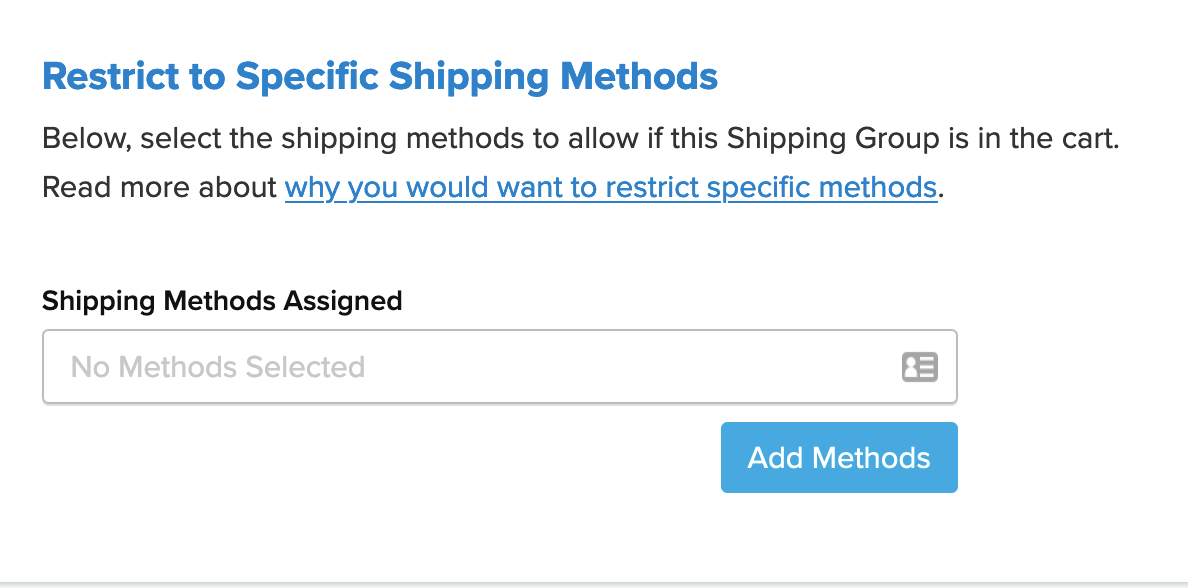
- Under Restrict to Specific Shipping Methods, select your ground method.
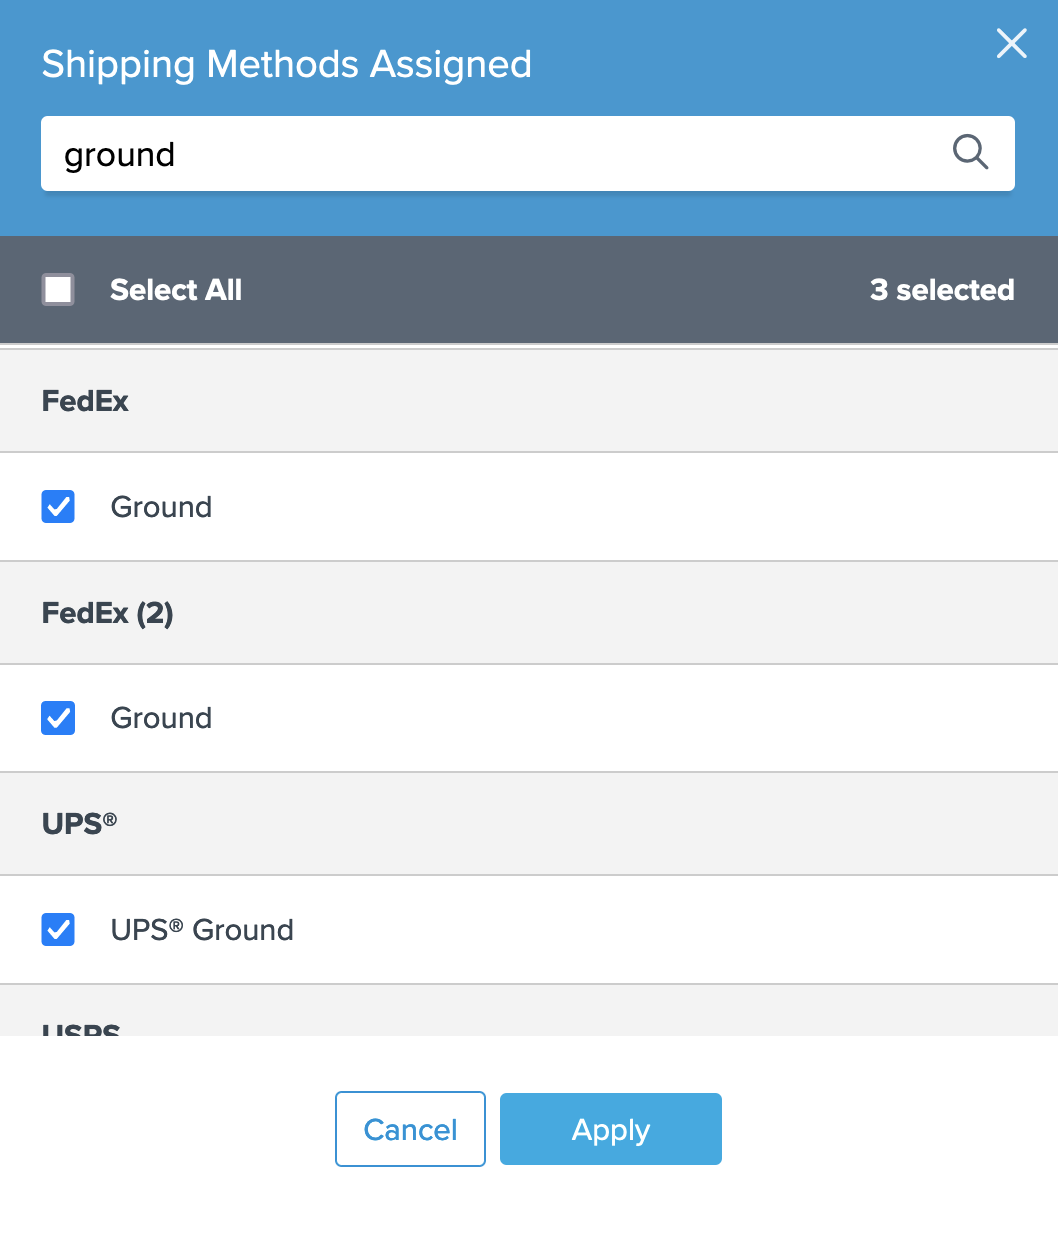
- Optional: You can also restrict the group to a specific destination by selecting the restricted Zone under Restrict Destinations.
- Save the group.
Once saved, assign the shipping group to relevant products in your eCommerce platform. This ensures only the Ground method is available when a "Ground_Only" product is in the cart.
Option B: Using a Shipping Rule to Restrict Methods for a Shipping Group
You can follow the above steps to create your Ground_Only shipping group but skip the "Restrict to Shipping Methods" section. Simply save the group after naming it. If missed, you can create a new shipping group during the rule creation steps.
Create the New Shipping Rule
- Navigate to the Shipping Rules option in the left-hand menu.
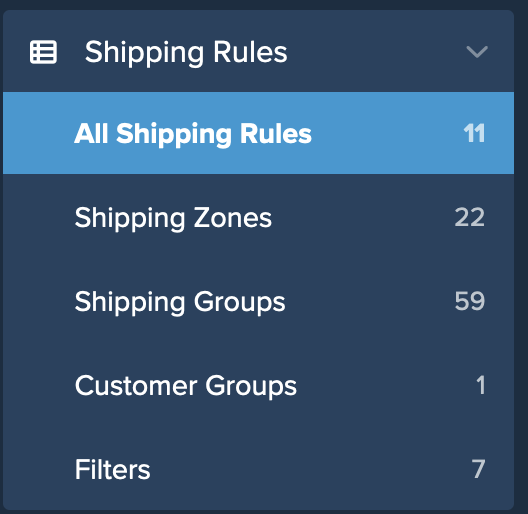
- Click Add New to create a new shipping rule.

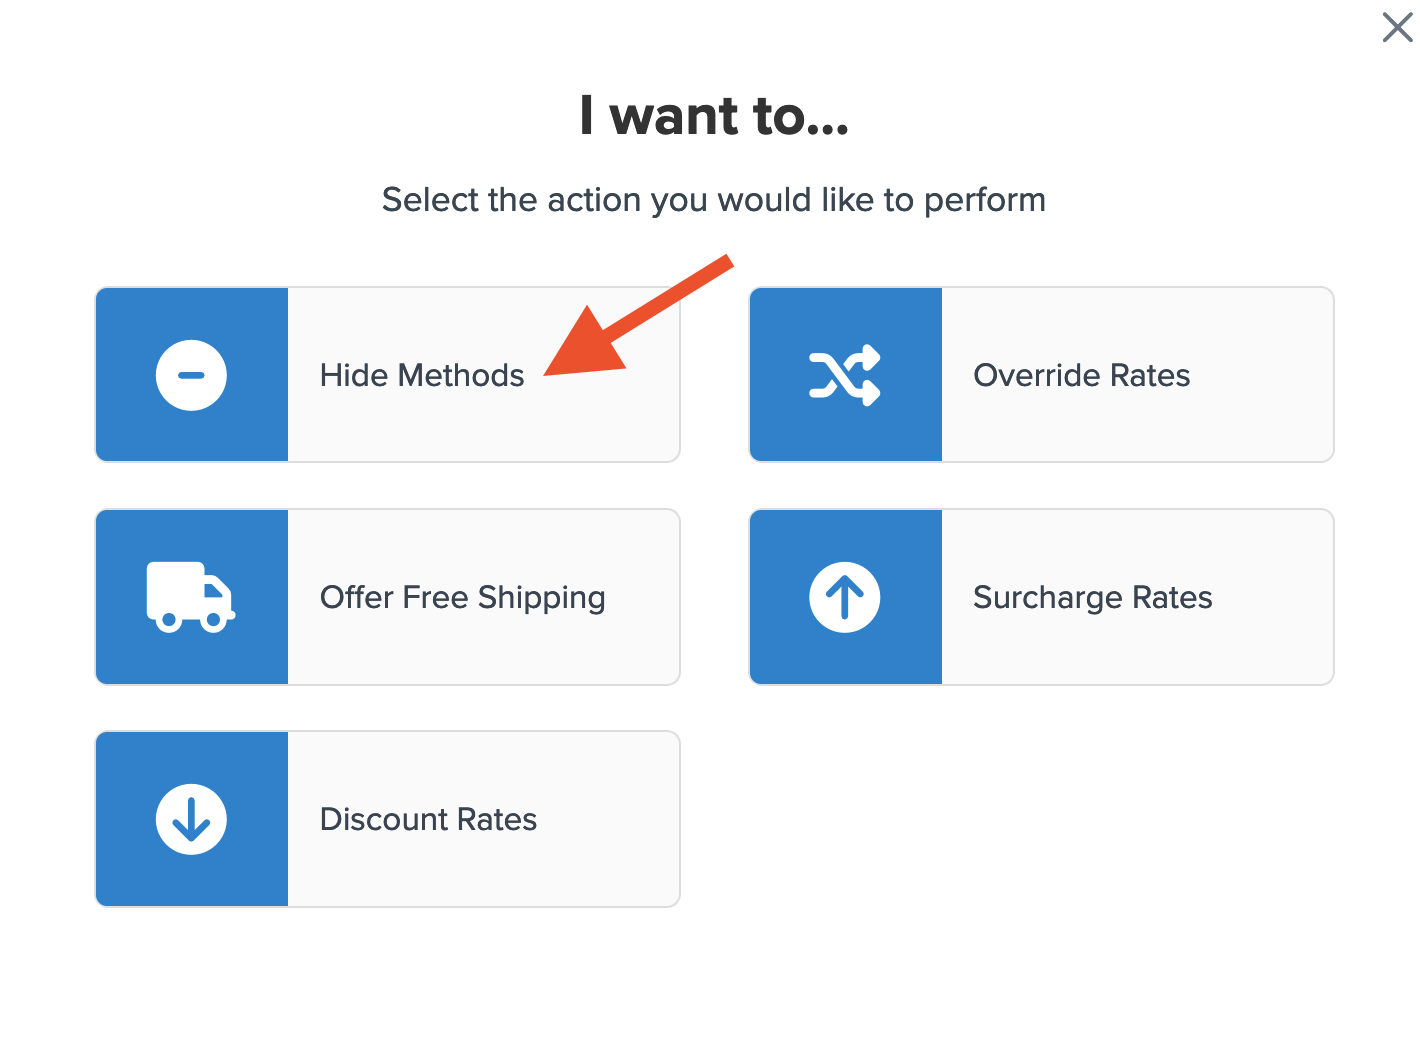
- Select Hide Methods as the rule action.
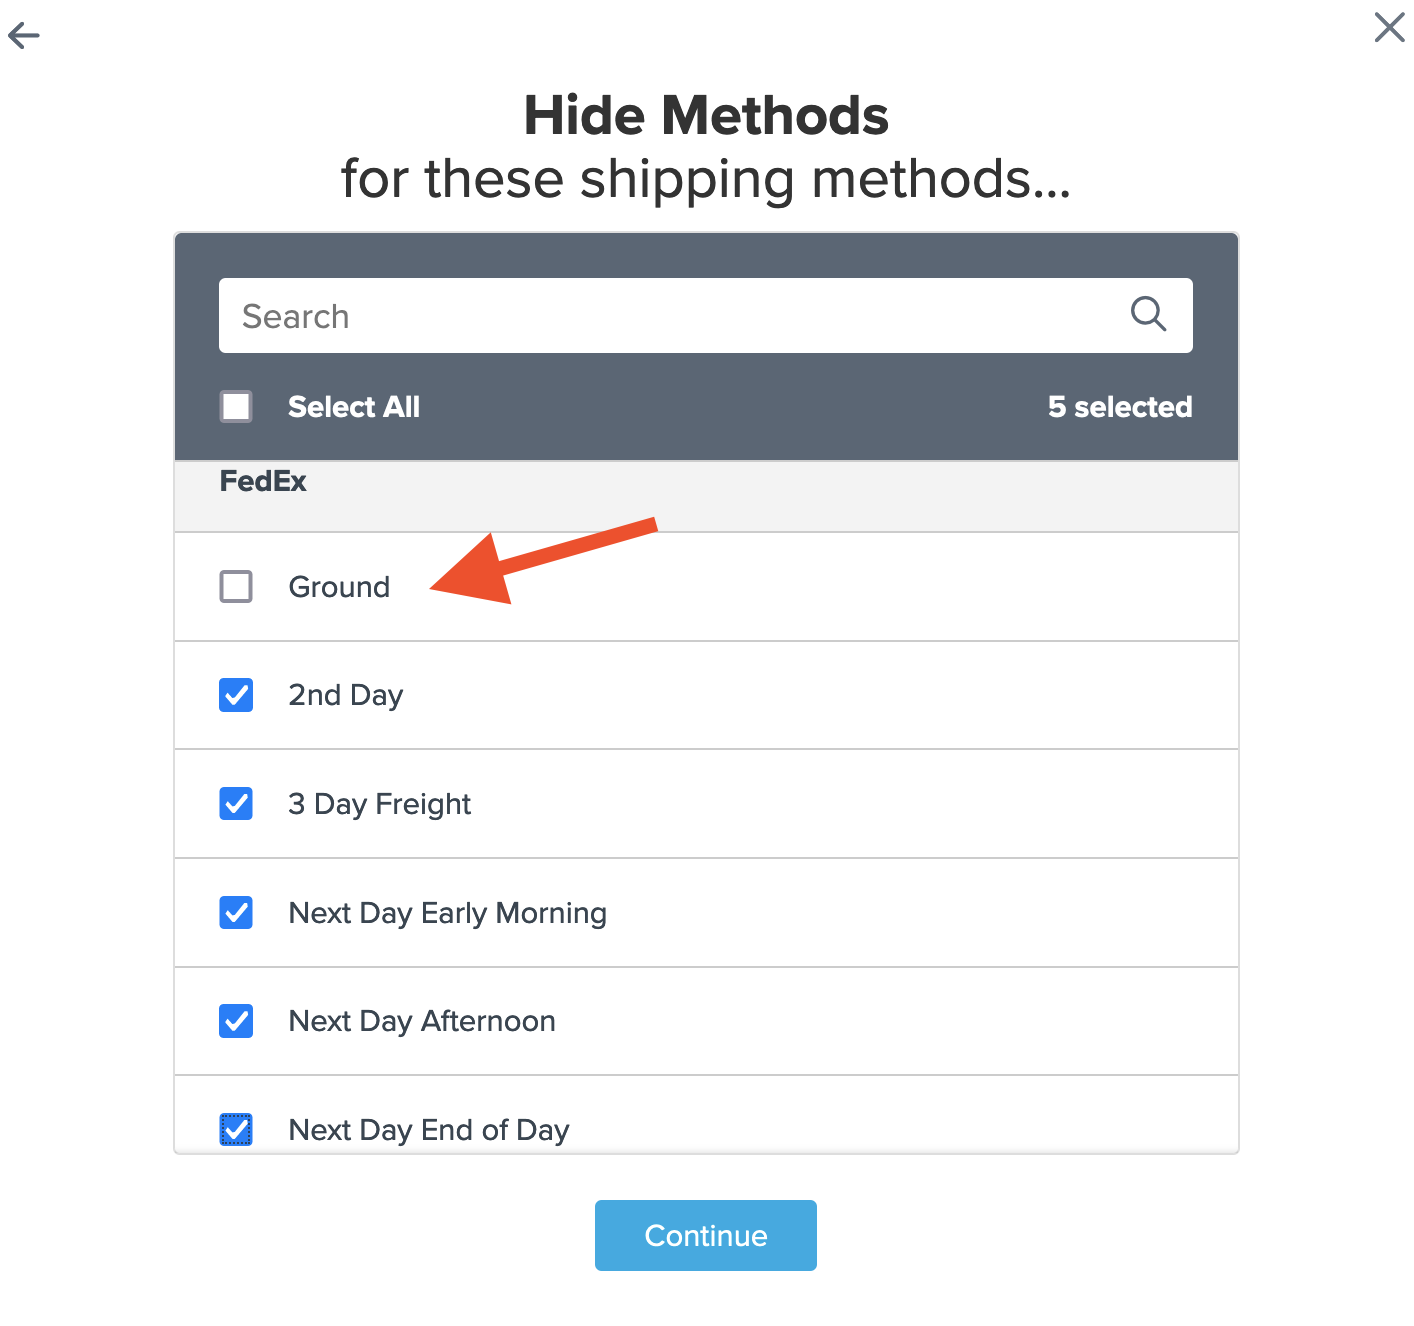
- Select all methods except for those you wish to keep. For example, selecting all methods except Ground means only Ground will display.
- Choose Shipping Groups as the condition.
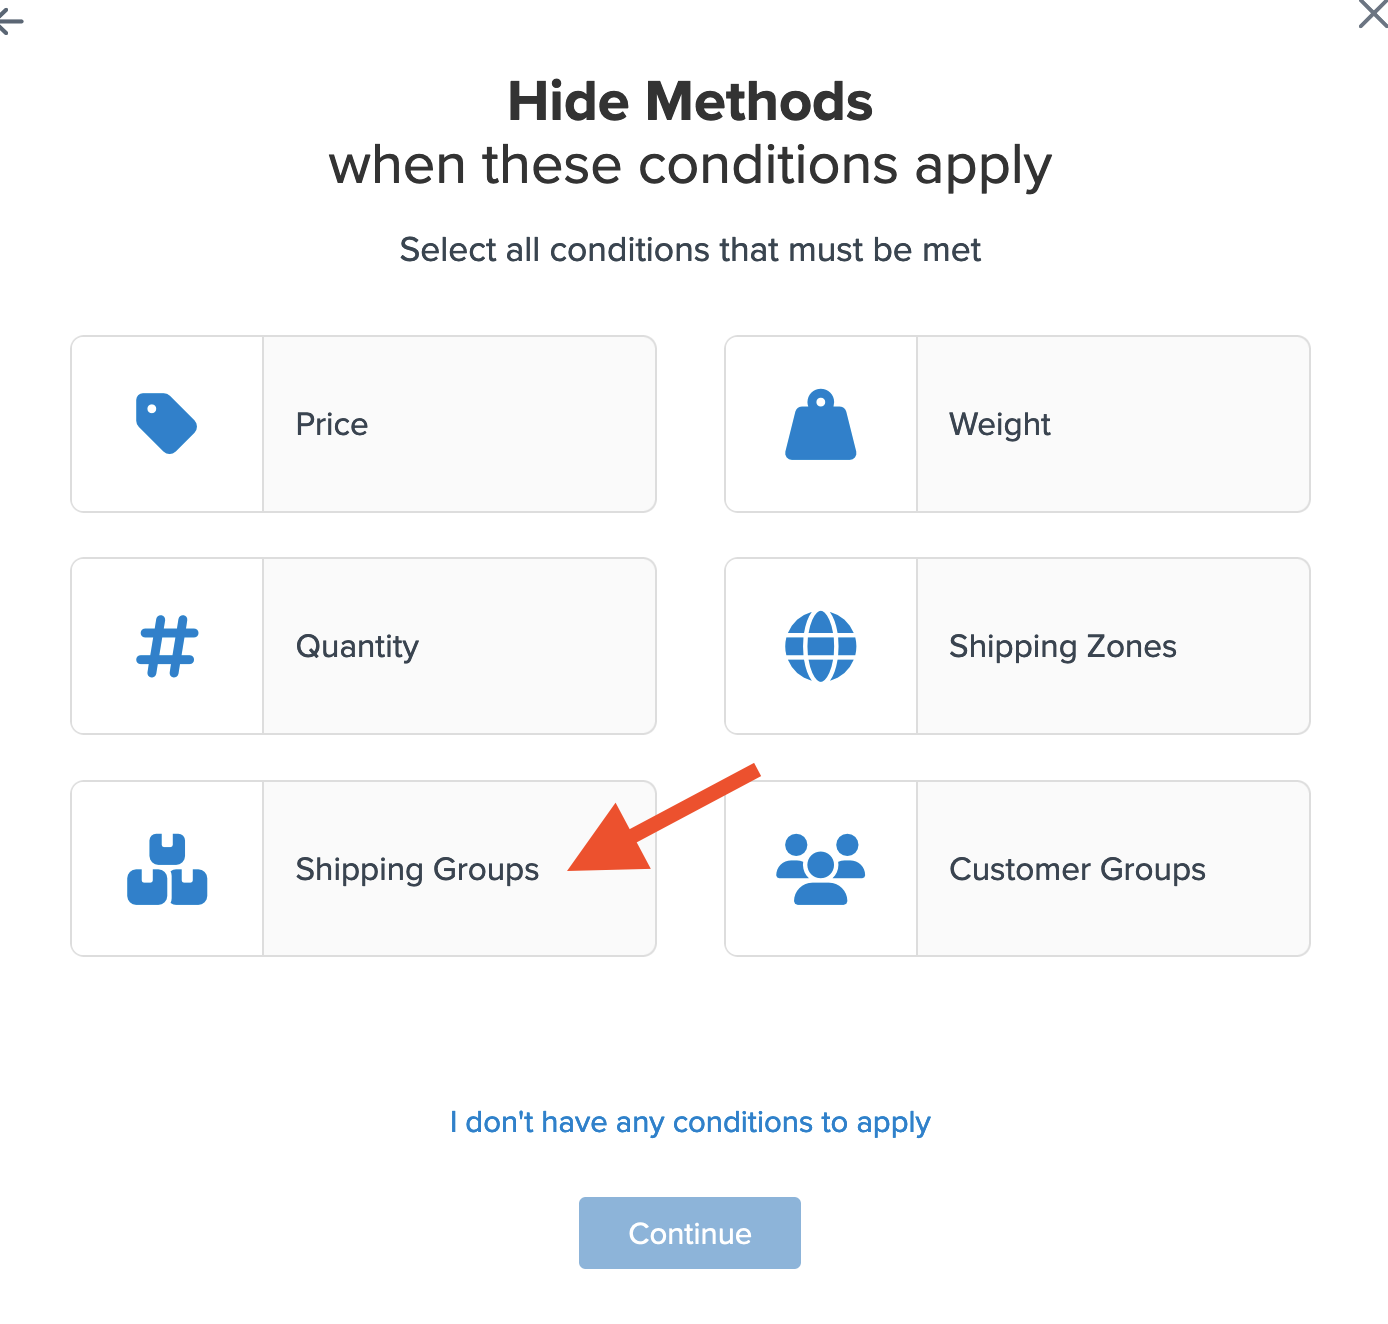
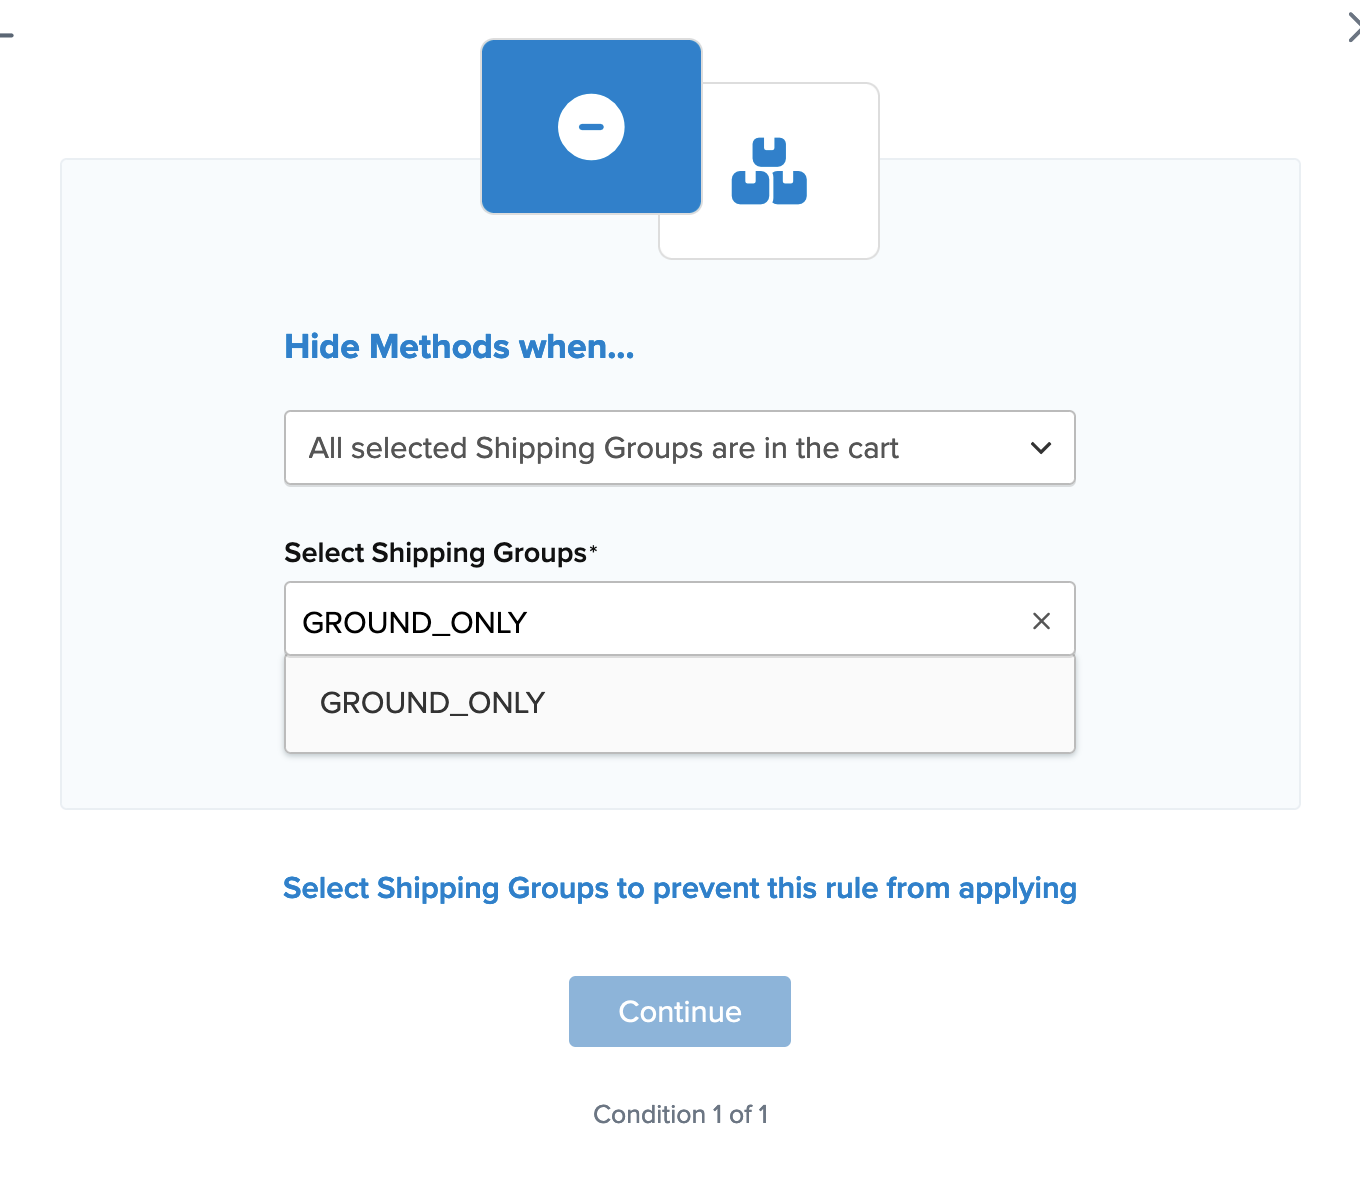
- Select the shipping group(s) for the rule.
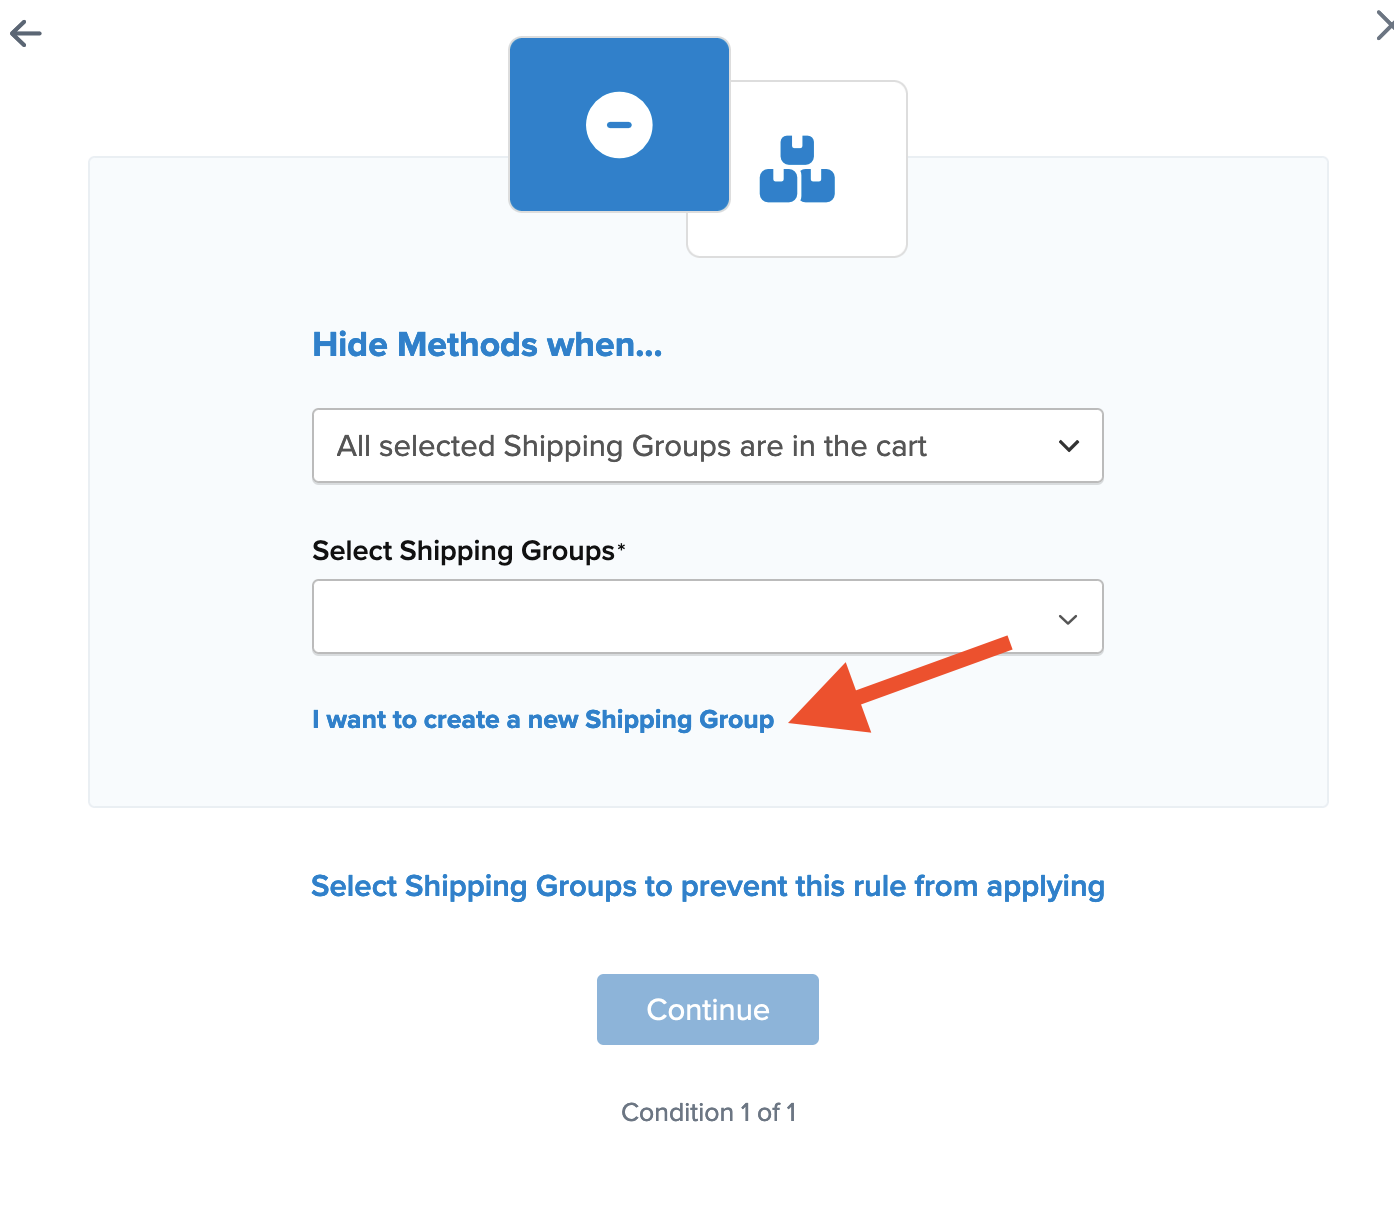
If you haven't created the group yet, create it by clicking "I Want to Create a new Shipping Group."
- Add a title for the rule so it's easily identifiable during testing.
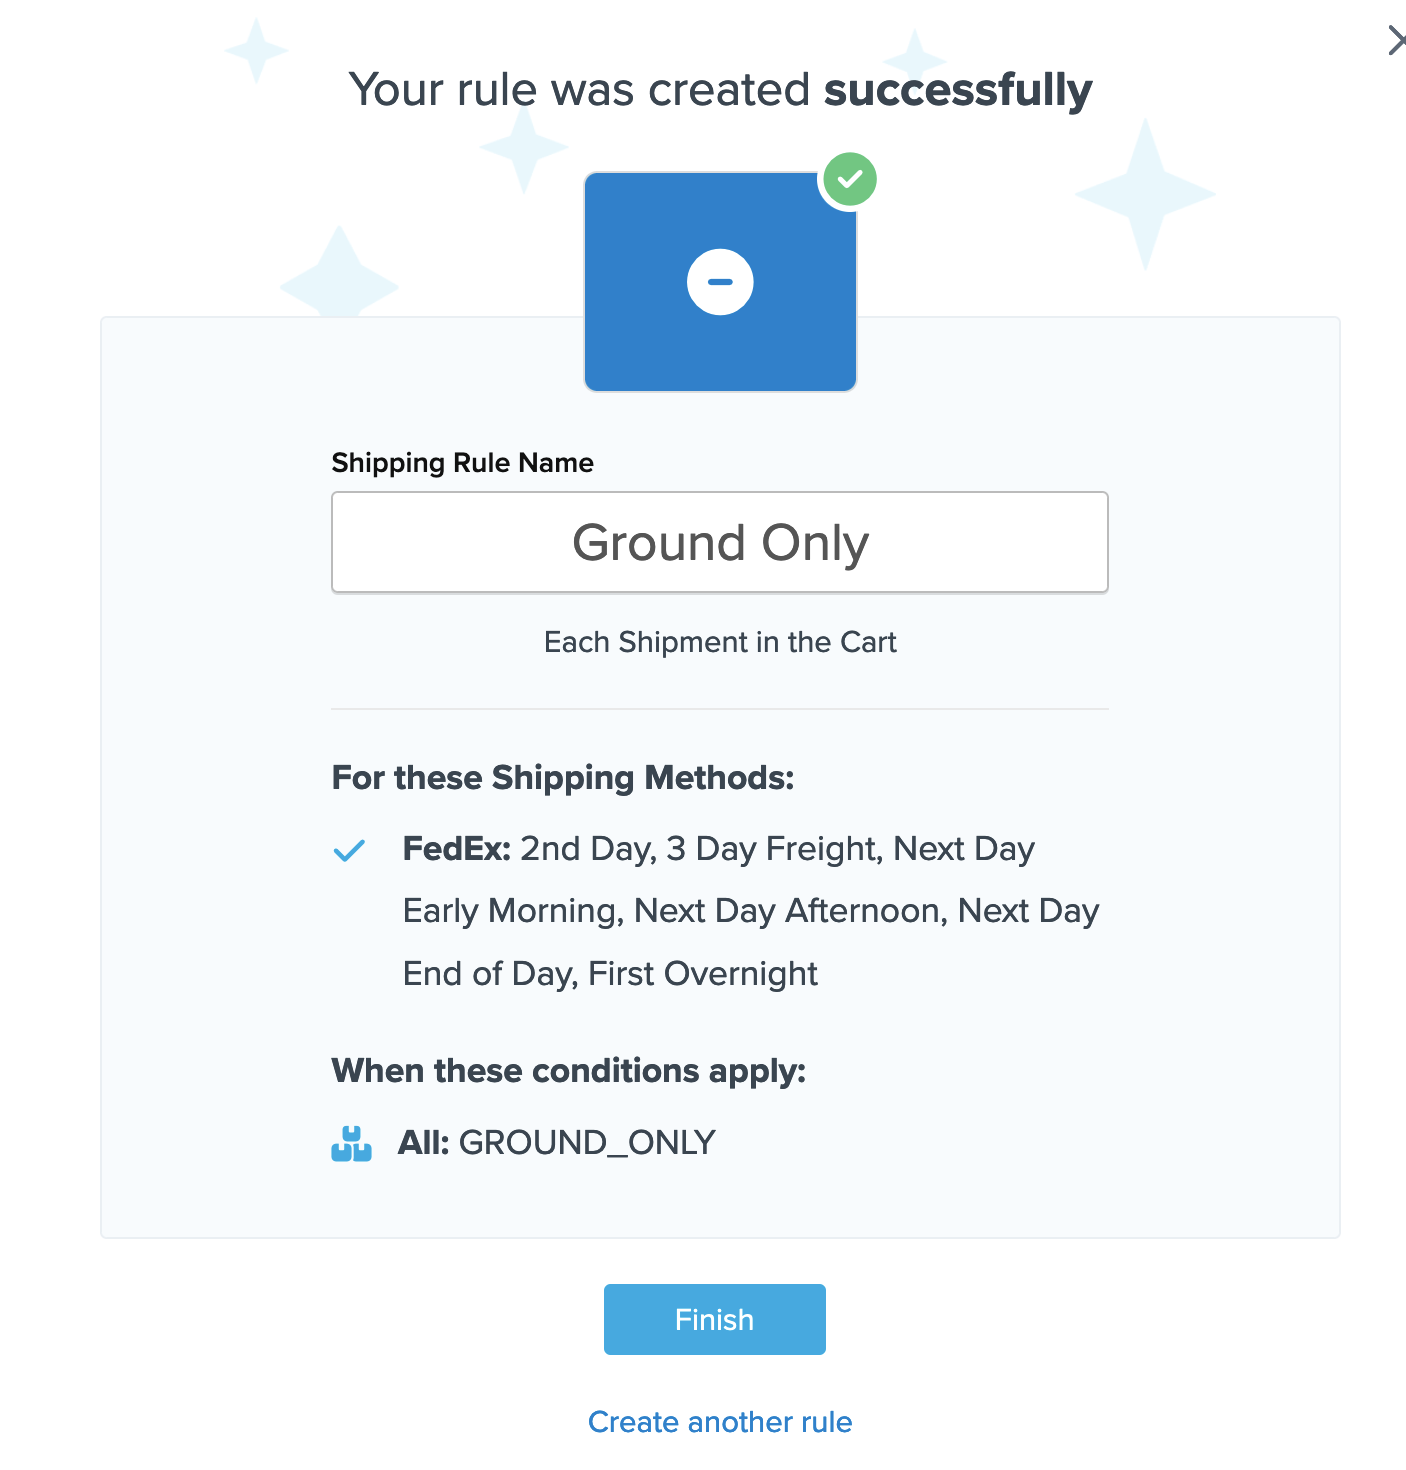
- Click Finish to save the rule. This applies the rule immediately.
If additional conditions are needed, return to the rules list, find the rule, and edit it to apply further conditions. Once complete, use the Test your Rates feature to ensure the rule works as intended.
Assign Products to Shipping Group
After setting up a Shipping Group, assign it to the necessary products in your eCommerce platform.
