Overview
This guide explains how to set up Australia Post Retail and Australia Post eParcel carriers in ShipperHQ. You'll need specific credentials to connect ShipperHQ to the Australia Post servers for rate quotes. This document covers how to gather the required information, install the carrier, and manage the connection between ShipperHQ and Australia Post.
Table of Contents- Overview
- Requirements
- Register for Australia Post Carrier Credentials
- Adding Australia Post
- eParcel Special Notes
- Note: Australia Post eParcel Multi-Package Rating
- Troubleshooting
Requirements
To get started, you'll need:
- A registered account with Australia Post PAC API
- Your Australia Post Account Number
- Your Australia Post API Key
Register for Australia Post Carrier Credentials
- Visit the Australia Post Developer Centre and create an account. If already registered or you have a MyPost account, please log in.
- Register for the Shipping & Tracking APIs.
- Click 'Register your interest today.'
- Specify your account numbers, separating them with commas. Use the comments field for large lists.
- If adding accounts to an existing key, mention this along with the specific key in the comments field.
- In the registration process, specify your platform partner as "ShipperHQ."
- Wait for a confirmation email and follow the provided steps.
Adding Australia Post
With your credentials ready, follow these steps to set up Australia Post in ShipperHQ.
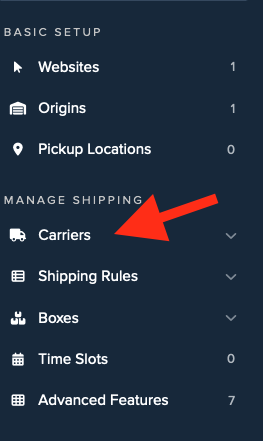
- Log into your ShipperHQ account and navigate to the Carriers link in the left navigation menu.
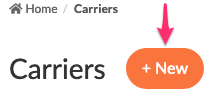
- Click + New to add a new carrier.
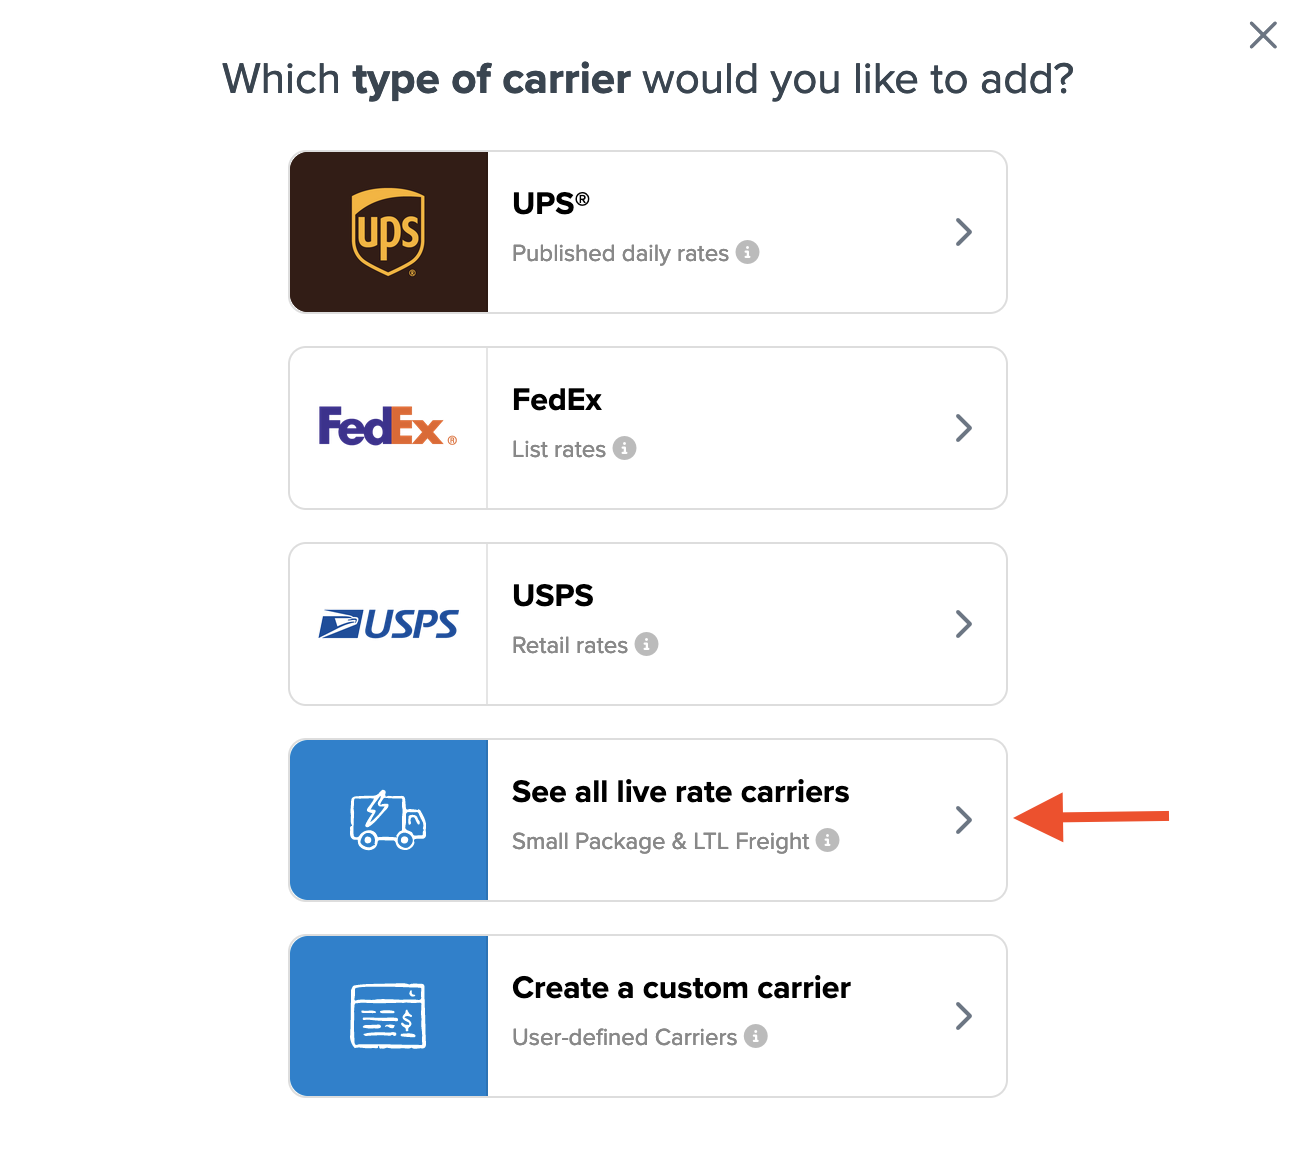
- Choose the Live Rate Carrier option.
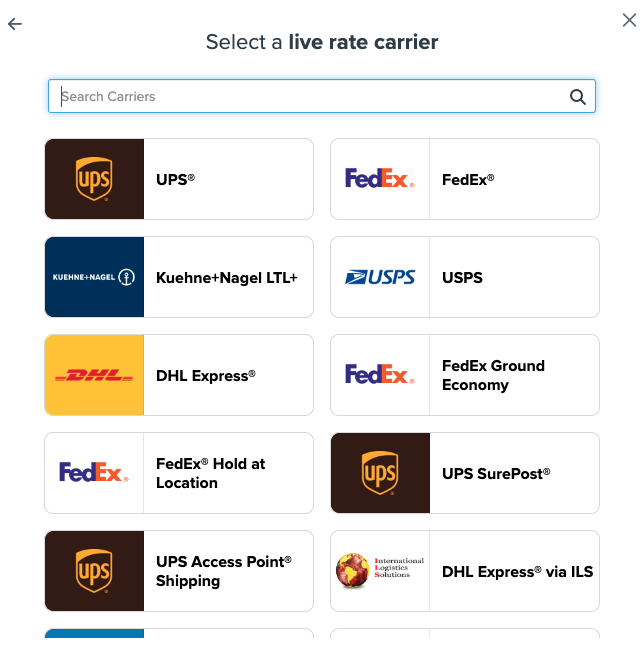
- Use the Search Carriers option to find Australia Post or scroll to locate it from the list of available carriers.
- Click to continue connecting your carrier account to ShipperHQ.

- API Key & Password
- Account Number
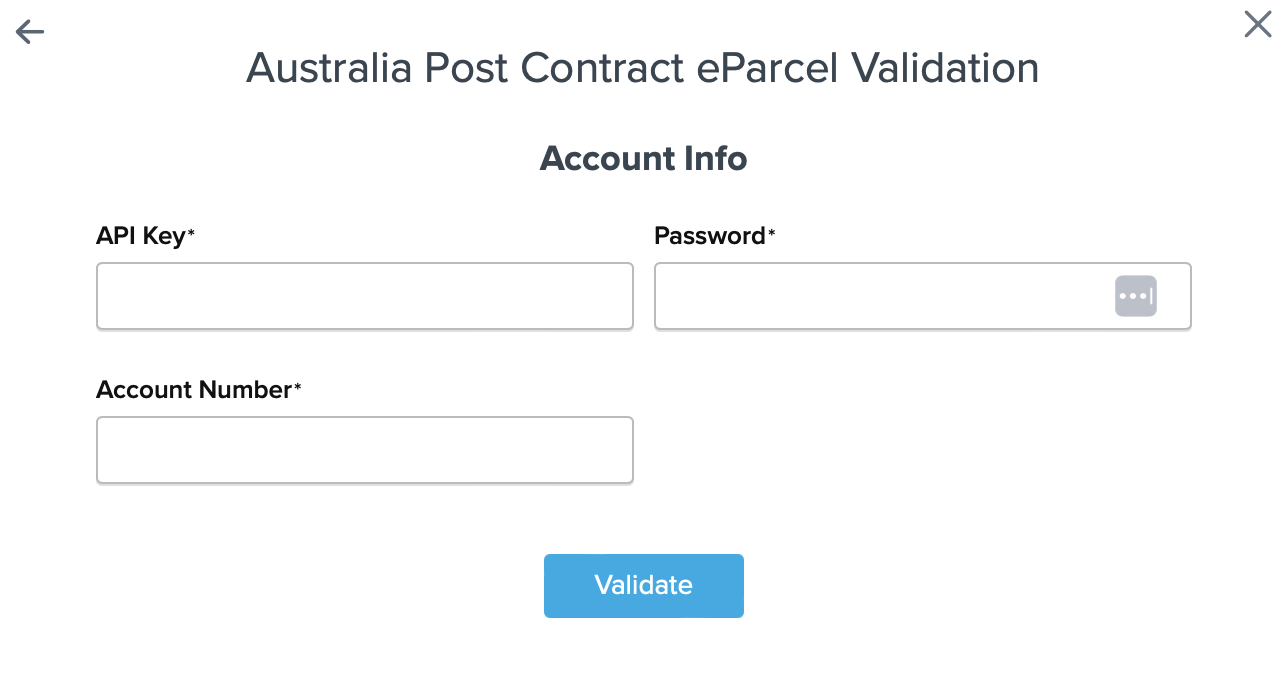
- After entering these details, click Validate to complete the validation process.
- If validation fails, please Contact ShipperHQ Support for help, or review and re-enter your credentials.
-
Click Configure This Carrier if validation is successful.
- Edit any settings for this carrier and then click Save to complete the setup.
eParcel Special Notes
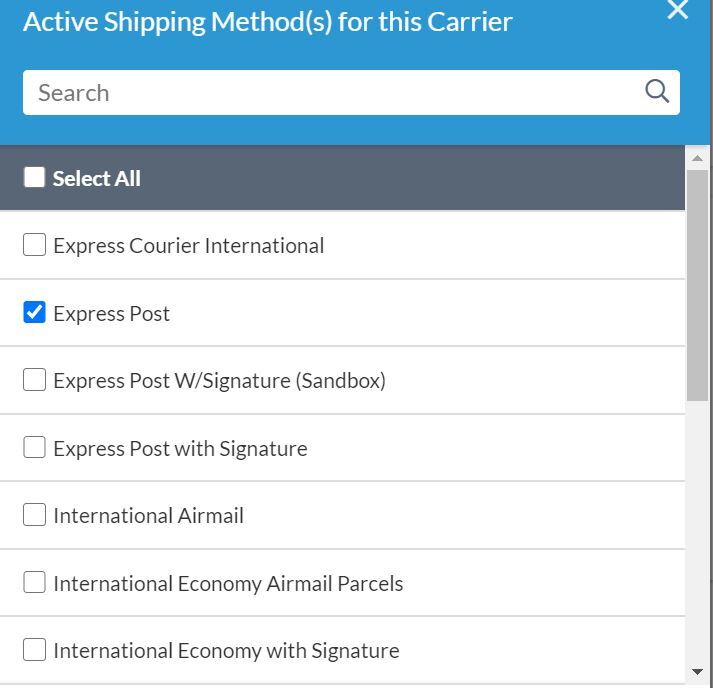
Once added, select the exact methods associated with your account regarding with Signature or without. ShipperHQ requires matching contracted methods to provide rates accurately.
Australia Post eParcel requires at least two dimensions (length, width, or height) to be a minimum of 5 centimeters, or you'll receive an error. To pass dimensions to the carrier, enable the Dimensional Shipping Feature. Create a default box (5x5x5 cm) with no max weight. If using inches, convert to 1.97 x 1.97 x 1.97 inches. Set this as the "Default Packing Box" under Package Settings in eParcel. If Dimensional Packing isn’t enabled, ShipperHQ will automatically set dimensions to 5 x 5 x 5 cm.
Note: Australia Post eParcel Multi-Package Rating
Australia Post eParcel won't return rates for shipments exceeding a maximum of 22 kg without ticking "Calculate handling fees and fuel surcharges more accurately" in the carrier's basic tab, allowing more accurate rate returns. This also enables the city field in the cart estimator for better accuracy. Manage this in Basic Tab > Account Settings.


- Account Number
- API Key

- After entering these details, click Validate to complete the process.
- If it fails, please Contact ShipperHQ Support for help, or recheck your entries.
-
Click Configure This Carrier if the process was successful.
- Edit any settings for this carrier, then click Save to finish the setup.
Troubleshooting
If your carrier is installed and configured but not validated, it usually means the account details were entered incorrectly. Correct information is crucial to validate your carrier and receive live rates successfully. If issues persist, please ensure you have the right details.