Overview
This guide explains how to request and validate a Purolator API Activation Key for use with ShipperHQ. Proper key setup is required to ensure the key matches the correct Purolator API endpoint and can successfully return rates.
Table of Contents- Overview
- Important Validation Notes
- Requesting an Activation Key
- Adding Purolator
- Steps to Validate This Carrier
- Troubleshooting
Important Validation Notes
- The activation key provided must match the Production API endpoint.
- Keys generated for the Test endpoint cannot be used for the Production endpoint.
Prerequisites
Before starting, ensure you have the following information available:
- Purolator account number
- Billing postal code
- Shipping address
- Three business contacts associated with the account
Requesting an Activation Key
Step 1: Access the Purolator API Portal
- Go to the Purolator Developer Portal:
https://ship.purolator.com/developer - Register for an account or log in if you already have one.
Step 2: Move to Production
- From the API Portal dashboard, select Move to Production.
- Choose Generate Production Key.

Step 3: Complete the Activation Request
You will be prompted to provide the following information:
- Account Number
- Include Courier account number
- If your account number is fewer than 7 digits, add leading zeros.
Example: Account 123 should be entered as 0000123.
- Billing Postal Code
- Shipping Address
- Three Business Contacts
Purolator requires three contacts to ensure continued account access if a primary contact leaves the company. - Endpoint ShipperHQ uses
Purolator Parcel: https://webservices.purolator.com/EWS/v2/Estimating/EstimatingService.asmx
Step 4: Key Generation
Once the activation request is completed and approved:
- The activation key will be displayed on screen.
- The key will also be available within the API Management section of the portal.
Adding Purolator
Now that you have your credentials ready, use the steps below to set up Purolator in ShipperHQ.
- Log into your ShipperHQ account and navigate to the Carriers link on the left navigation menu.
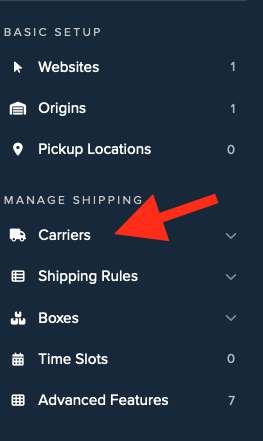
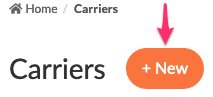
- Click + New to add a new carrier
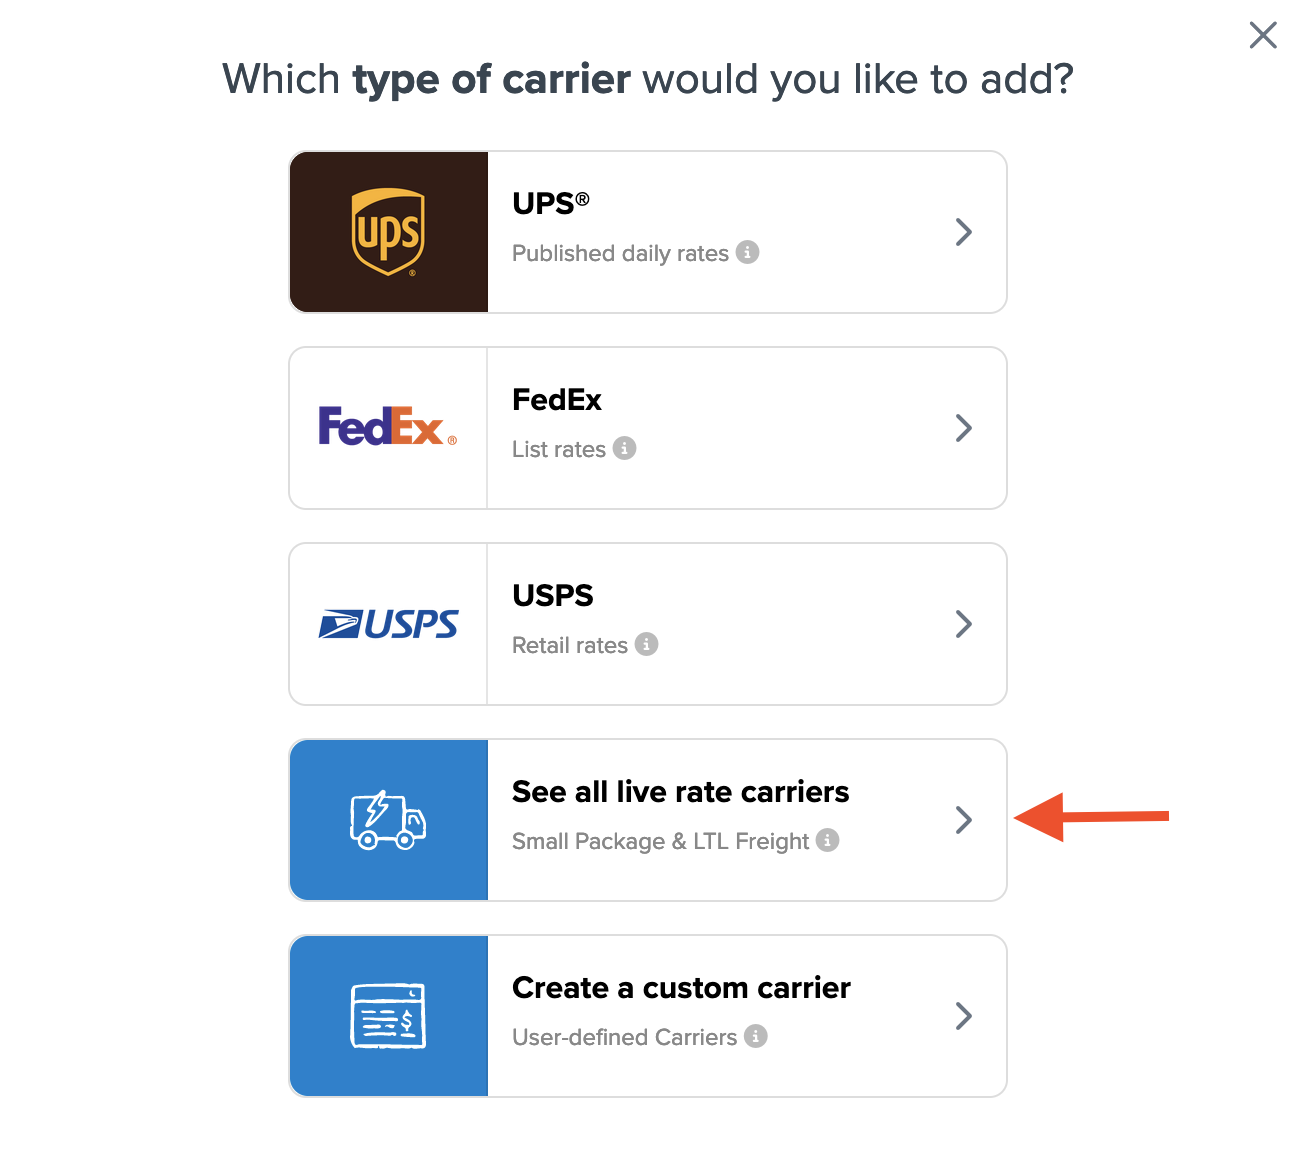
- Choose the Live Rate Carrier option
- Use the Search Carriers option to search for Purolator or scroll down to find Purolator from the list of available carriers
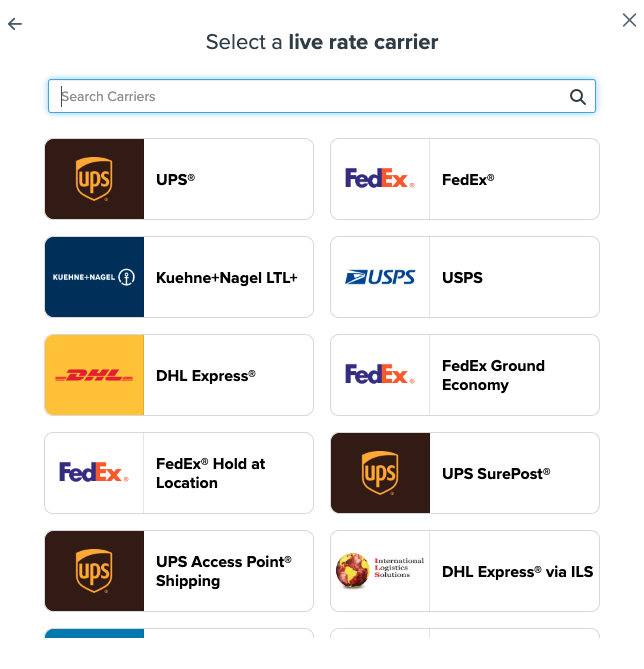
- Click to continue in connecting your carrier account to ShipperHQ.
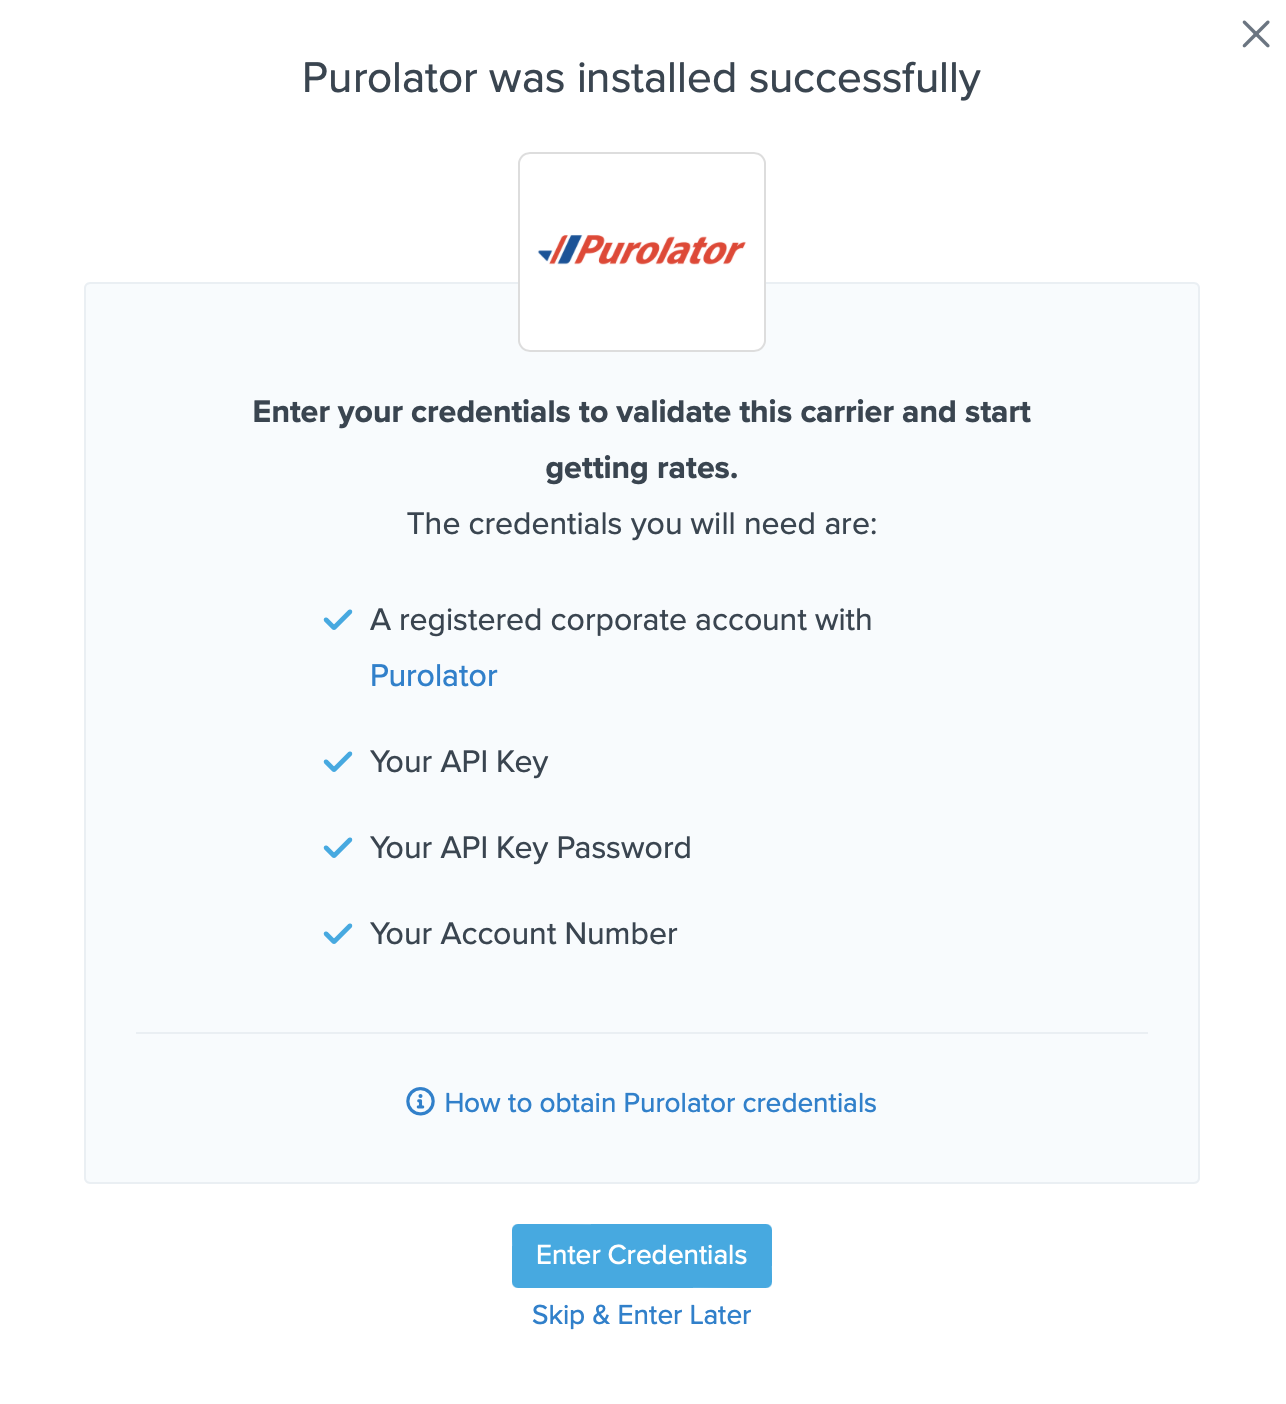
You can select the Skip & Enter Later option, but the Purolator live rates are not enabled until these credentials are entered. You are also reminded to add your credentials if you choose to skip the validation process. This validation is necessary for ShipperHQ to access your shipping account and rates.
Steps to Validate This Carrier
- Enter the following credentials provided by Purolator:
- Purolator API Key (Activation Key) & API Password (Generated by Purolator)
- Purolator Account Number
- Payment Type (Shipper, Consignee, or Third-party)
- Pickup Method (Drop Off or Pre-Scheduled)
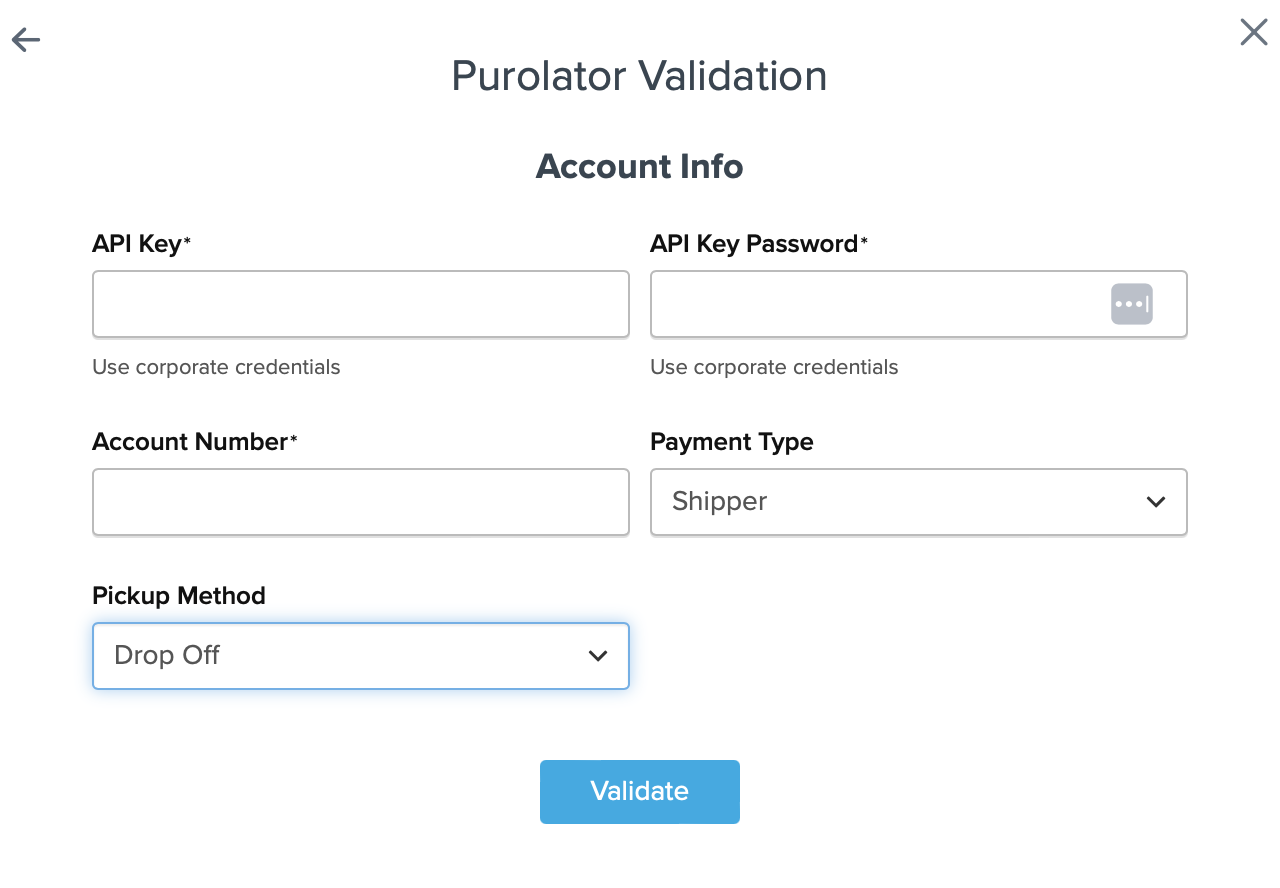
- Once these details have been entered, click the Validate button to complete the validation process.
If validation is successful, click the toggle button to enable the Purolator carrier.
- Click the Configure This Carrier button if the validation process was successful.
- Edit any settings for this carrier then click Save to complete the setup.
- Your Purolator carrier is now enabled and ready for configuration.
Troubleshooting
If you encounter issues:
- Verify the account number formatting includes leading zeros where required.
- Confirm the key is being used against the correct endpoint.
- Ensure all required activation details were completed during setup.
- If rates are not returning, confirm the key, password, and Account number settings match what was set up in the Purolator portal.
If problems persist, contact Purolator support or your ShipperHQ support team for further assistance.