Overview
This article will walk you through creating a flat rate carrier to give a flat defined rate as an option for customers to select on your front end. You would use this carrier in a scenario where you only want one flat rate to show no matter how heavy an item is or how many of those items you have in the cart.
Steps
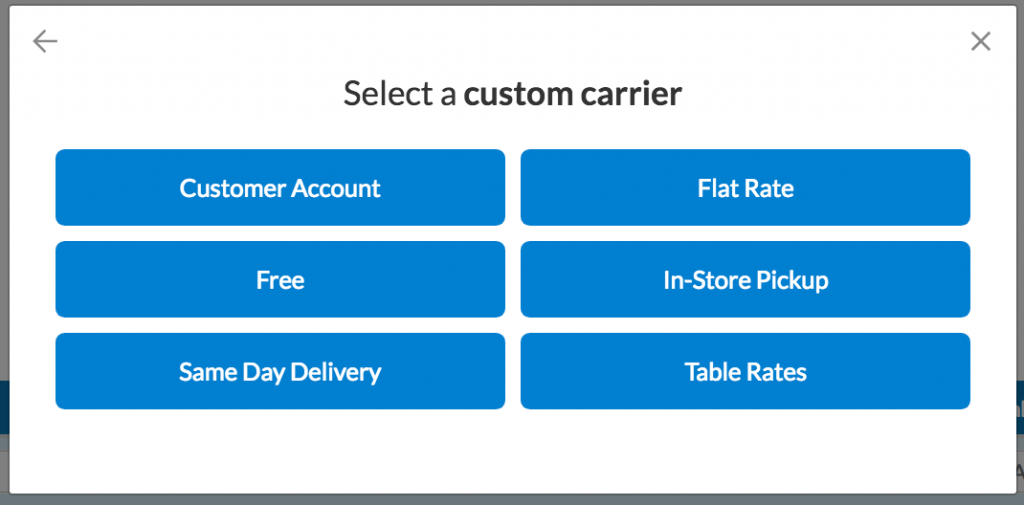
- In ShipperHQ, add a new Custom Rate Carrier via the “Carriers” tab in navigation, or in the Marketplace
- Name your carrier a desired name. You can change this as needed at any time.
- Once you are on the Basic panel, make sure you have selected an “Attached Origin” and given an appropriate Carrier Title that will be displayed on the front end.
- Determine any package restrictions or fees on the Package and/or Fees tab
- On the Optional tab you can select zone and geographic restrictions like a distance radius for delivery.
- Check the box for “Restrict Carrier to Specified Radius” and determine the distance if you wish to restrict the carrier to a certain distance from the origin.
- In the Rates panel you can set your Flat Rate Shipping amount, like $5.95 for example. Note: you can set this to apply per order, item or package.
Additional Options
If you are looking for other options like setting up a Shipping option where you can modify a flat rate based off of weight, price, or quantity then you will need to use the Custom Defined Carrier article and create a Custom Carrier. If you are trying to get live rates with a specific carrier like FedEx or UPS or USPS then you can follow the linked documentation to set up live rate carriers.
Next Steps
Now that you have created your Flat Rate Carrier, you can move on to:
- Create Shipping Rules – set, surcharge, or hide your flat rate method based on various cart conditions.
- Add a Live Rate Carrier – offer expedited methods with live calculation through UPS, Fedex, USPS, and more
Verify that your carriers and rules are working and see how they will display in your checkout right from the ShipperHQ dashboard.