Overview
This document will cover how to connect your DHL Express account to your ShipperHQ account. In order to connect, you will need to create a DHL API Username and Password. The instructions below will tell you where to go and how to get them. You will then add a DHL Express carrier in ShipperHQ that will use this username and password to connect directly to the DHL API and retrieve live shipping rates.
In addition to DHL Express, ShipperHQ also supports DHL eCommerce. These two services are separate and installed separately within ShipperHQ.
Requirements
Follow these directions to obtain/set-up the necessary credentials and add the DHL Express carrier in ShipperHQ.
Register for DHL Express API credentials
- To obtain the API username and password that is needed, follow the steps provided by DHL on the DHL Express – MyDHL API guide
- When registering please indicate you are using ShipperHQ in the field titled, “Describe the application and business process where XML Services will be used.”
- Once complete, DHL will send a set of production credentials by the next business day to the email address that was entered during the registration.
Adding DHL Express
Now that you have your credentials ready, use the steps below to set up DHL Express in ShipperHQ.
- Log into your ShipperHQ account and click on Carriers in the navbar
- Click + New to add a new carrier
- Choose the Live Rate Carrier option
- Use Search Carriers to search for DHL Express or scroll down to find DHL Express from the list of available carriers
- Select DHL Express
- Enter the carrier name shown at checkout, for example “DHL Express” or “Shipping”
- Click the Continue button
DHL Express has been added to your ShipperHQ account! You can now continue to connect to your DHL Express account and start getting live rates.
Connecting Your DHL Express Account
In order for ShipperHQ to access your live rates, you will need to enter your carrier account credentials for DHL Express and have them validated.
Validation, simply means that ShipperHQ was able to access the shipping account related to the credentials that you entered and retrieve rates.
- To validate, select Enter Credentials & Validate
Skip & Enter Later
You can select Skip & Enter Later if you don’t want to enter credentials now, but DHL Express live rates won’t be available until credentials are entered and validated. - Enter the DHL Express API information for your account
- Click the Validate button
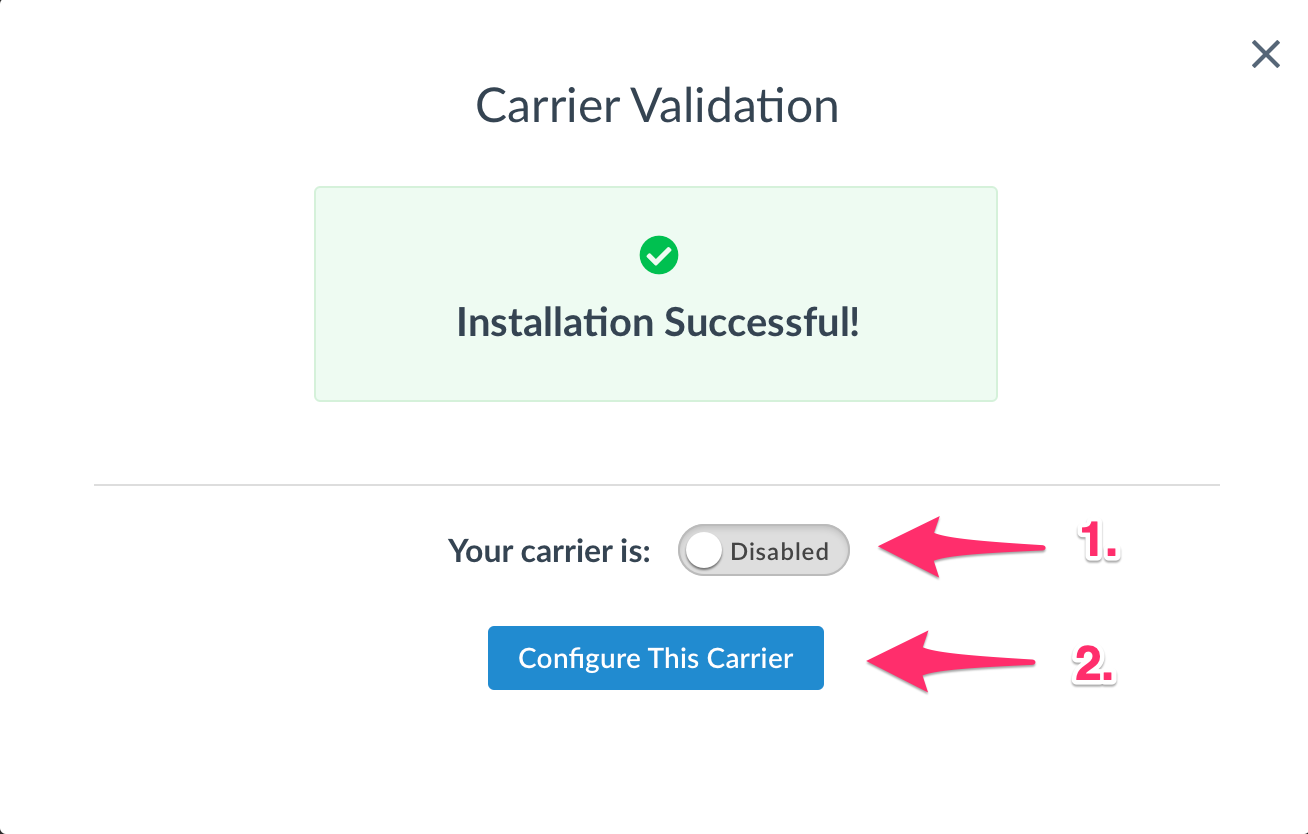
- If validation is successful, you will be presented with:
- The option to enable your carrier right away. (Enabling your carrier at this time will turn its rates on immediately even before you have made any configuration adjustments to it.)
- Begin to configure. Continuing with this button will take you to the carrier’s configuration page. You can also enable the carrier from this page once you have saved your settings.

Configurating DHL Express
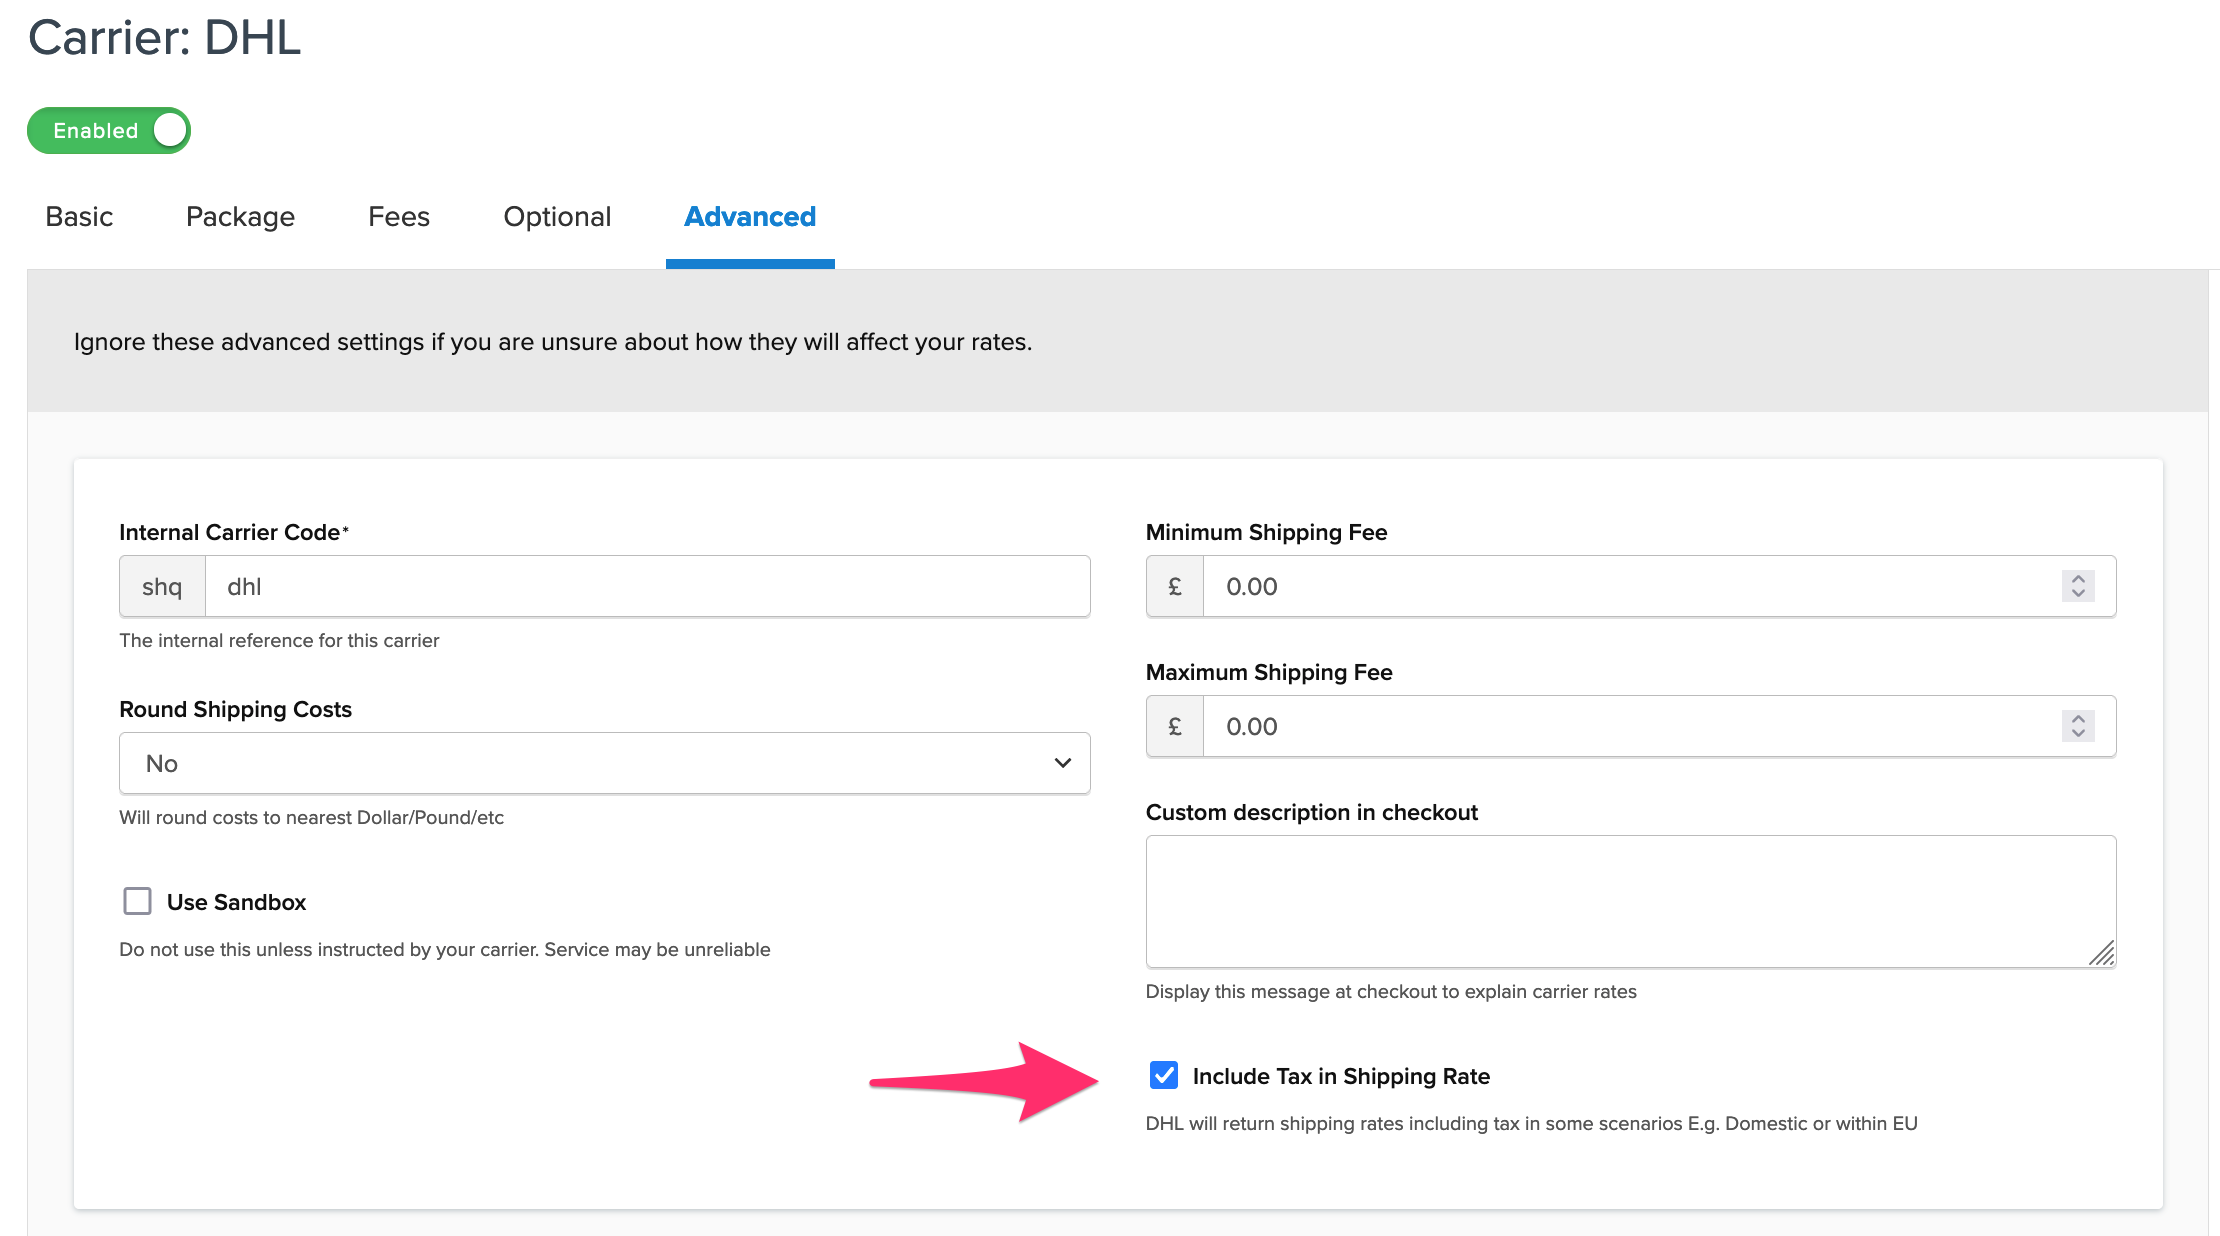
VAT-inclusive or -exclusive pricing
A DHL Express carrier can be configured to return prices including a VAT charge. New DHL Express carriers will not include VAT by default. There is a checkbox on the Advanced tab of the carrier to control this, see the below image.
